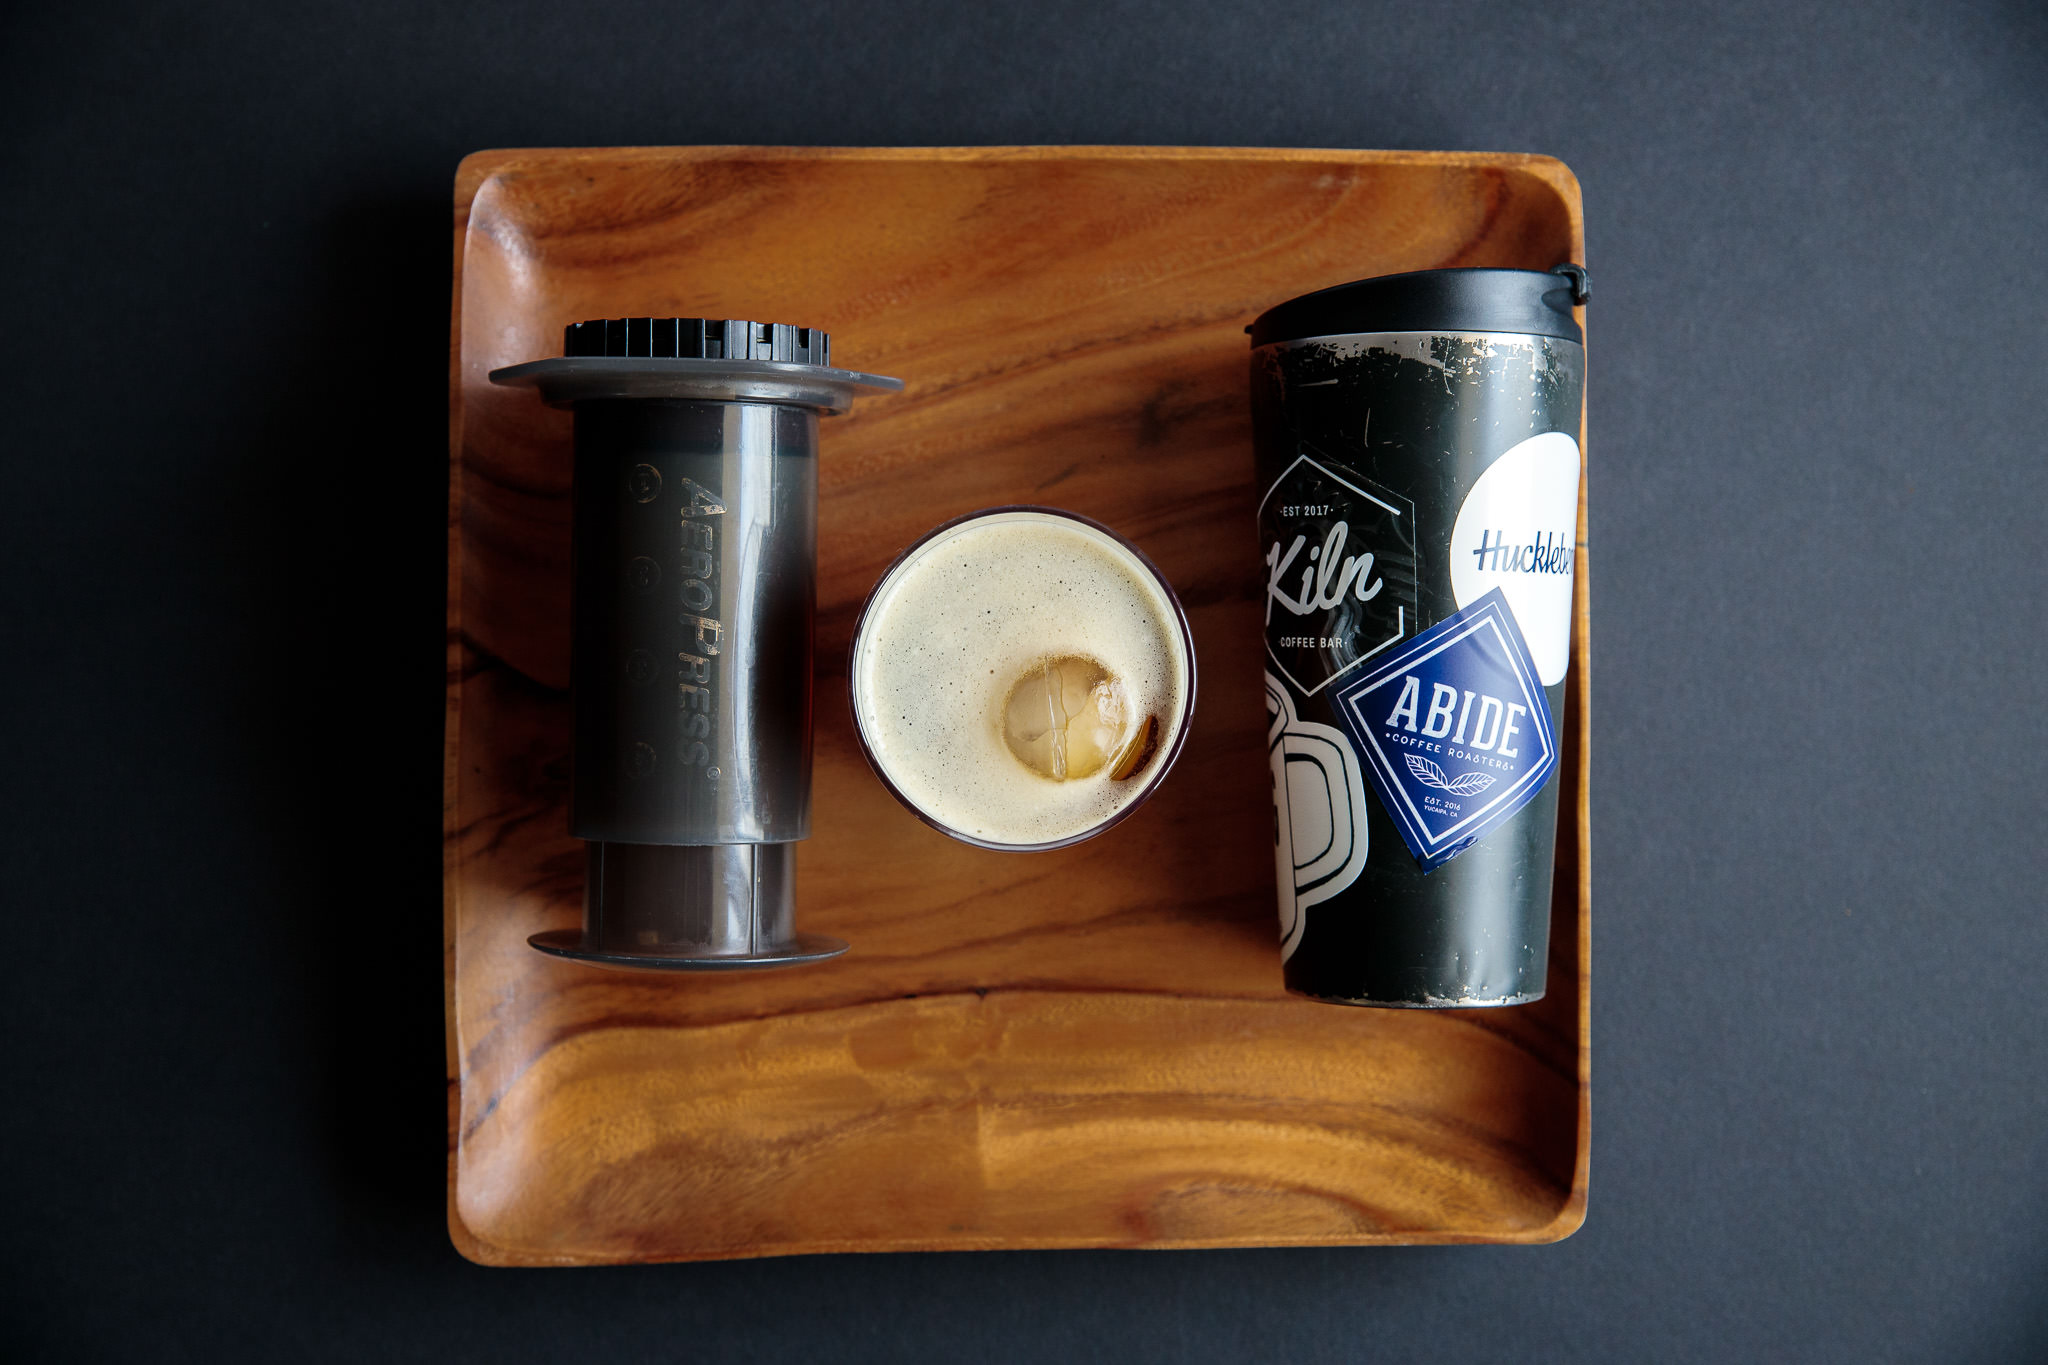
How to make Single Serving Cold Brew with an Aeropress
February is basically over, and that means spring is just around the corner. That means it’s almost iced coffee season. I’ll be honest, since I discovered the Flash Brew method, I haven’t made a whole lot of cold brew. But I got a delicious Ethiopia Guji Gigesa from Abide Coffee Roasters (post coming soon) at the recommendation of some friends on Instagram. One of those friends insisted that I try this coffee as a cold brew. I didn’t want to make a whole batch, so I revisited my single serving recipe and remembered that I never shared it with all of you, so here we go!
Aeropress Cold Brew Recipe
At a Glance
- Double filter. Inverted Aeropress
- Ratio: 1:8 (22g : 176g)
- Water temp: 75°F or less (room temp or chilled)
- Grind: Medium, 3.5 on the Handground
- Steep time: 20 hours, refrigerated
- Cut: 1:1 or to taste
- *Optional: Shake vigorously with ice to aerate
Prepare
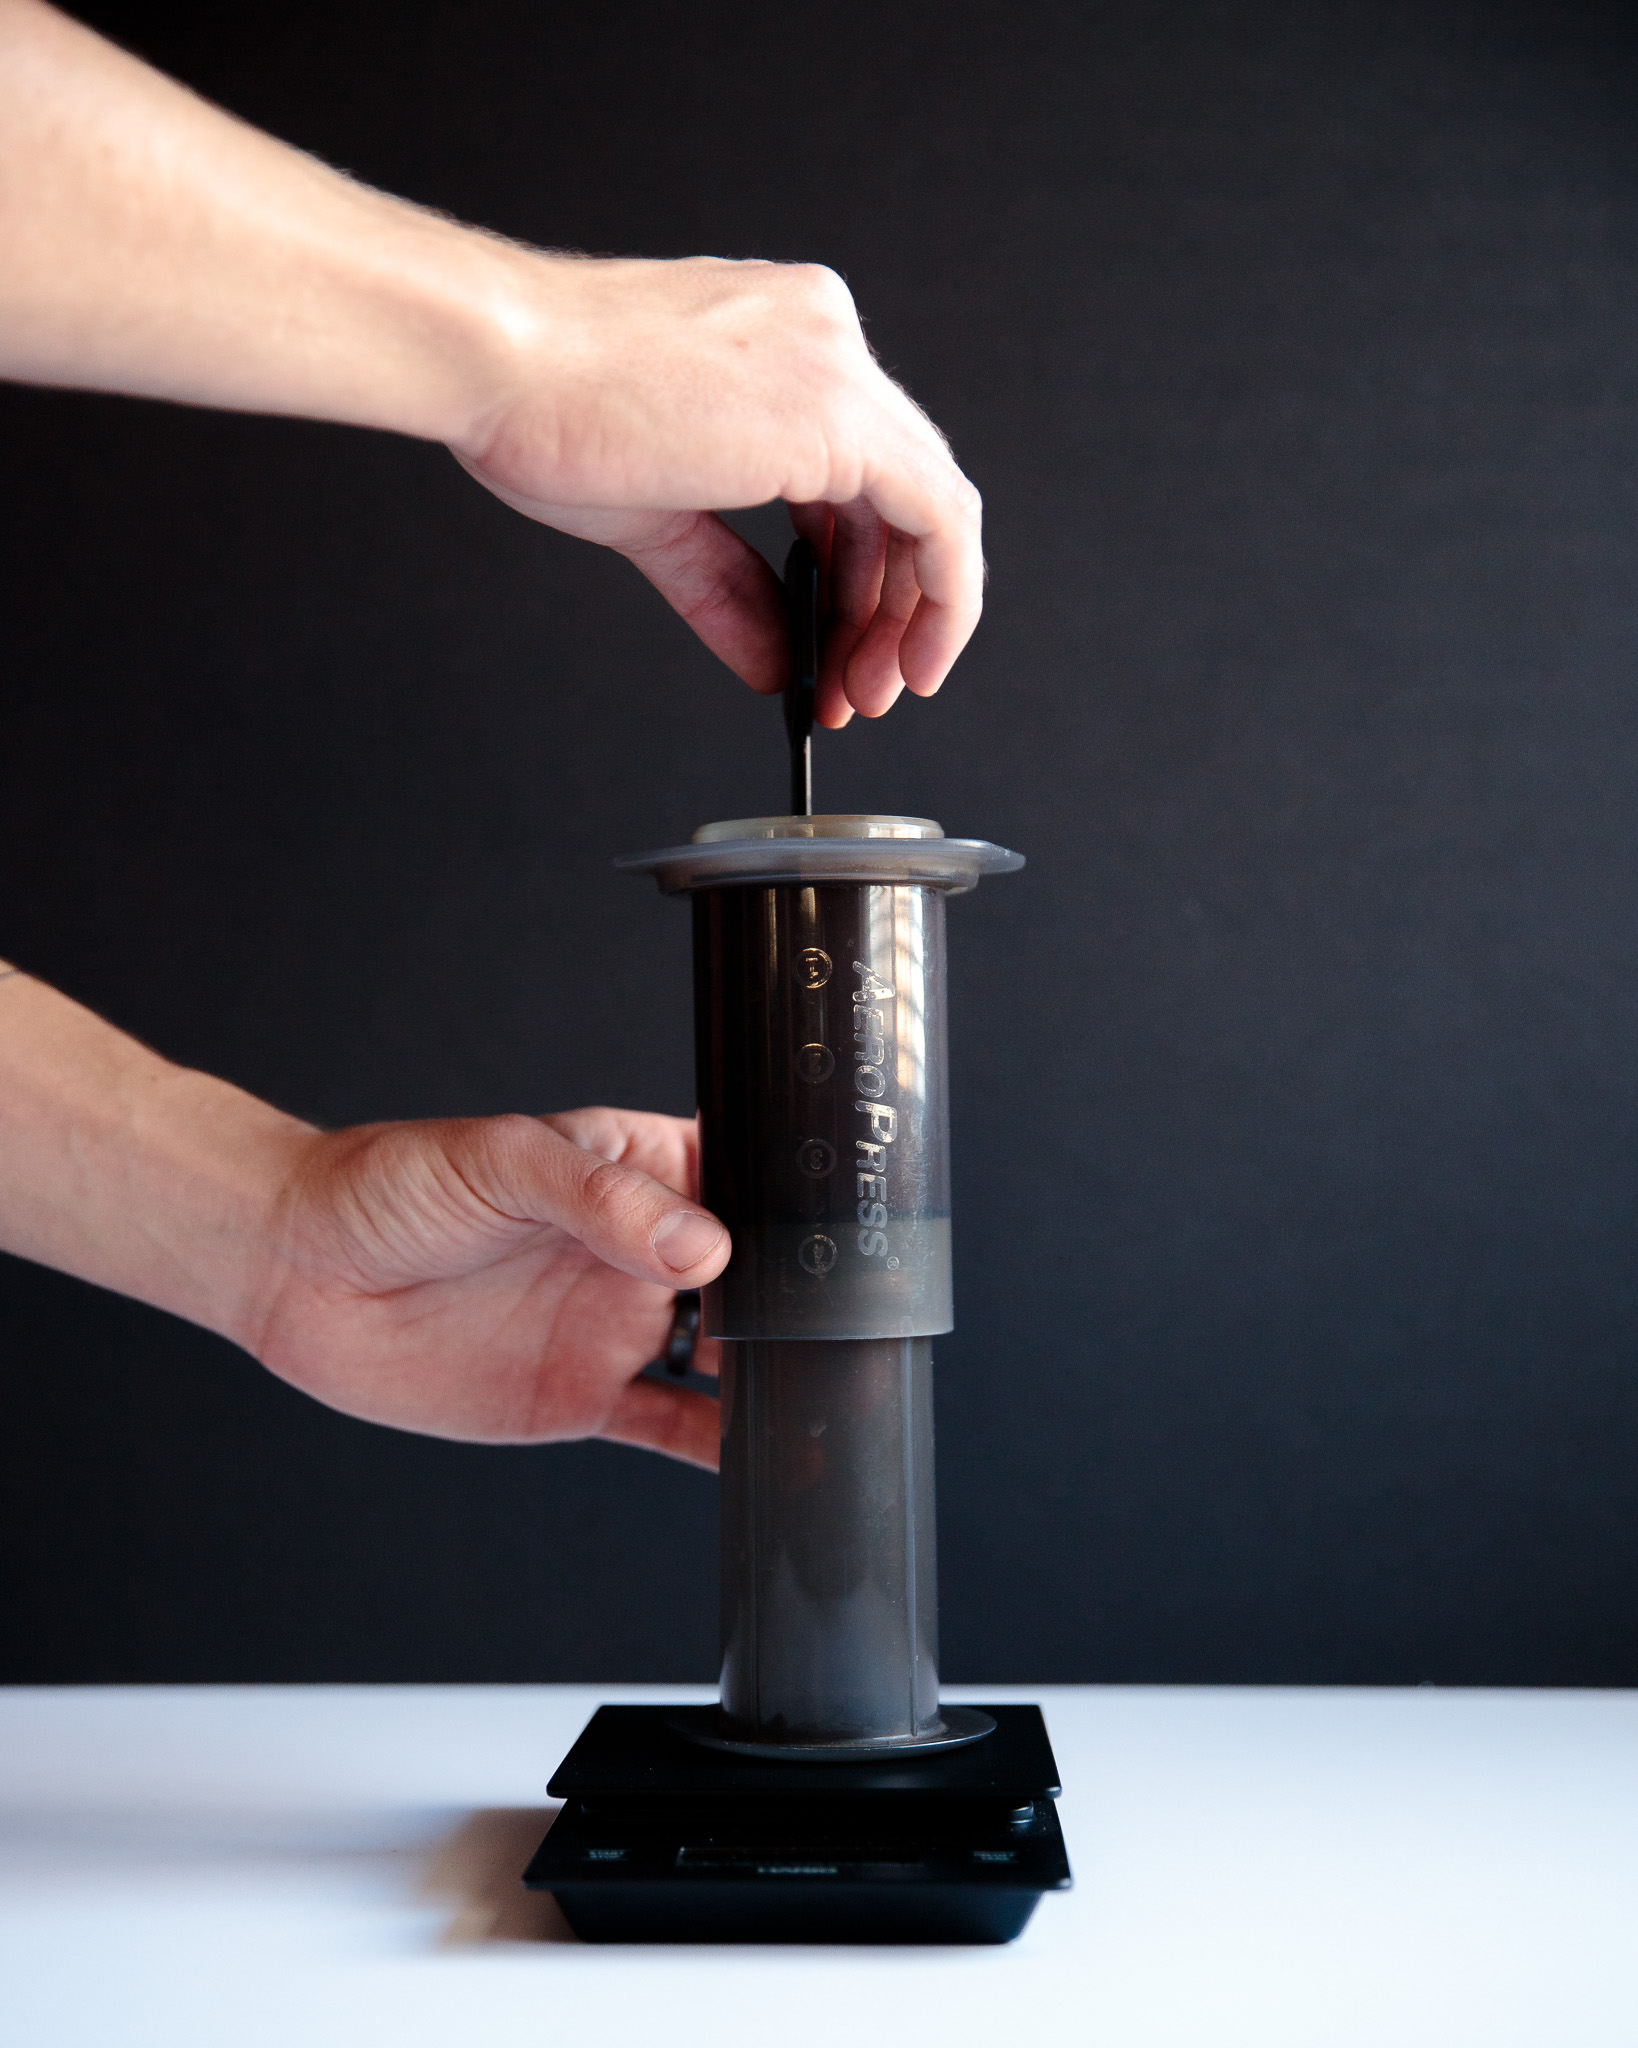
- Invert the Aeropress and place the plunger between the 3 and 4 markings
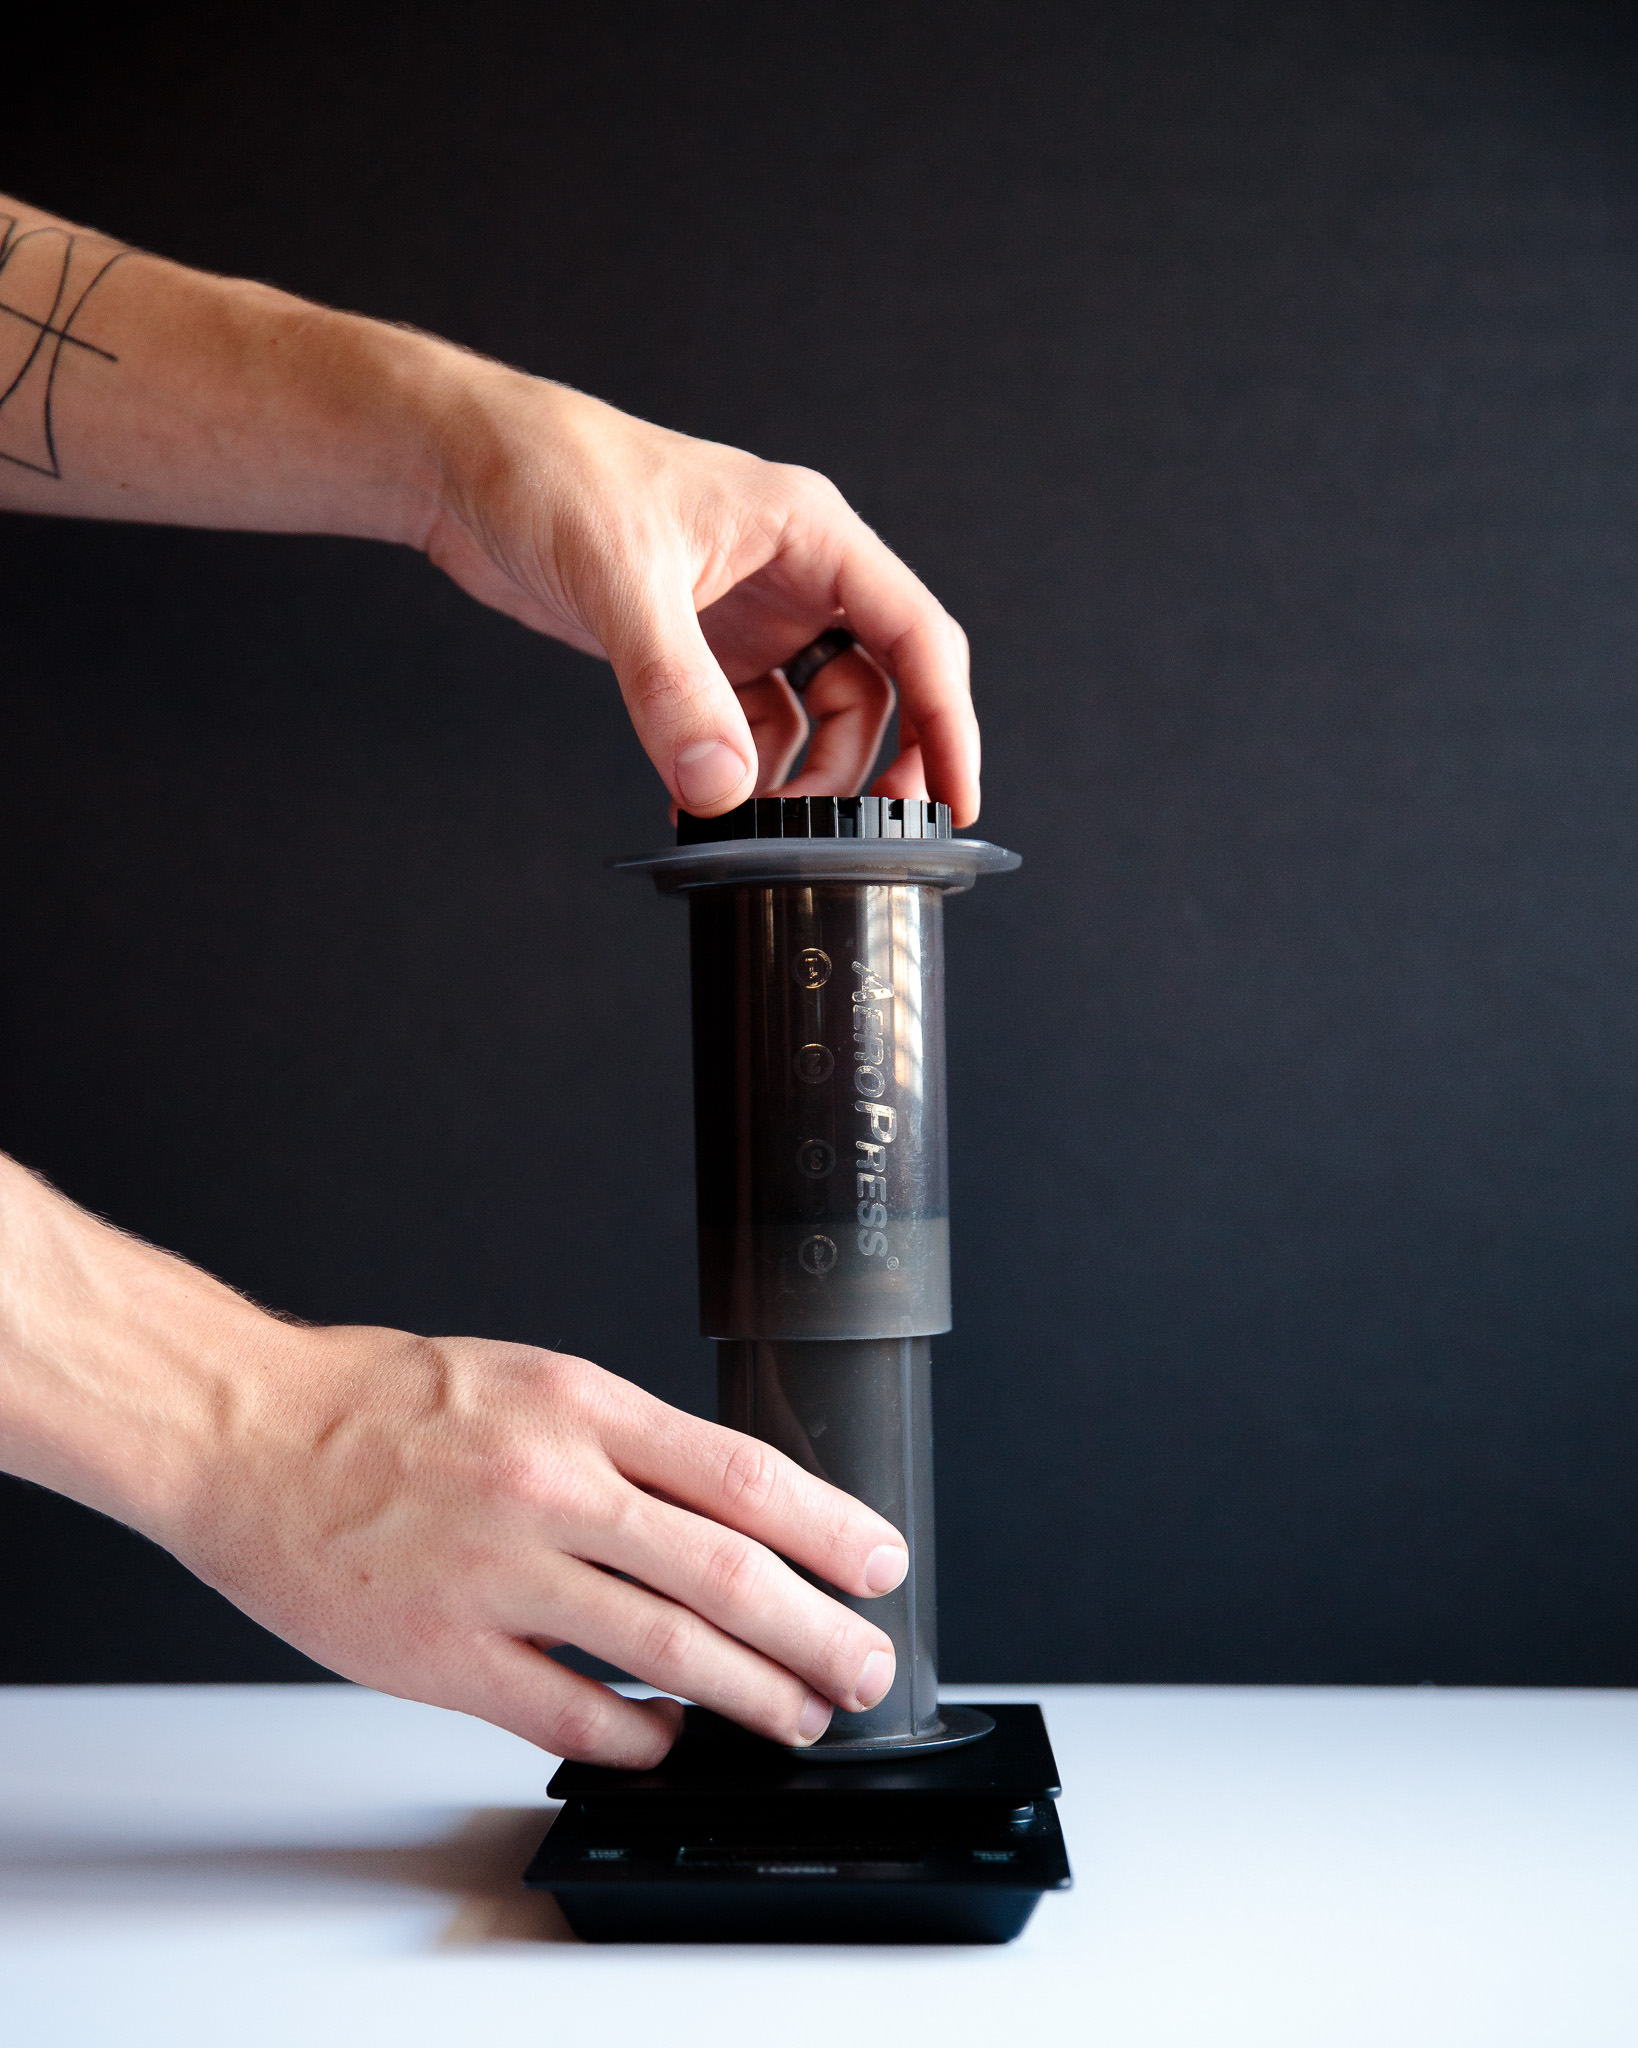
- Stack two paper filters in the Aeropress lid and thoroughly rinse.
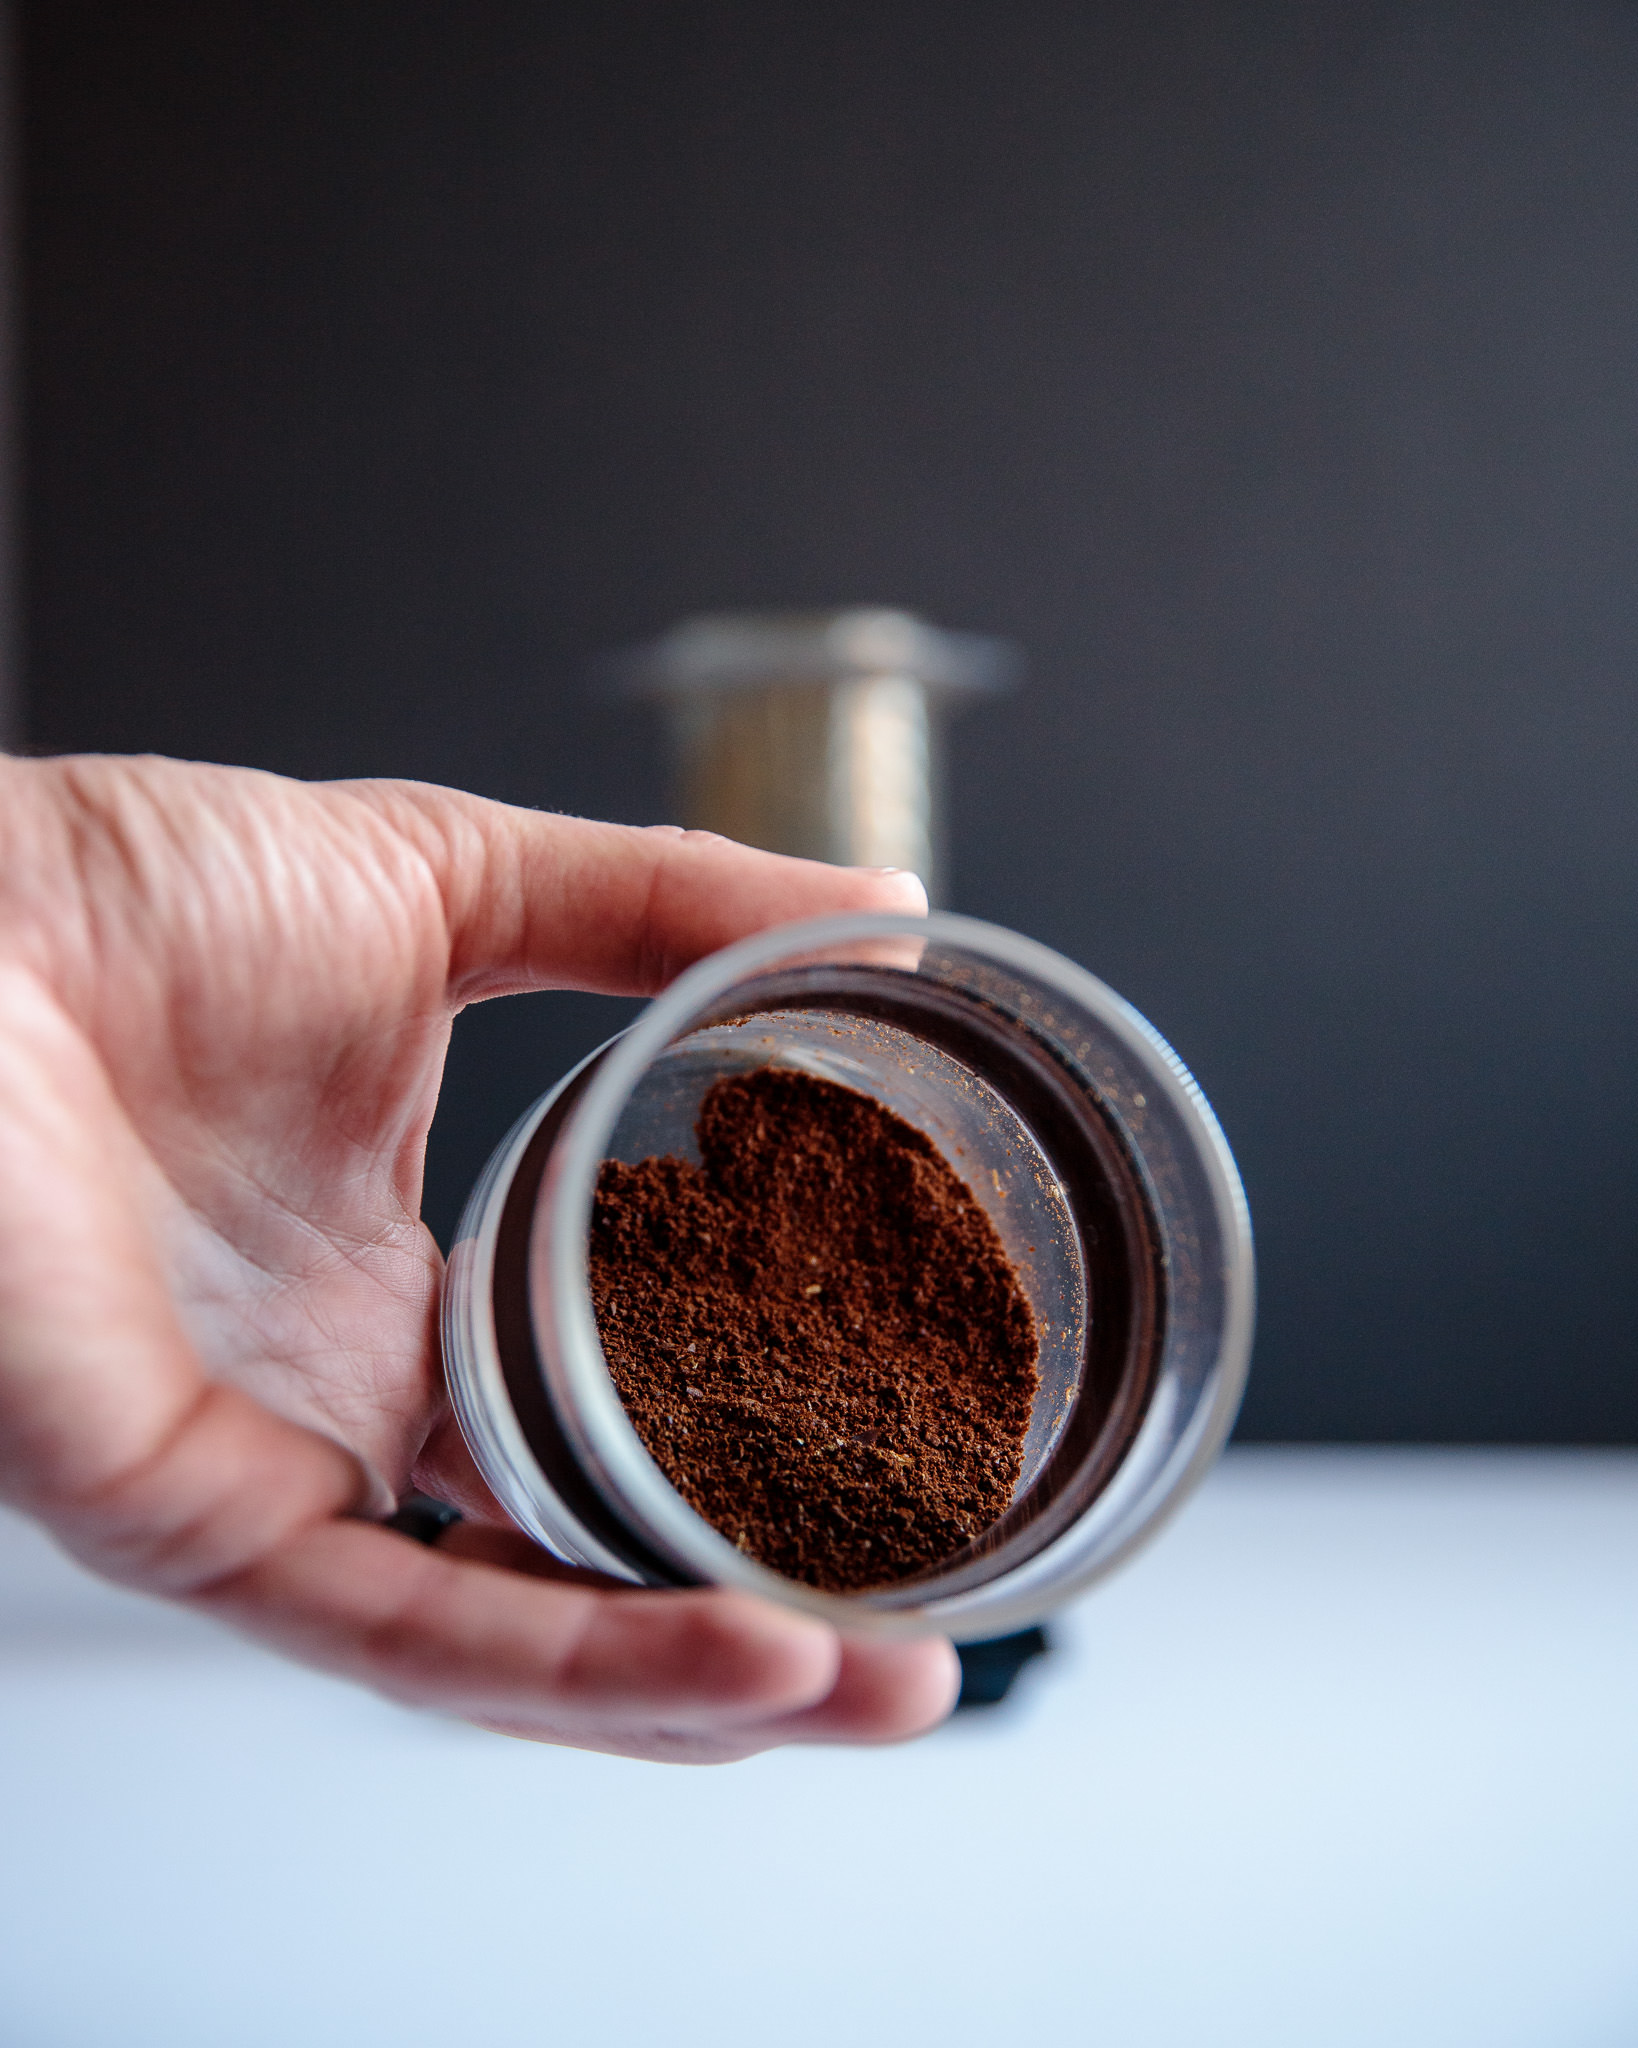
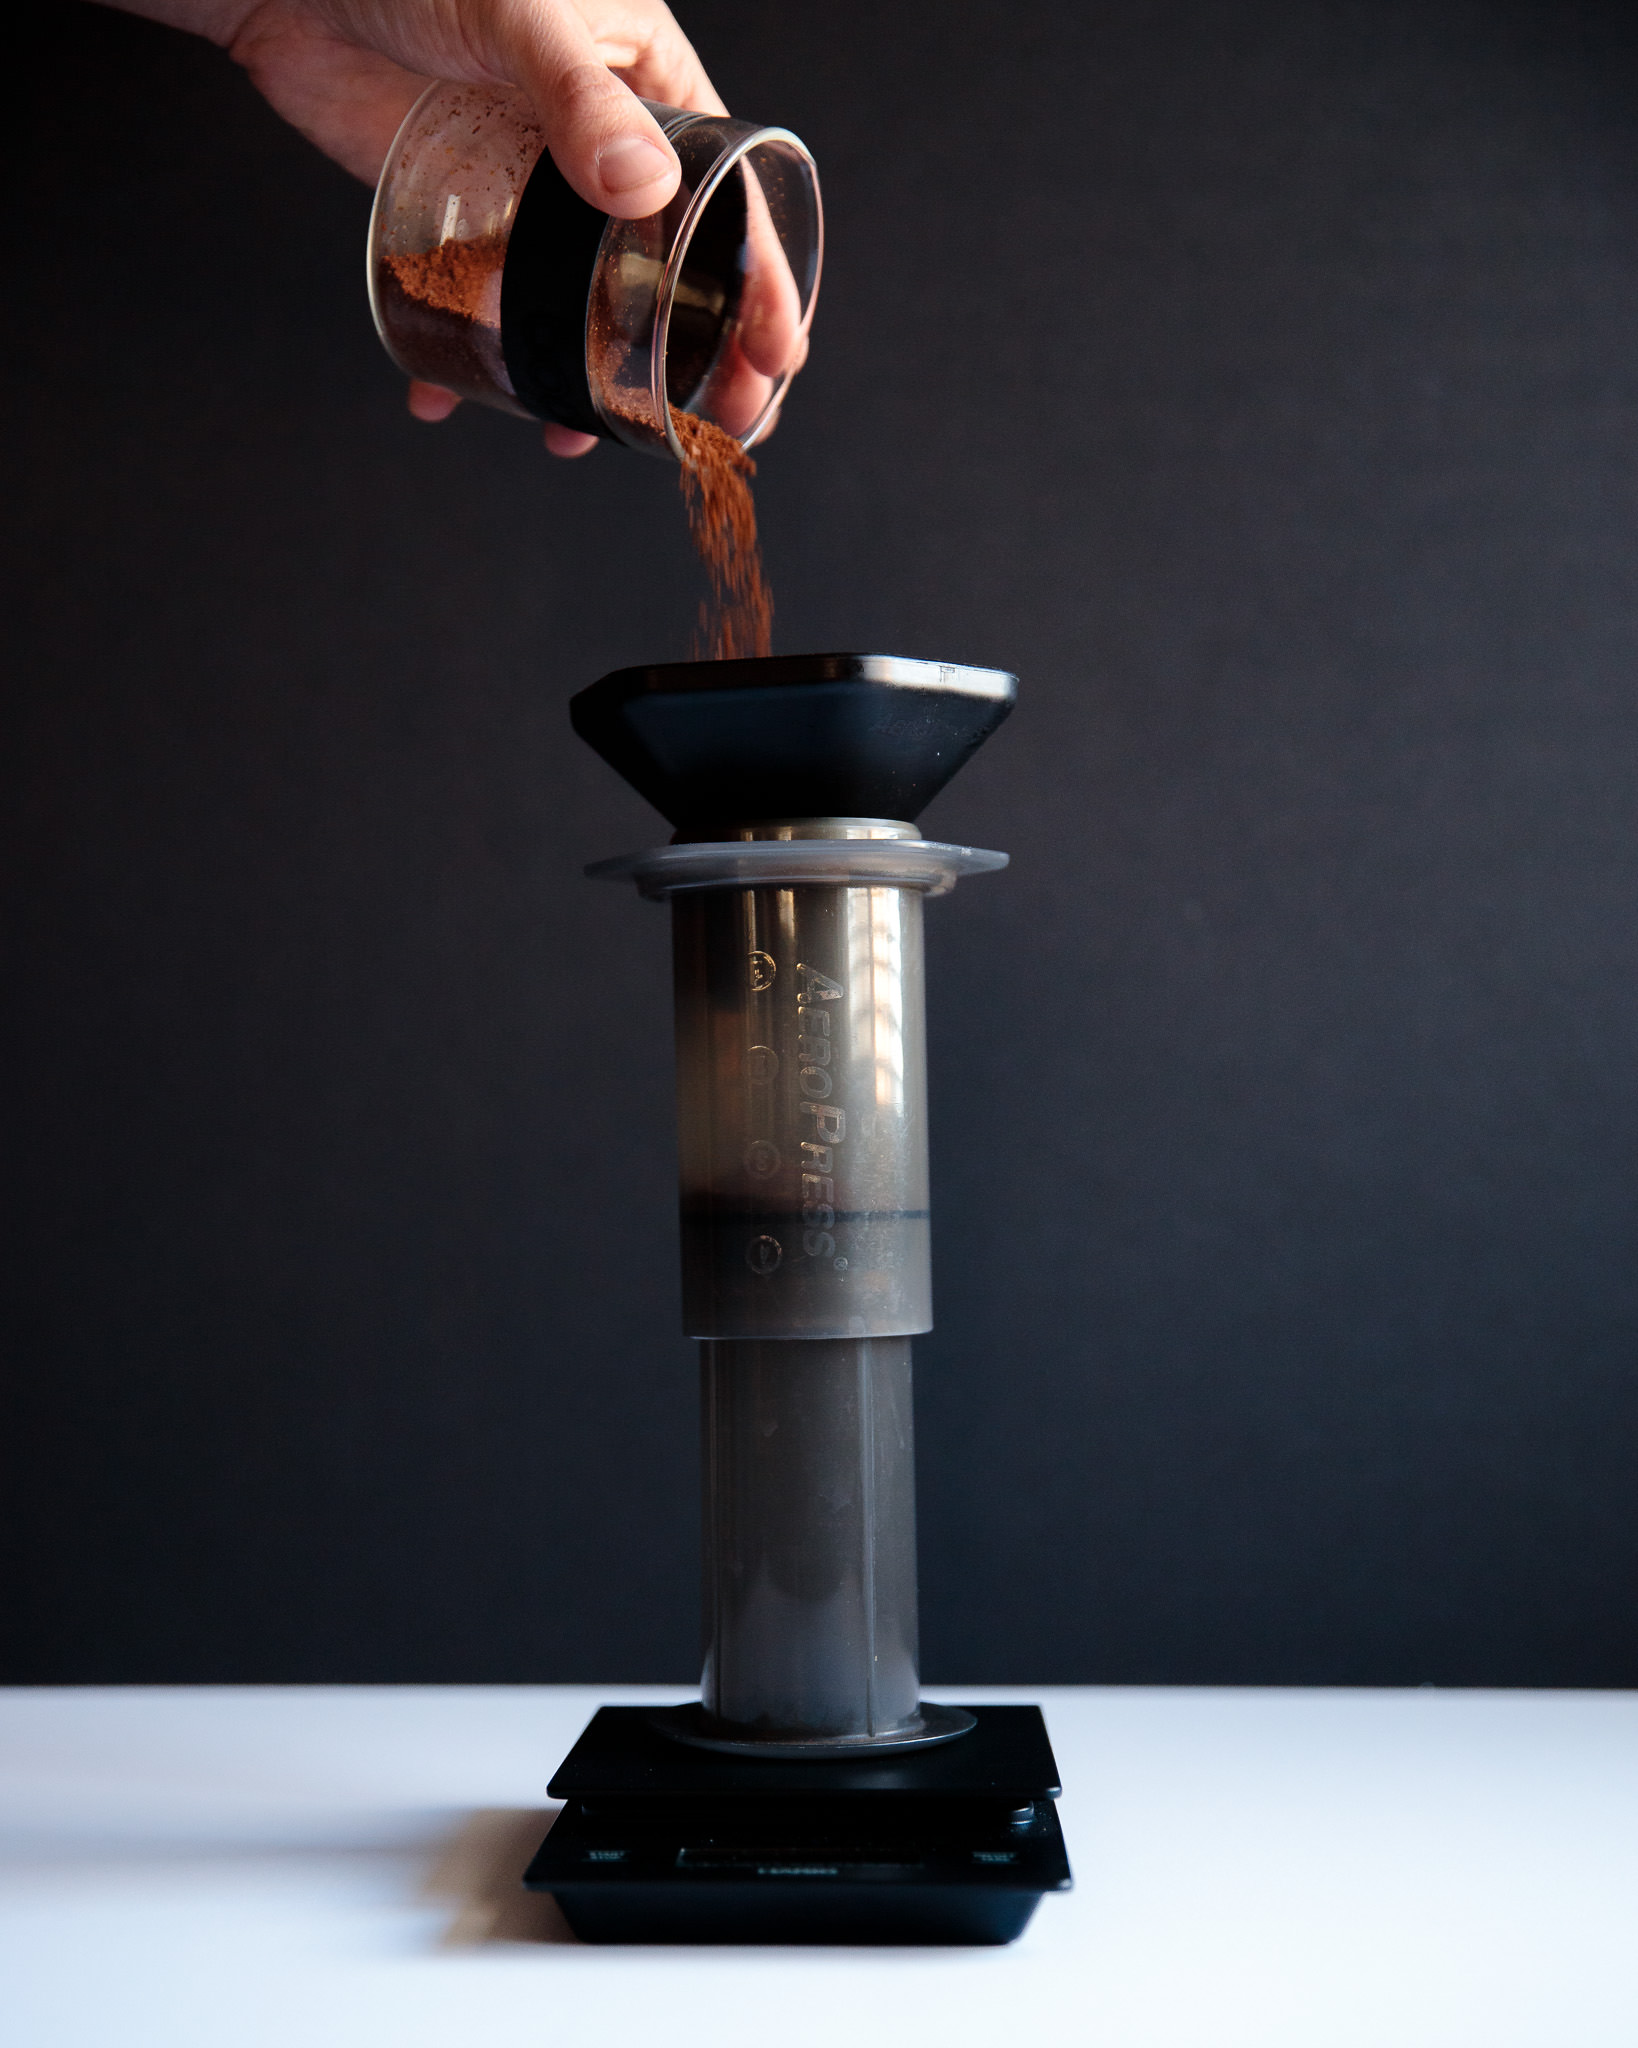
- Weigh out your beans and grind on a medium setting, slightly coarser than you would for a pour over.
- Add the grounds to the Aeropress and level the ground bed
Steep
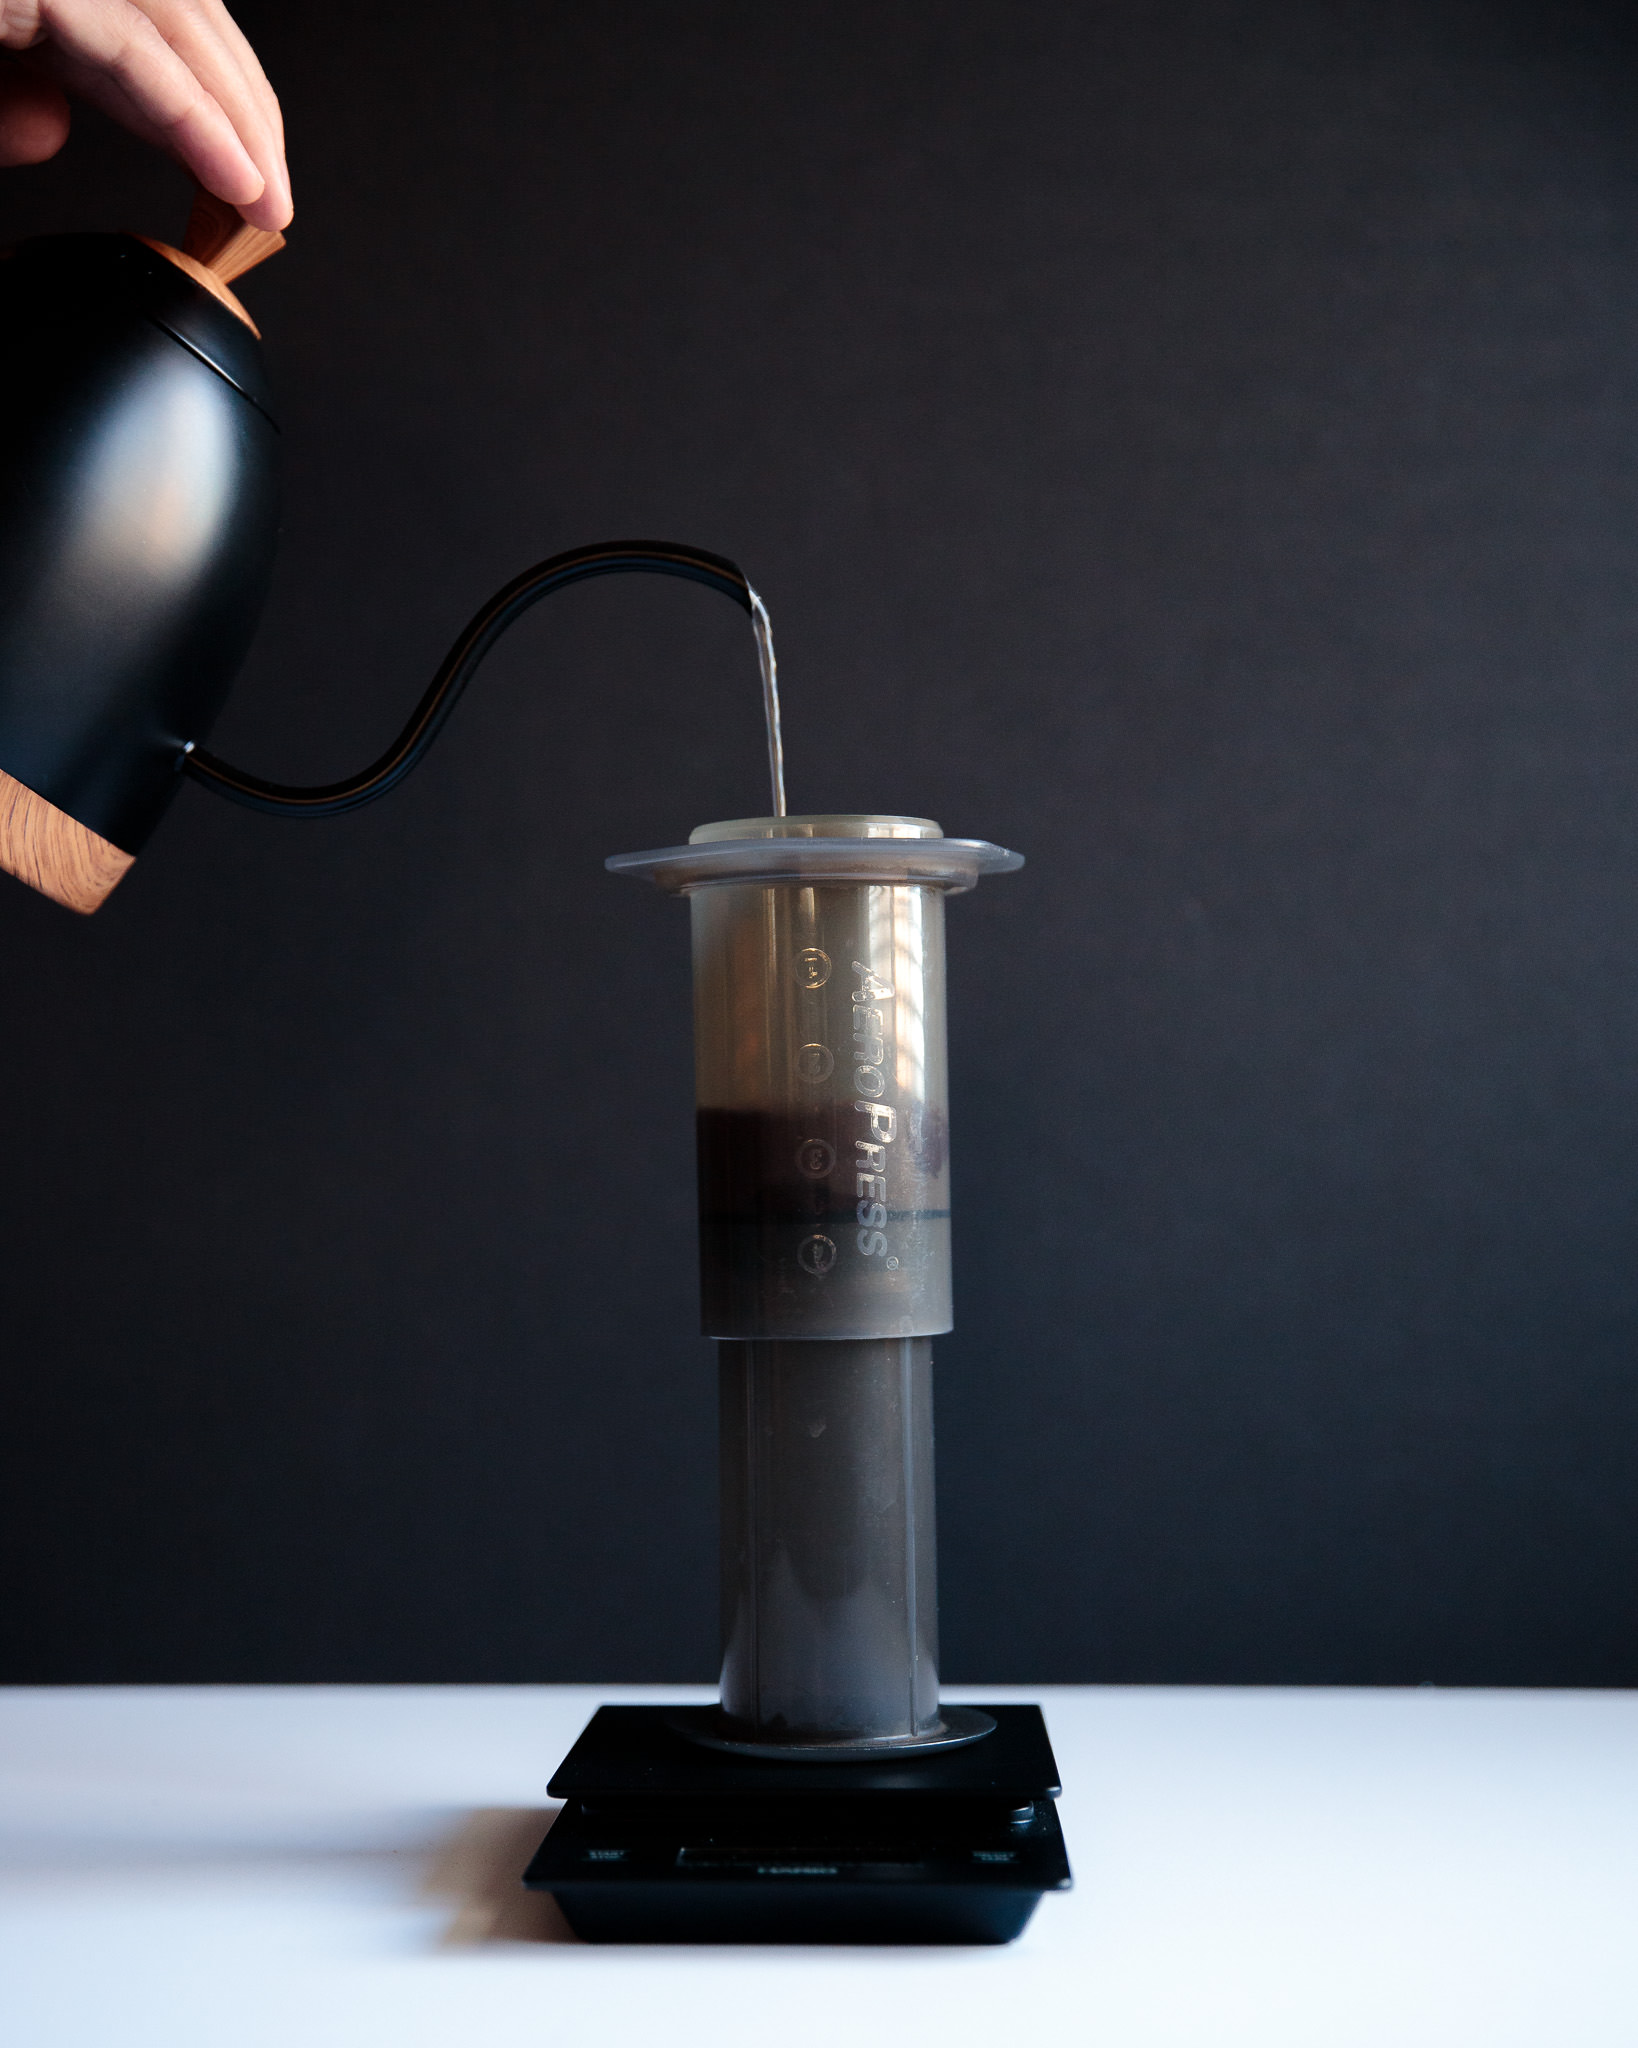
- Pour to weight with room temperature or chilled water.
- Stir to ensure the grounds are fully saturated.
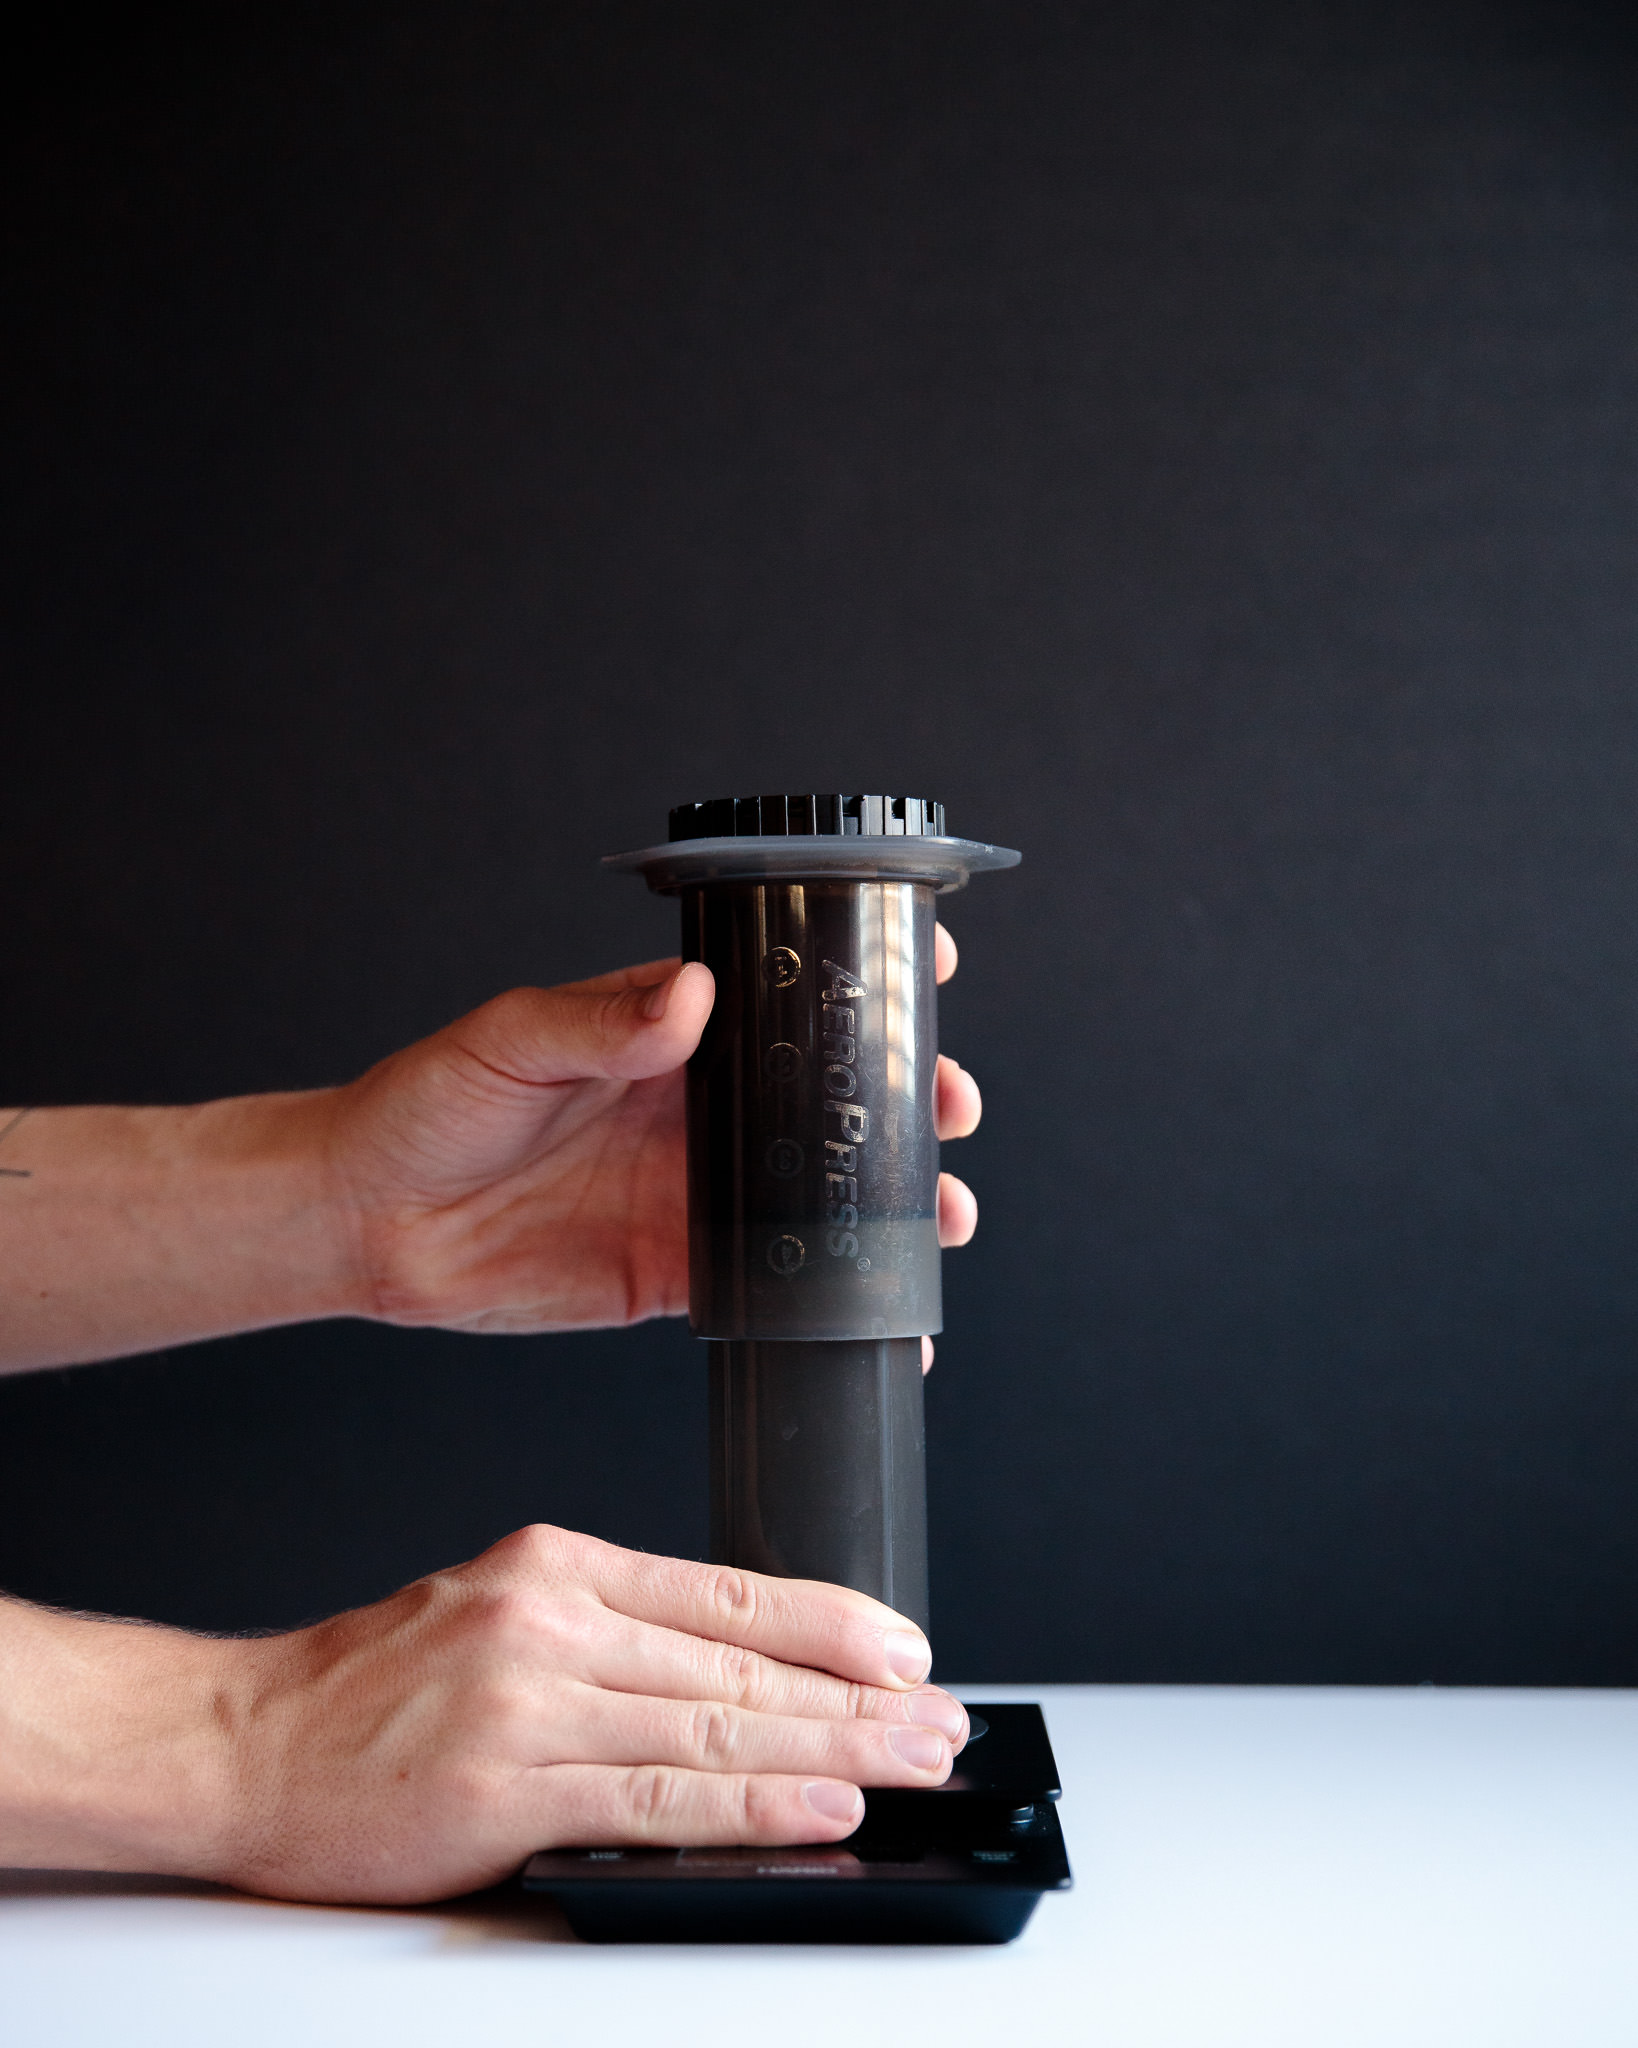
- Lock on the lid.
- Gently pull the plunger to the “4” marking on the Aeropress
- Do this very carefully. I’ve accidentally pull too far and it really sucks to clean up.
- If you chose to maximize the Aeropress capacity, play it safe and skip this step.
- Place the Aeropress in the refrigerator and note the time.
- If you’re forgetful like them, you should consider setting a timer or reminder.
Strain
- After 8-20 hours, remove the Aeropress from the fridge.
- Flip the Aeropress onto a sturdy carafe or glass and press.
- The double filter and finer grind make the pressing more difficult, so be prepared.
- Press until you hear a hissing sound
Cut and Serve
- Cut to taste.
- I usually start at a 1:1/2 ratio and add to taste. I almost always end up at 1:1, but not always.
- (Optional) Add to beverage shaker (or sealable travel mug) with ice
- Shake vigorously to aerate mixture
- Serve over ice and enjoy.

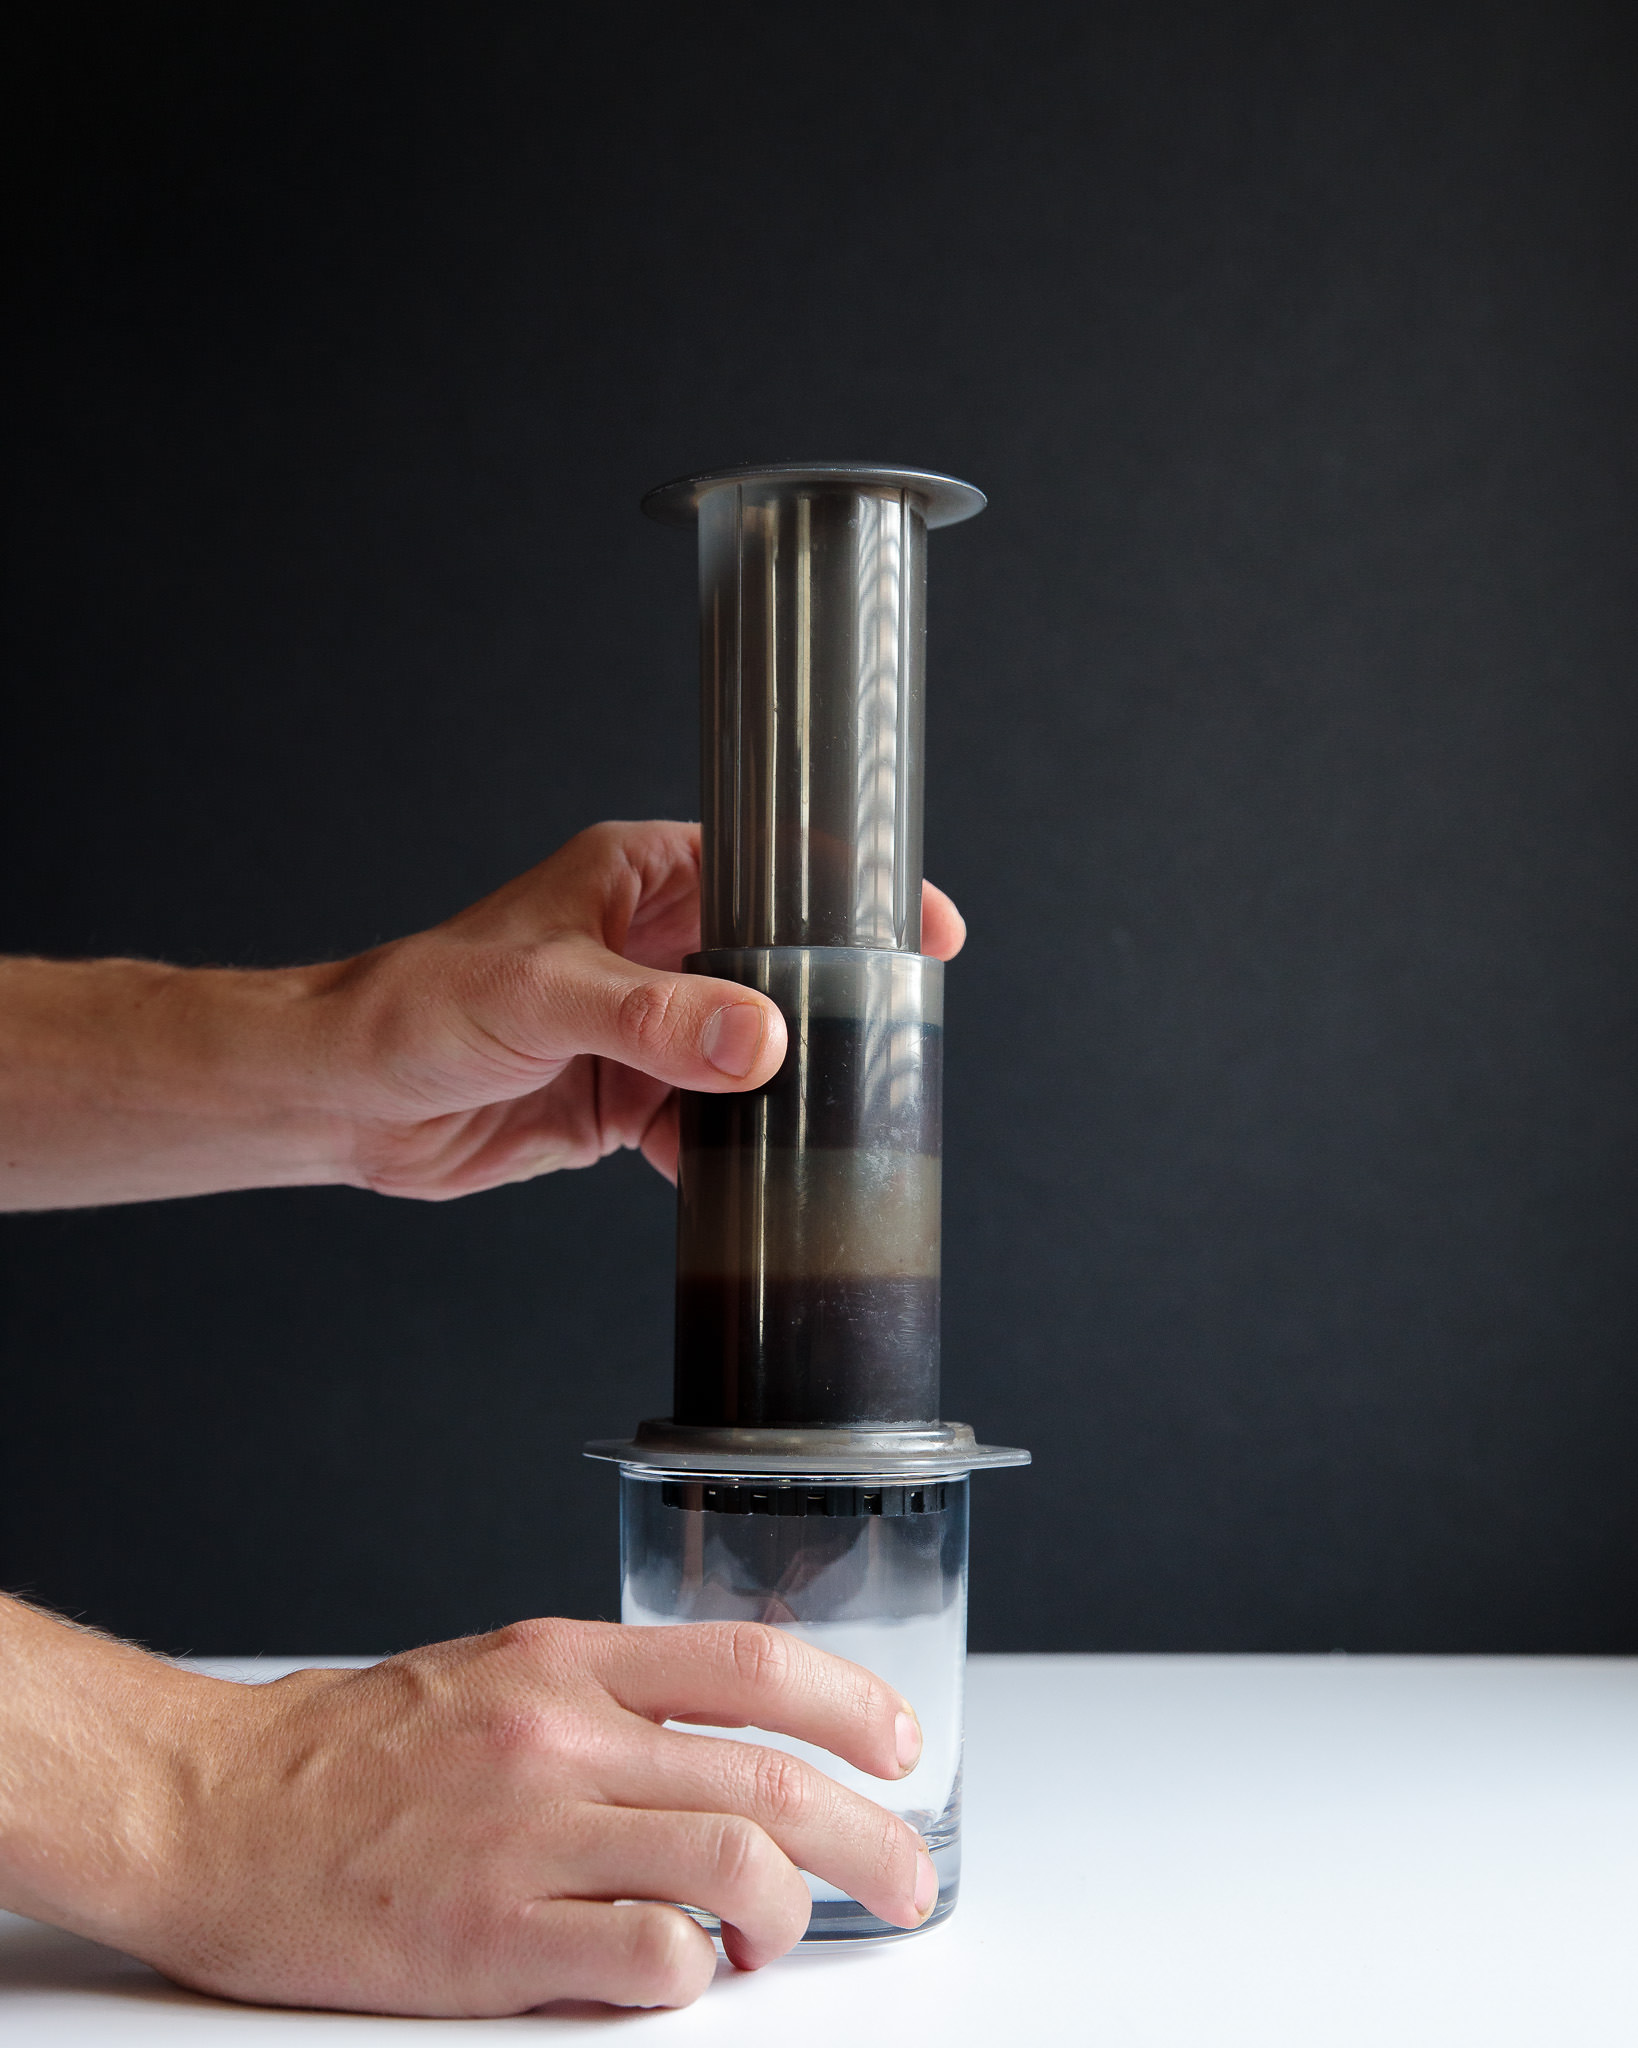
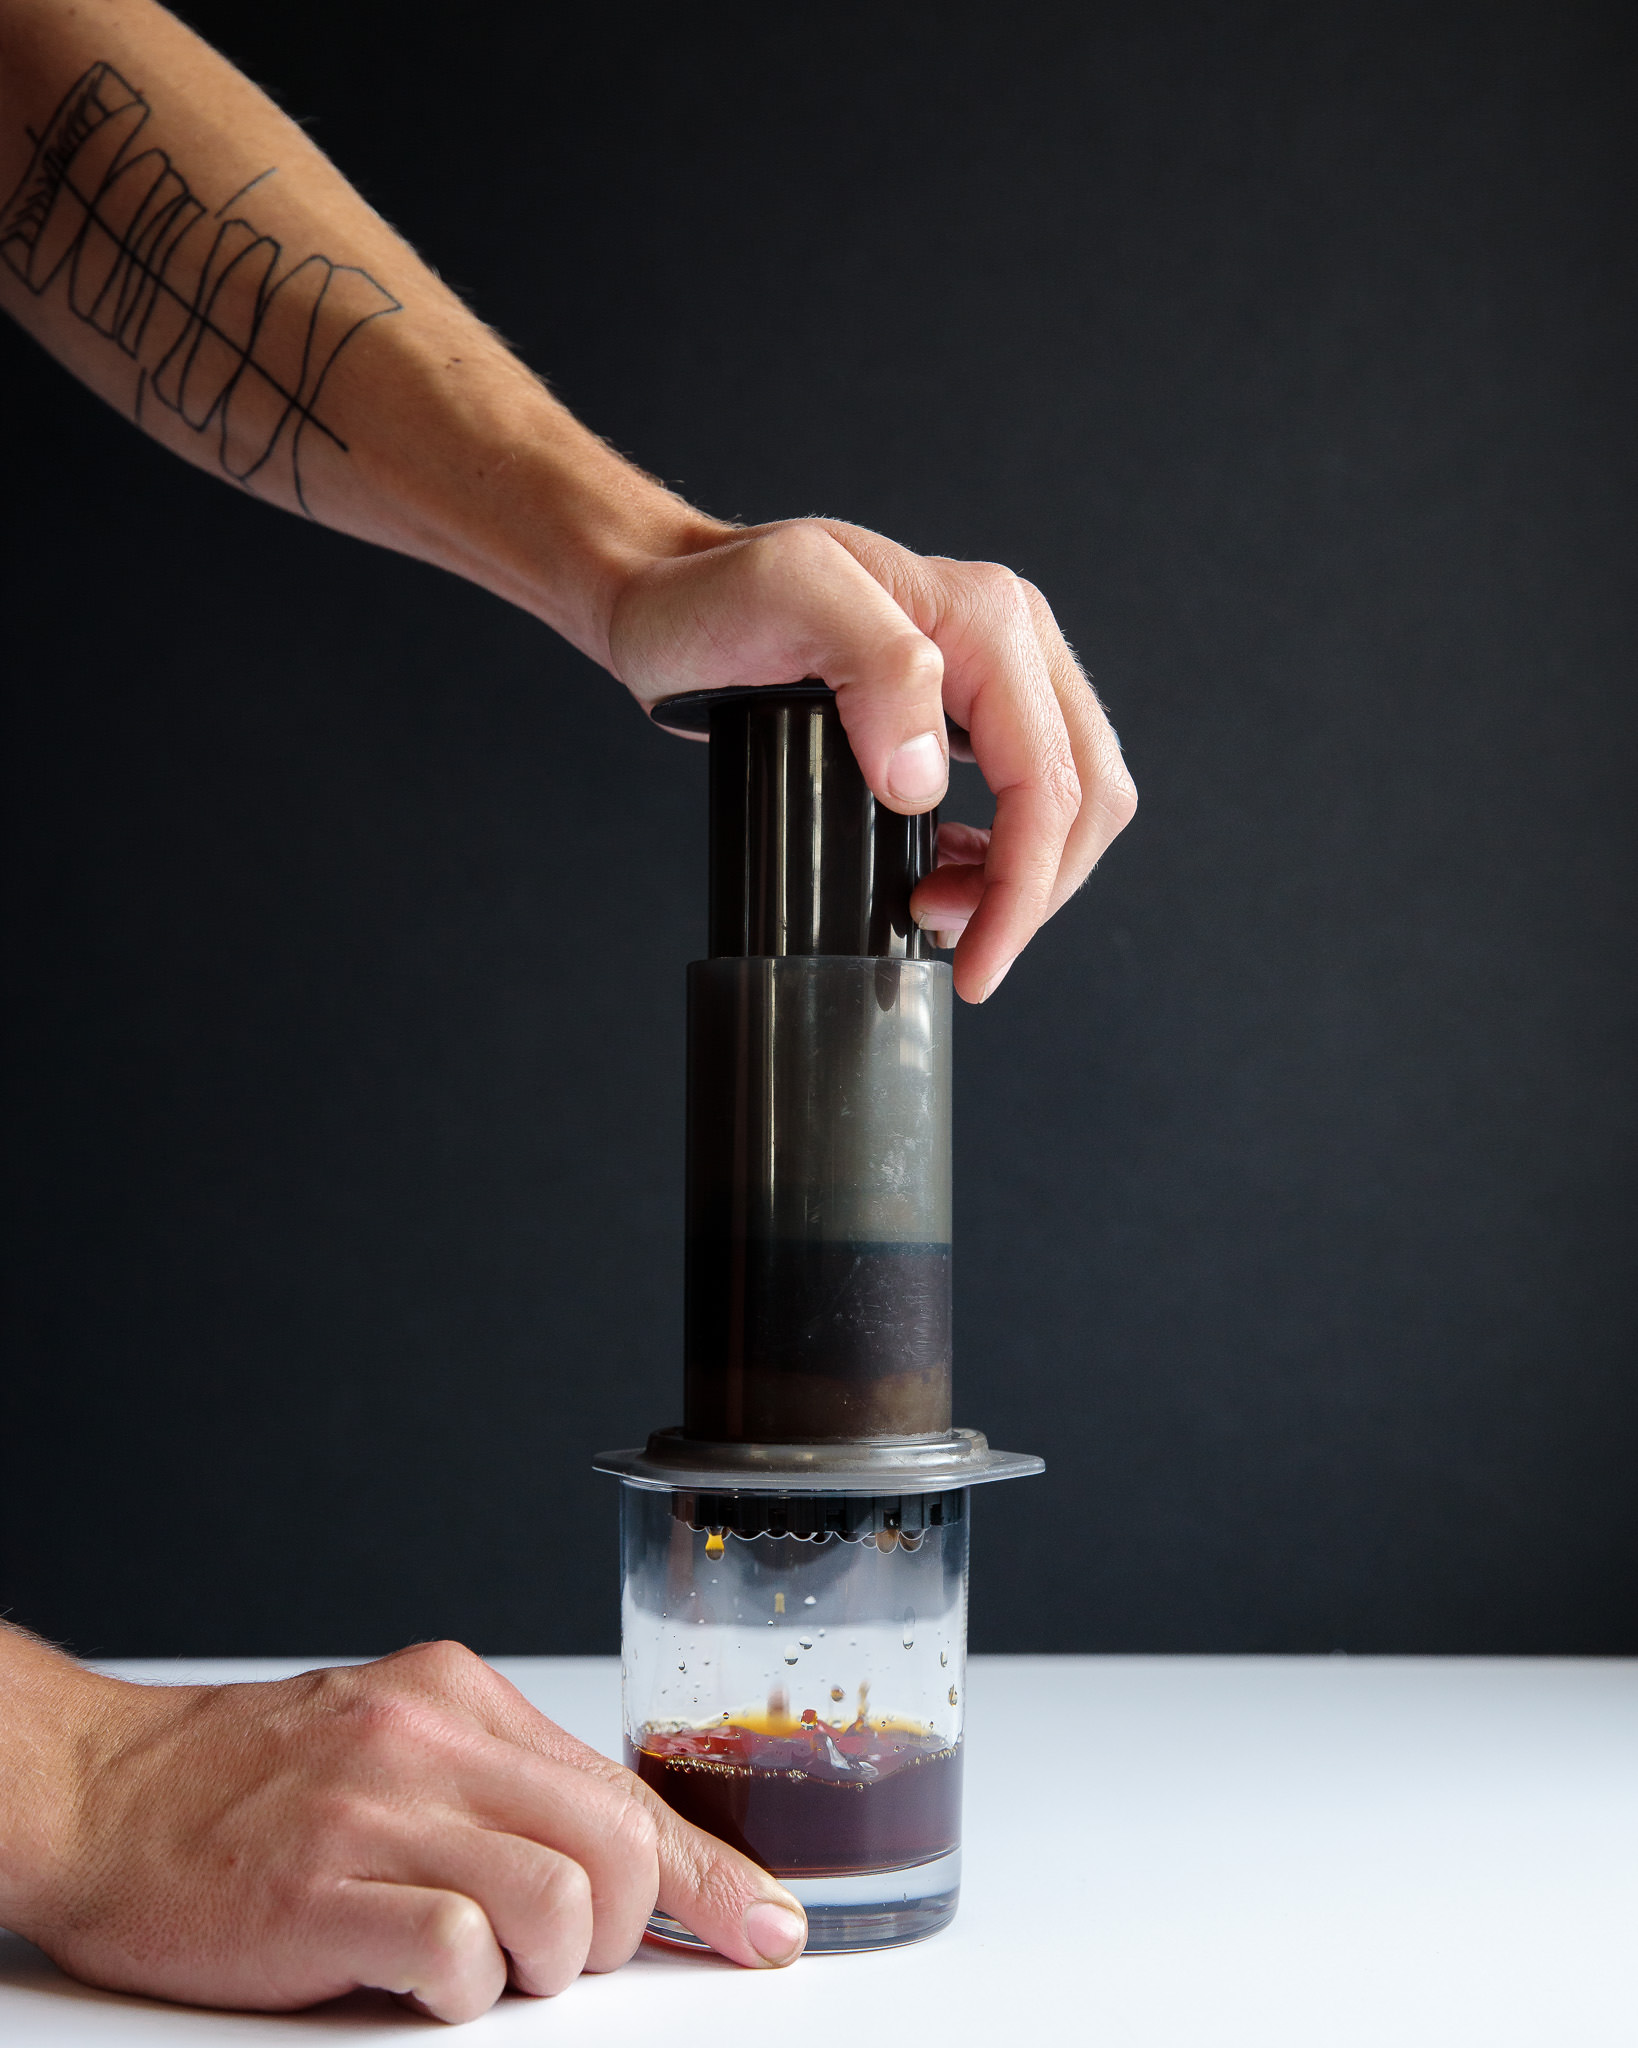
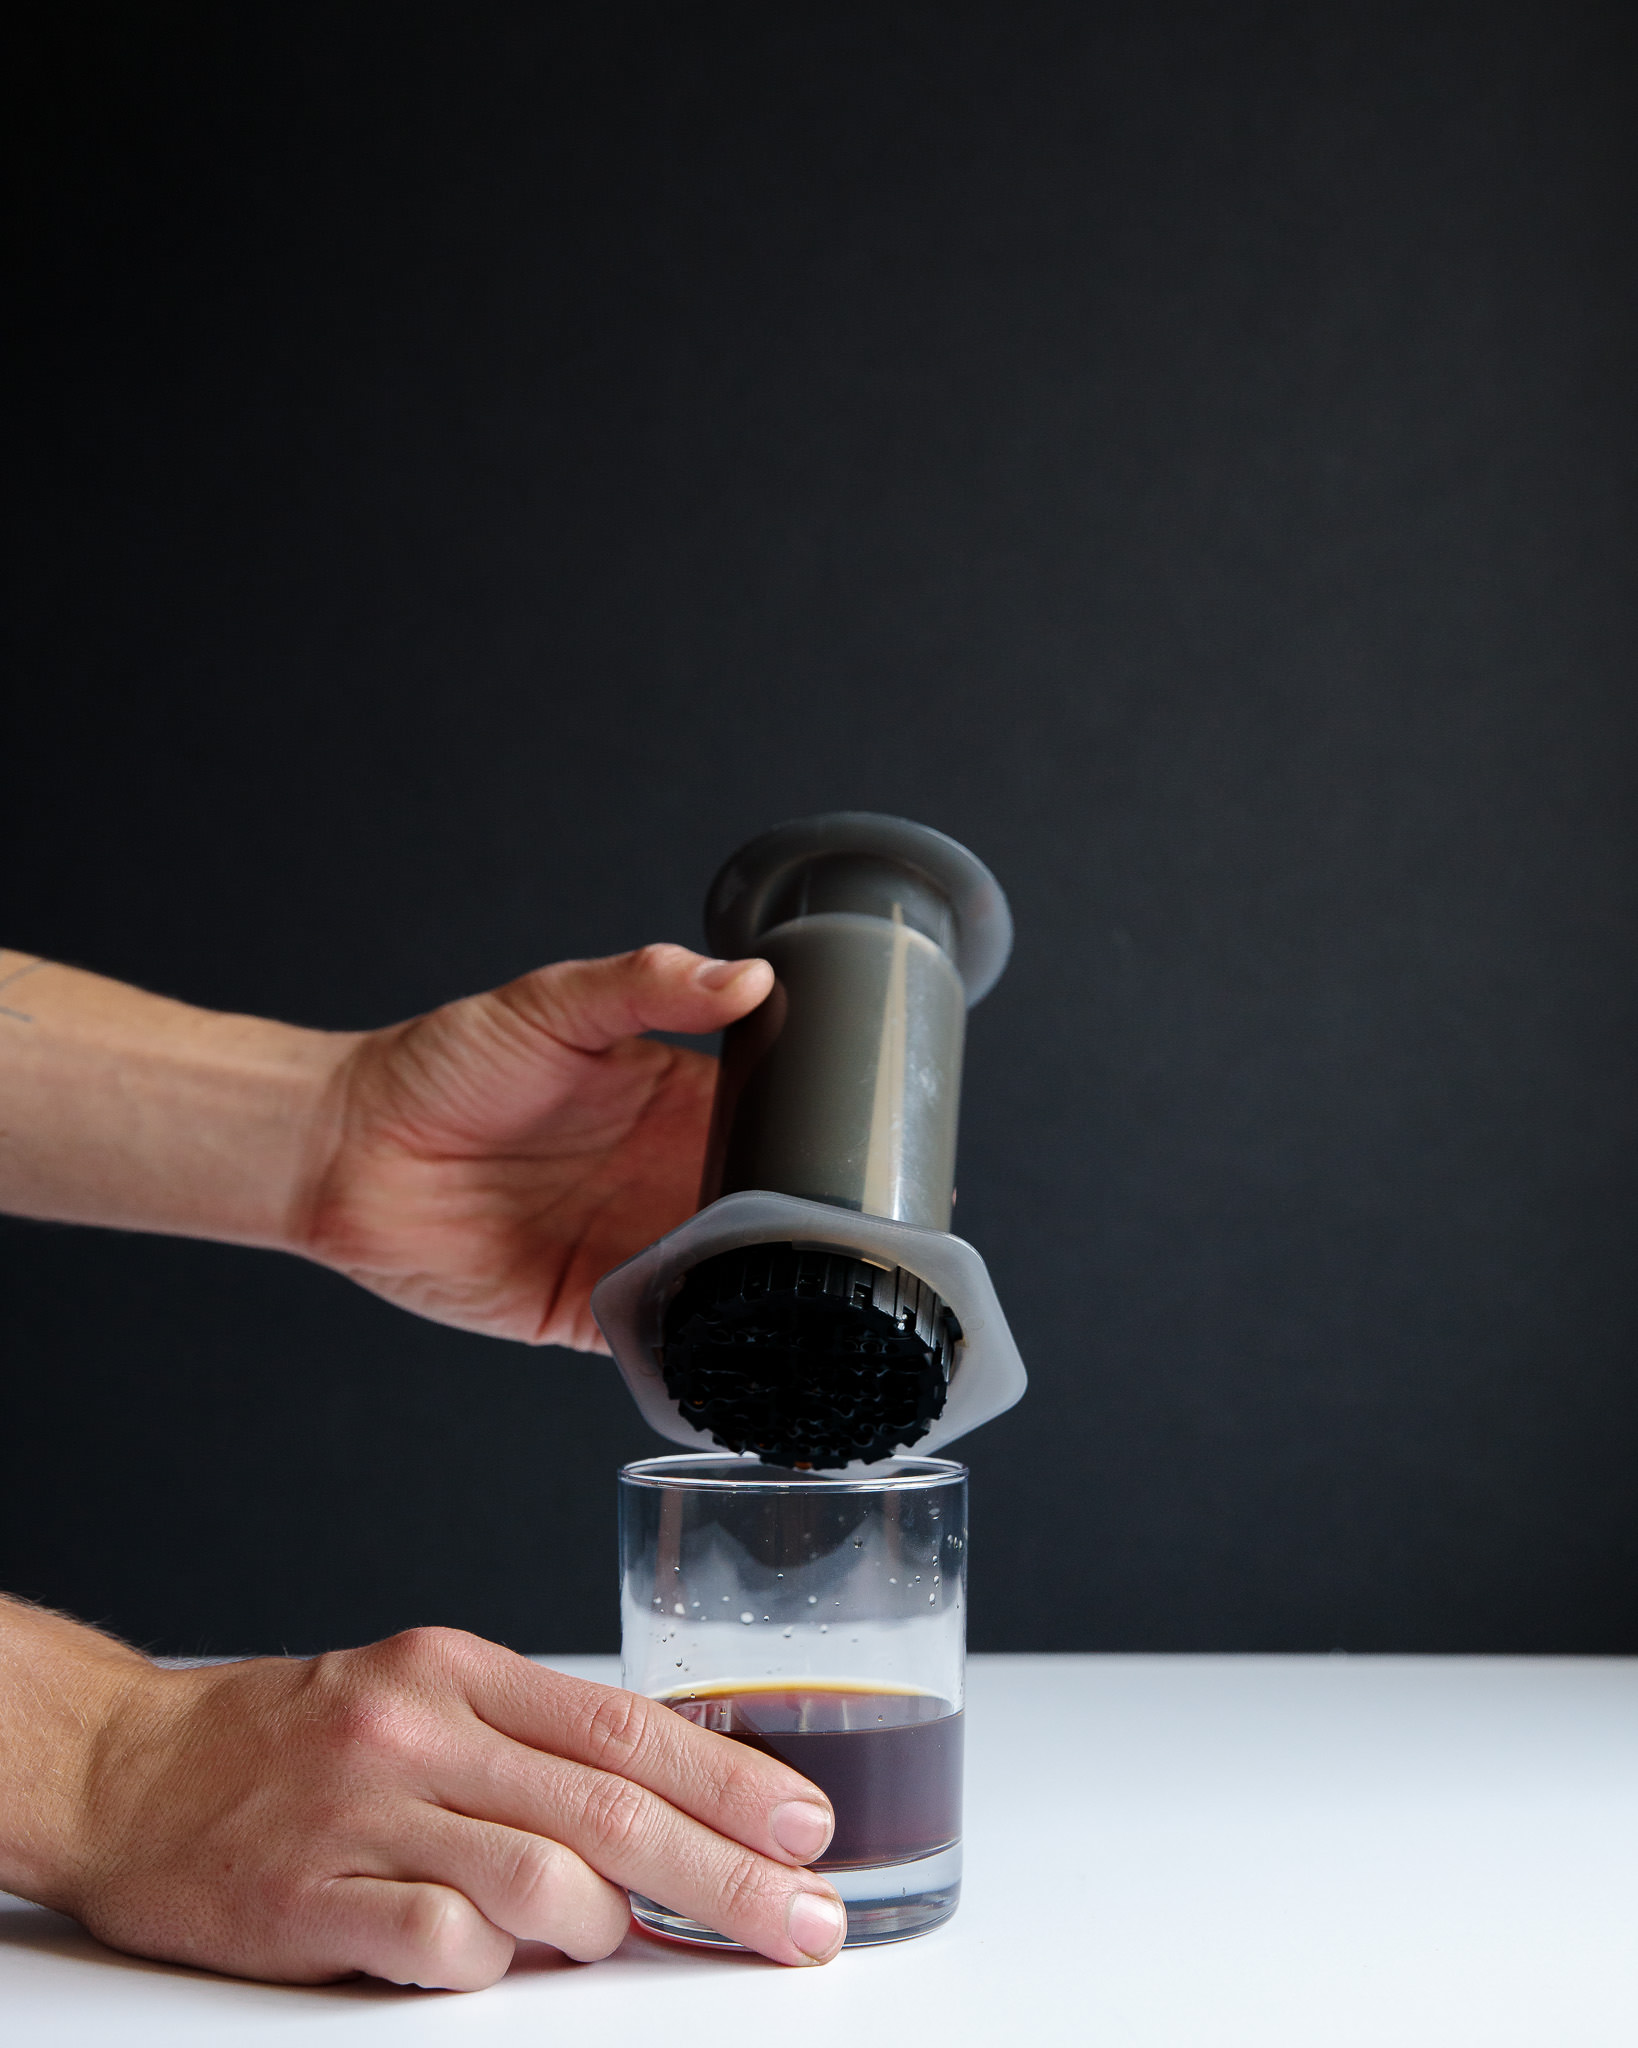
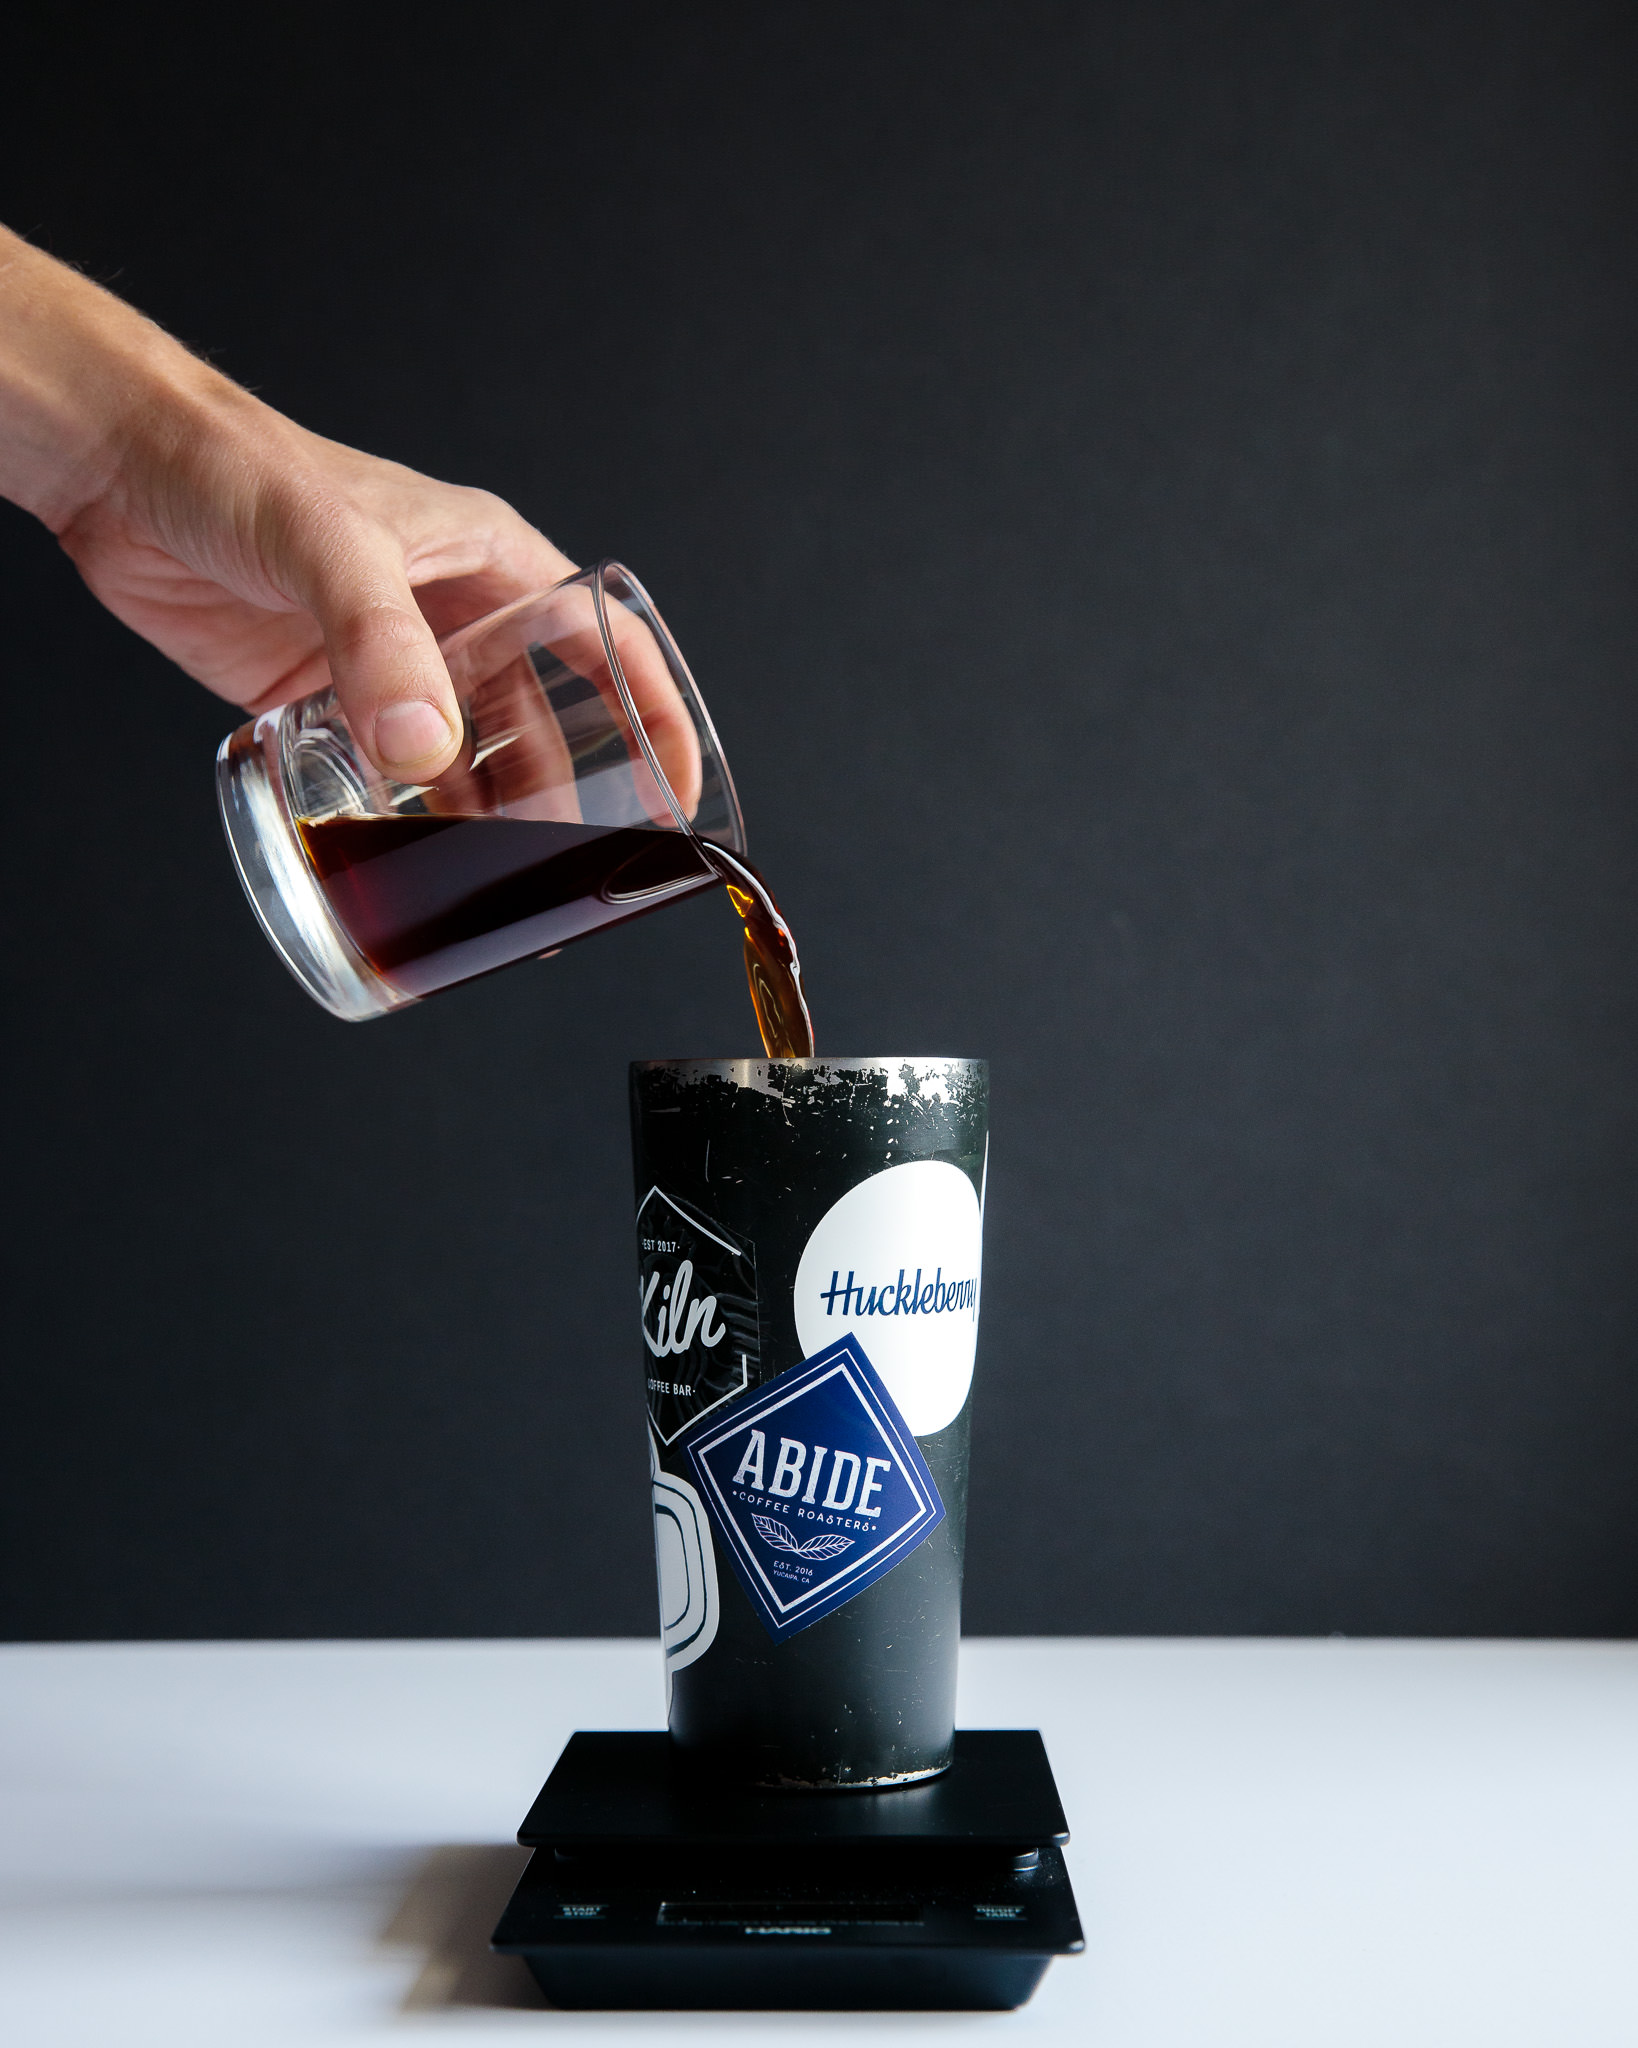
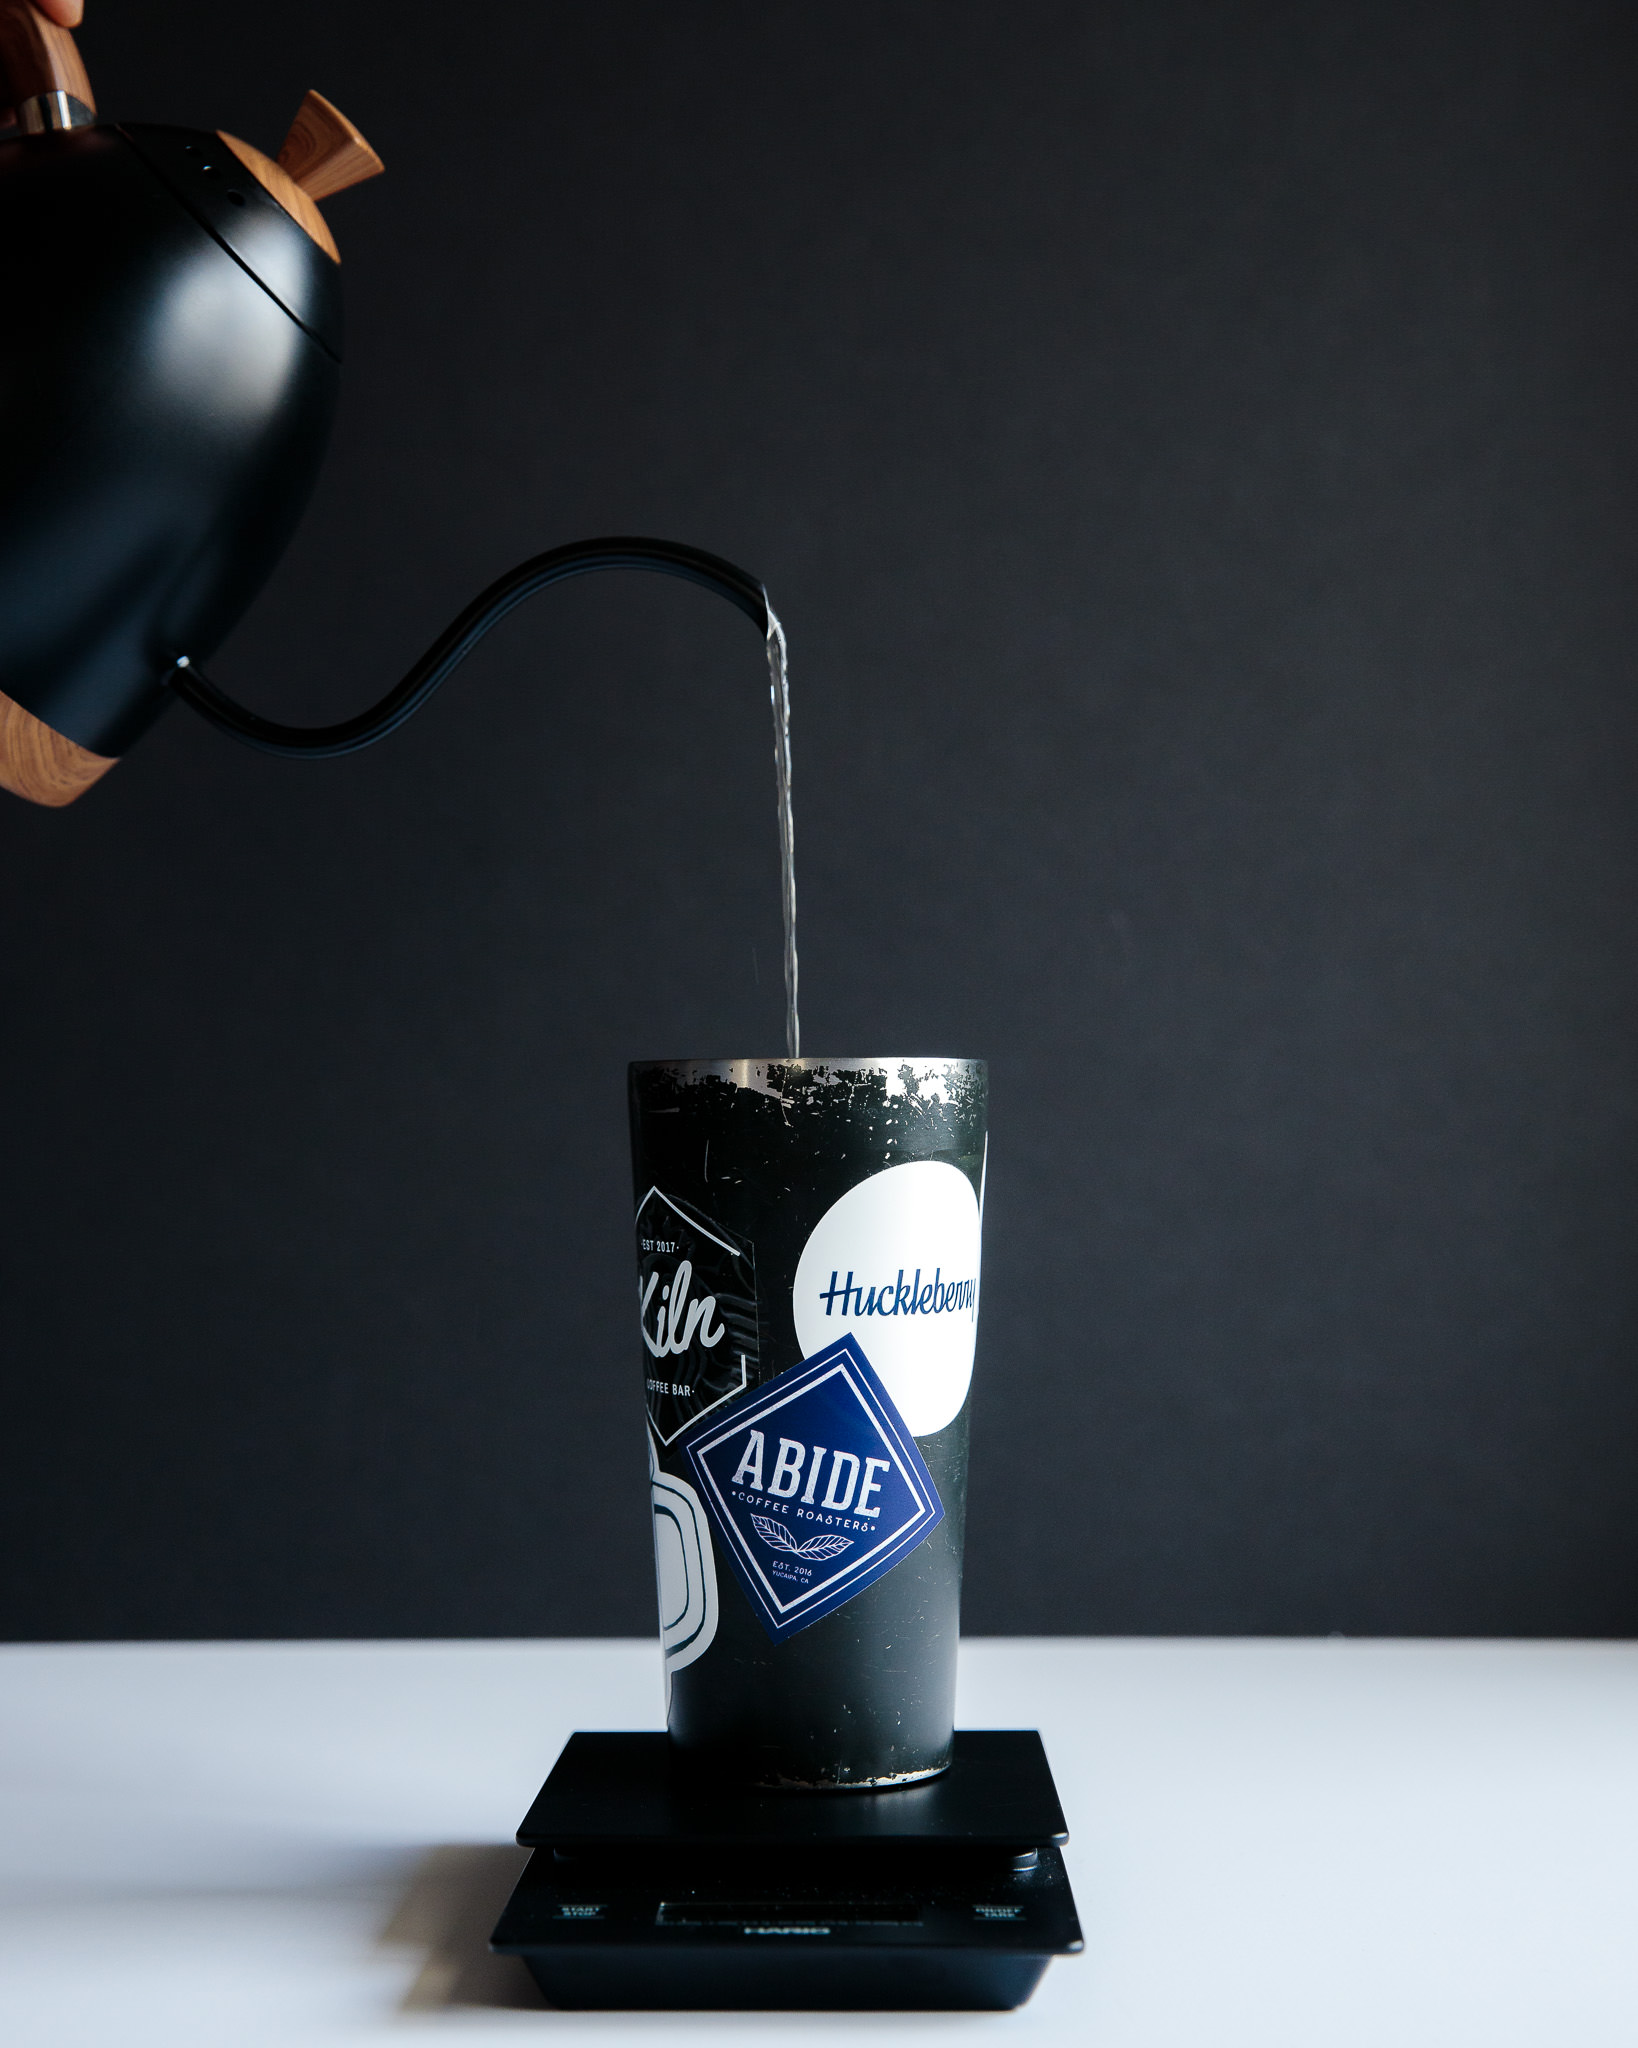
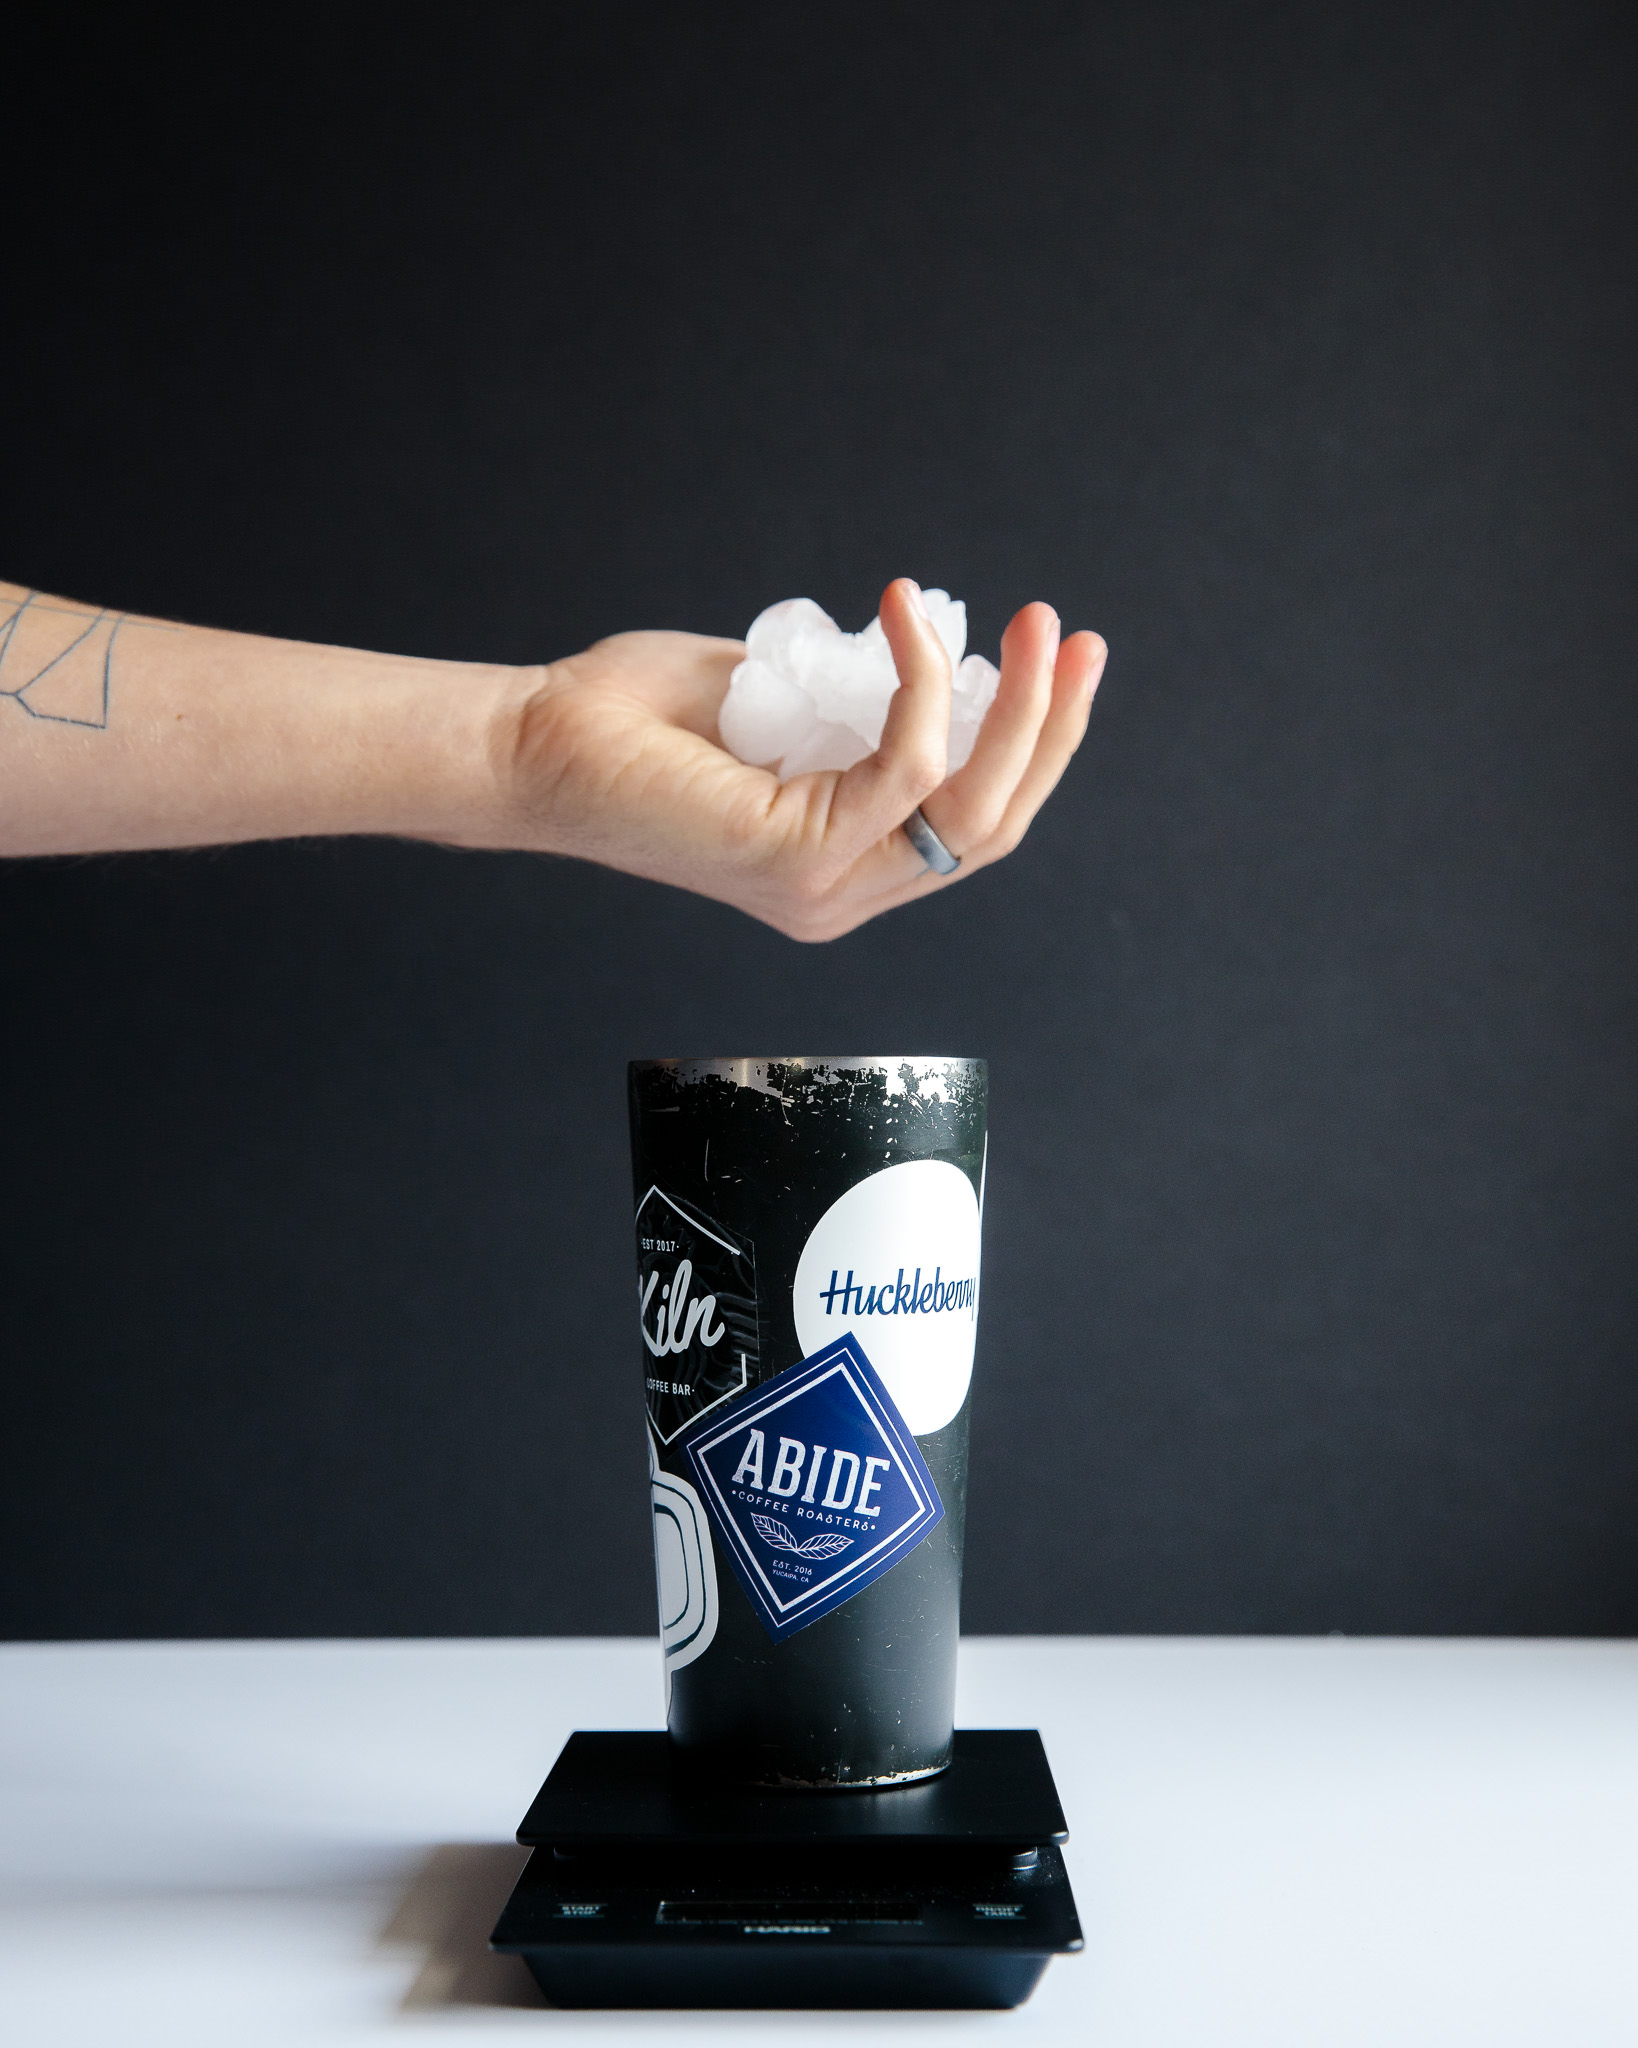


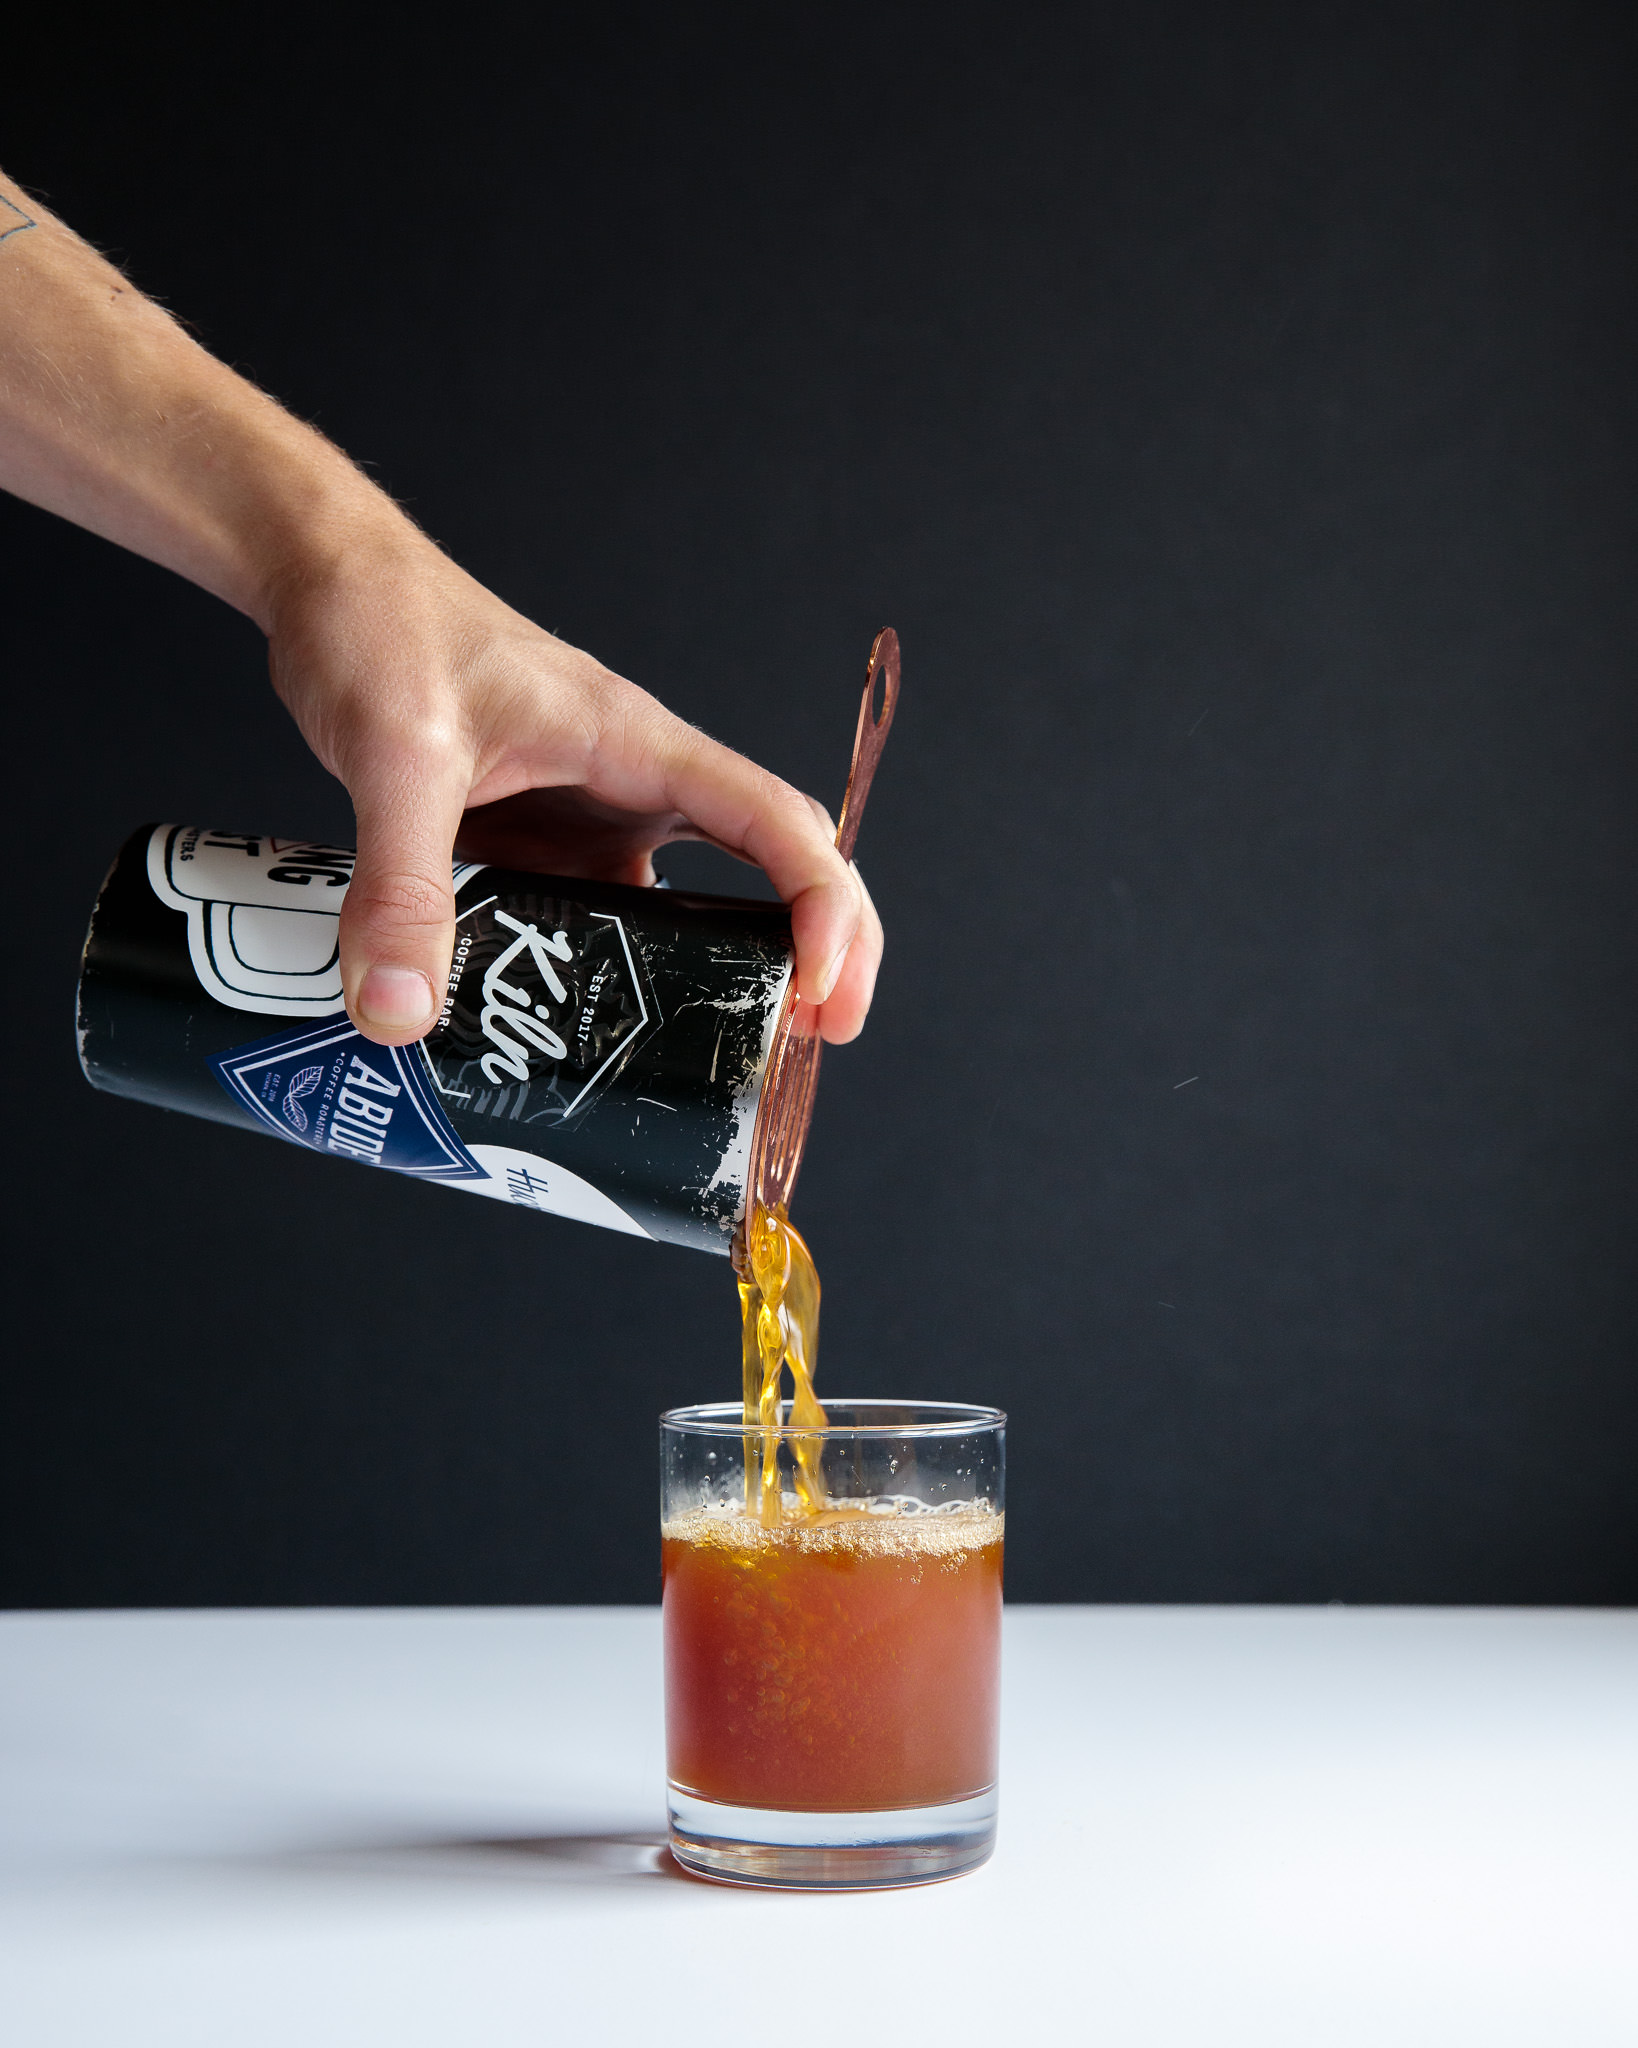

Cold Brewing with the Aeropress
Most cold brew methods seek to maximize yield because of it’s long preparation time. Why spend so much prep time without a high yield? Therein lies the major downfall of cold brewing with the Aeropress. Realistically, it can brew only a single serving at a time, maybe 2 if you drop the ratio and go all the way to it’s capacity limit. Twenty hours is a long time for a single cup of coffee, so why even bother? Because in my opinion, the Aeropress makes the most delicious cold brew I’ve ever had. If you’re willing to be patient, the result is worth it!
Under Pressure
That result comes largely from the Aeropress’s use of pressure. Just like in the hot variation, application of pressure increases the efficiency of solubility. That means we get a better extraction of all those flavor producing solvents than we would from a mass steep method. I recommend using a two paper filters to increase the resistance and therefore the pressure both while pressing and during the steep.
Thanks to the self sealing nature of the Aeropress, we can even apply small amounts of pressure during the steep process (see step 8). The double paper filter helps minority increase the pressure we can incorporate. Full disclosure here, I haven’t had the chance to blind test this portion of the brew process. Speaking only from experience, the added pressure during the steep time lends to a fuller flavor experience nearly rivaling that from a Japanese Iced Pour Over.
Grind Size
The use of paper filters allows for a finer grind size, granting the Aeropress another advantage over mass steeping. Most cold brew methods call for a coarse grind, like that typically used for a traditional French Press recipe, in an attempt to limit the sediments. As we’ve seen in the Long Steep French Press method, a finer grind size increases the exposed surface area of the coffee resulting in a much fuller flavor profile. The same principle applies in this case as well. Thanks to the paper filters, the resulting cold brew is cleaner and more flavorful.
Optional Aeration
As I mentioned earlier, I’m a huge fan of the Flash Brew method, which takes the Japanese iced pour over and vigorously aerates it. That aeration invokes a more vibrant flavor experience as the air interacts with the coffee solvents. I assumed the principle would likely carry over to cold brew as well, not to mention it makes for great presentation. While the effect was less pronounced than with an iced pour over, I still found a slight jump in vibrancy that I found very pleasant.
Final Thoughts
The Aeropress Cold Brew creates a wonderfully smooth flavor experience and even extracts mellow fruit and floral notes that I always find lacking in other cold brews. Am I going to start cold brewing on the daily? Probably not. I really love my Aeropress as my daily morning routine. Maybe I’ll consider it if I purchase another one that can steep while I use the other for hot brewing. In reality though, I still prefer Flash Brew method for it’s explosive flavor experience. While it may not become my go to iced coffee, I will probably do it on the occasion just to mix things up.
Thanks for reading! I'd love to hear your thoughts if you give this a try! I also decided to mix up how I usually write these posts and put the brew method first, what do you think about that layout? Leave a comment below, shoot me an email, or reach out over Instagram, I'd love to hear from you!
As always,
Keep Coffee Handsome
Get the Gear. Support the Blog.
This side-project provides supplemental income that basically just feeds my coffee habits, and in turn helps me provide even more quality coffee content. The using the links below don’t cost you anything extra, but they swing me a little commission from whatever you buy. Thanks for your support!


