Aeropress Brew Guide Update and Maintenance
As I’m sure you’ve seen, I recently collaborated with the designers over at Rountree Design Co for some awesome brew guide posters (they’re available on the shop if you wanna snag one for yourself). While I was compiling the condensed brew recipes for them, I realized it’s been a minutes since I’ve revisited the Aeropress. All the other’s got a makeover, but somehow I neglected one of my daily methods. So here we go, an updated brew guide with some new imagery and a little discussion on replacing the rubber gasket.
Aeropress Brew Guide
At a Glance
- Ratio - 1:16 (16g coffee : 256g water)
- Water Temp: 200°F
- Grind Size: Medium-Fine
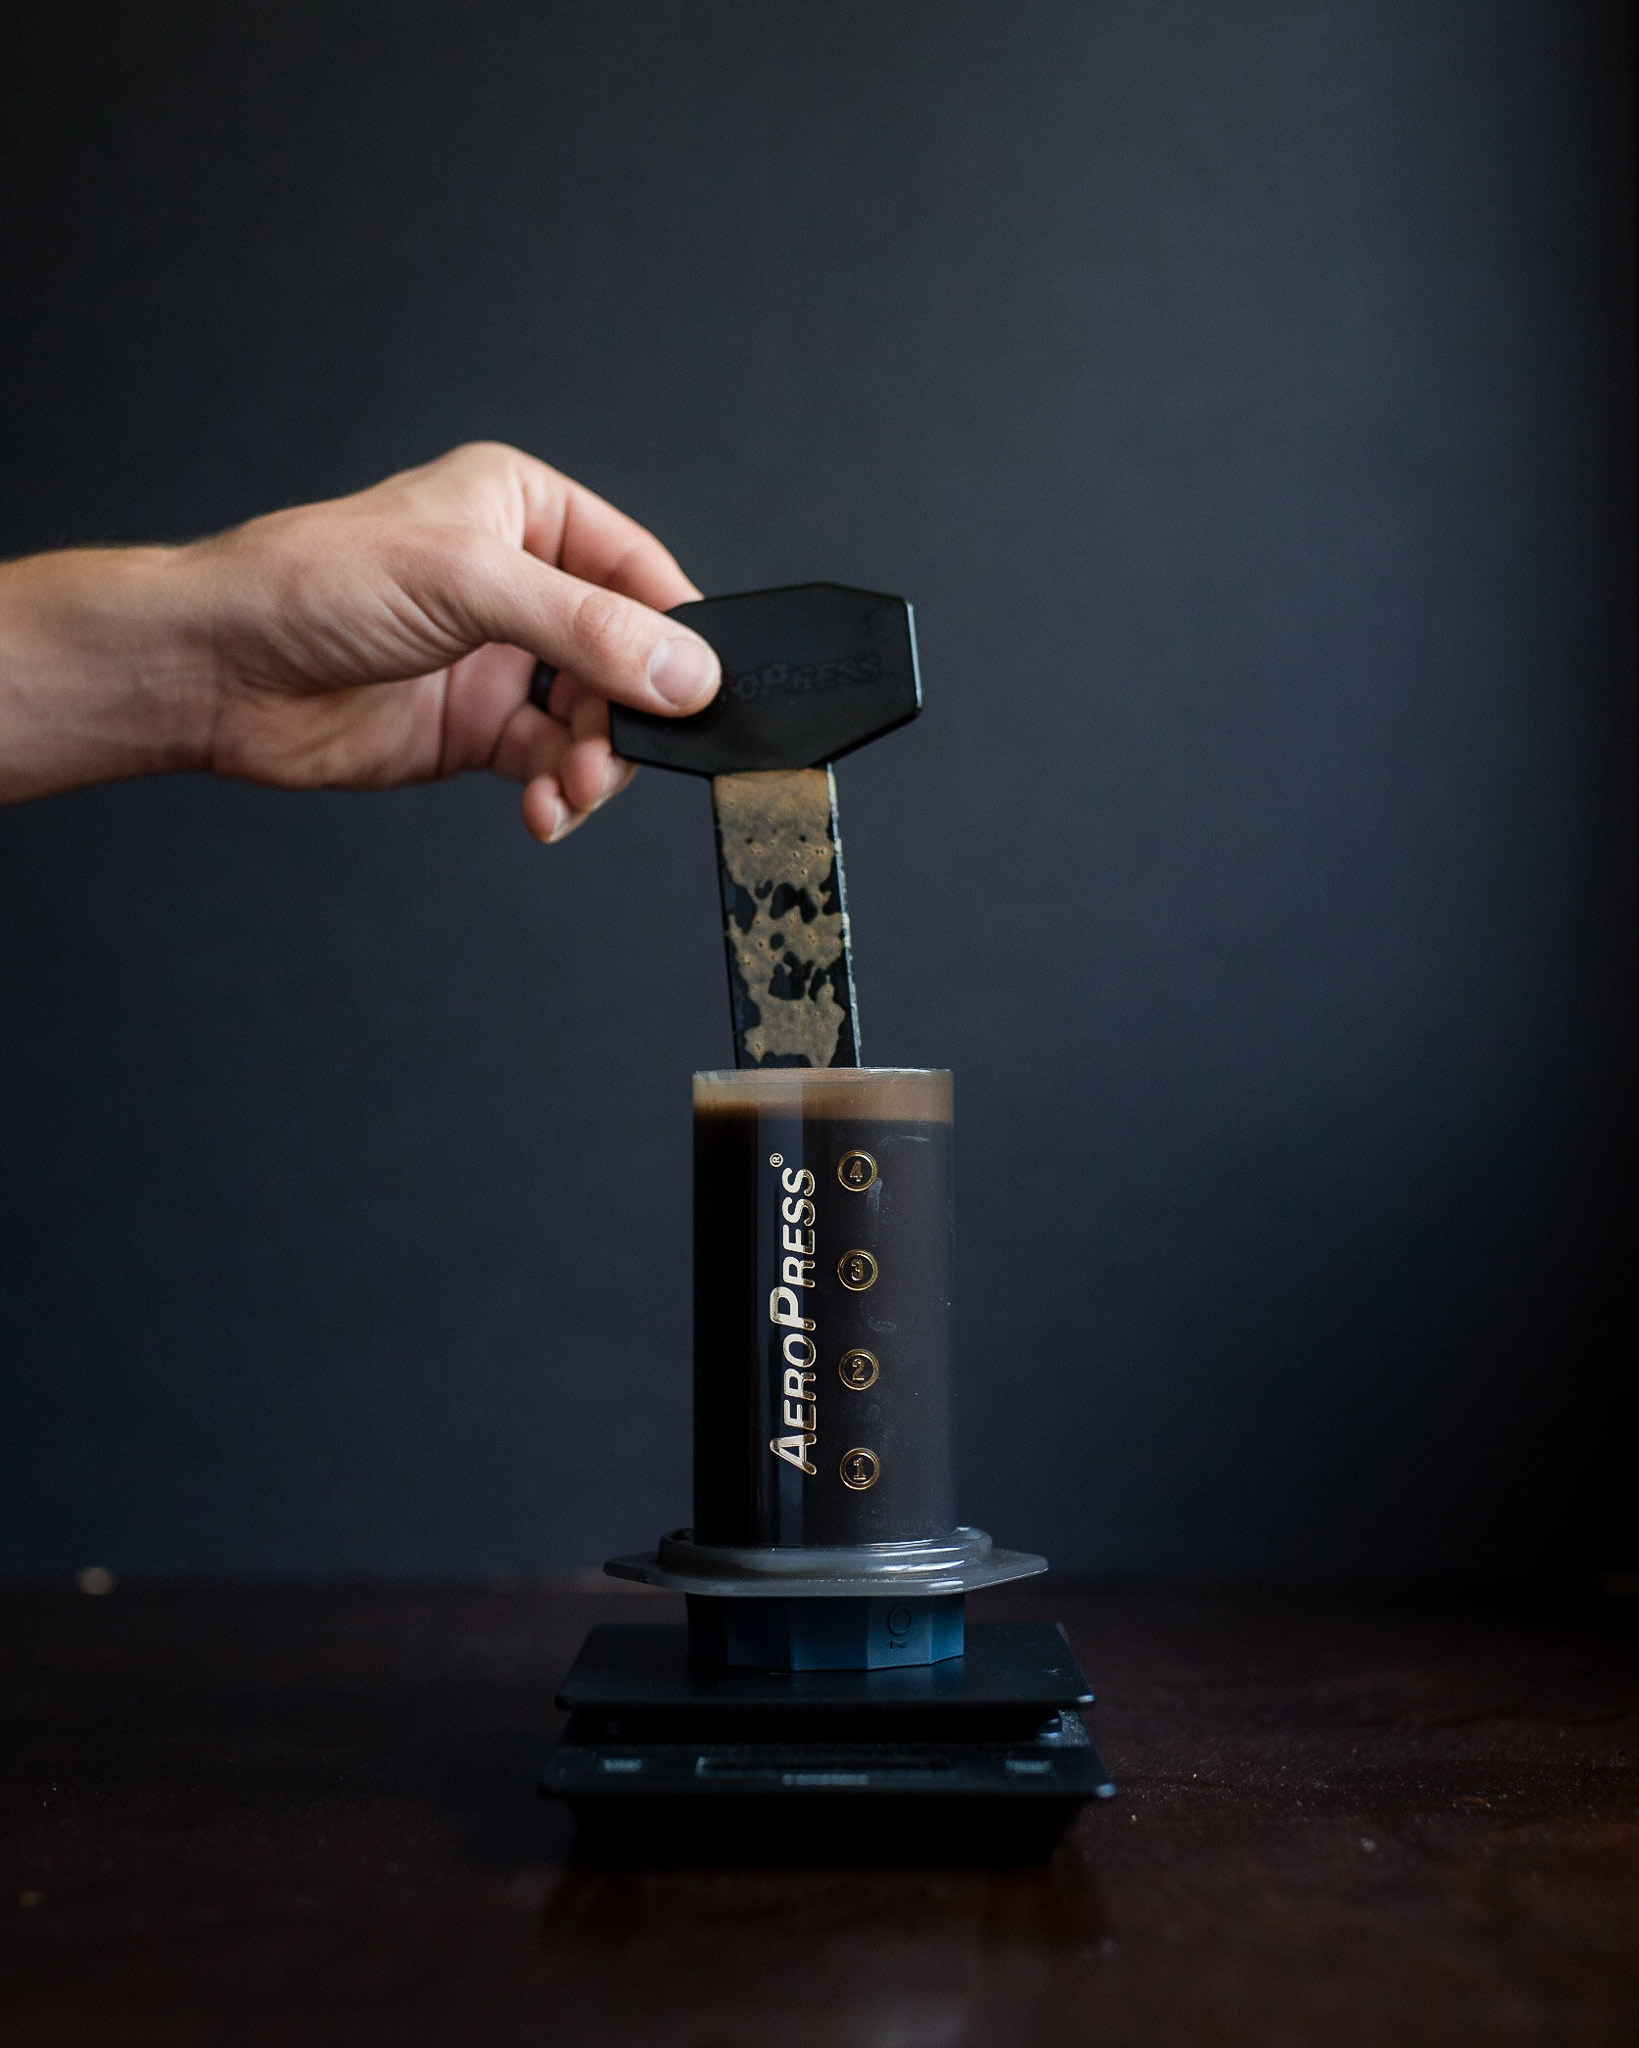
- Stir 5 times, clockwise
- Steep for 1:00
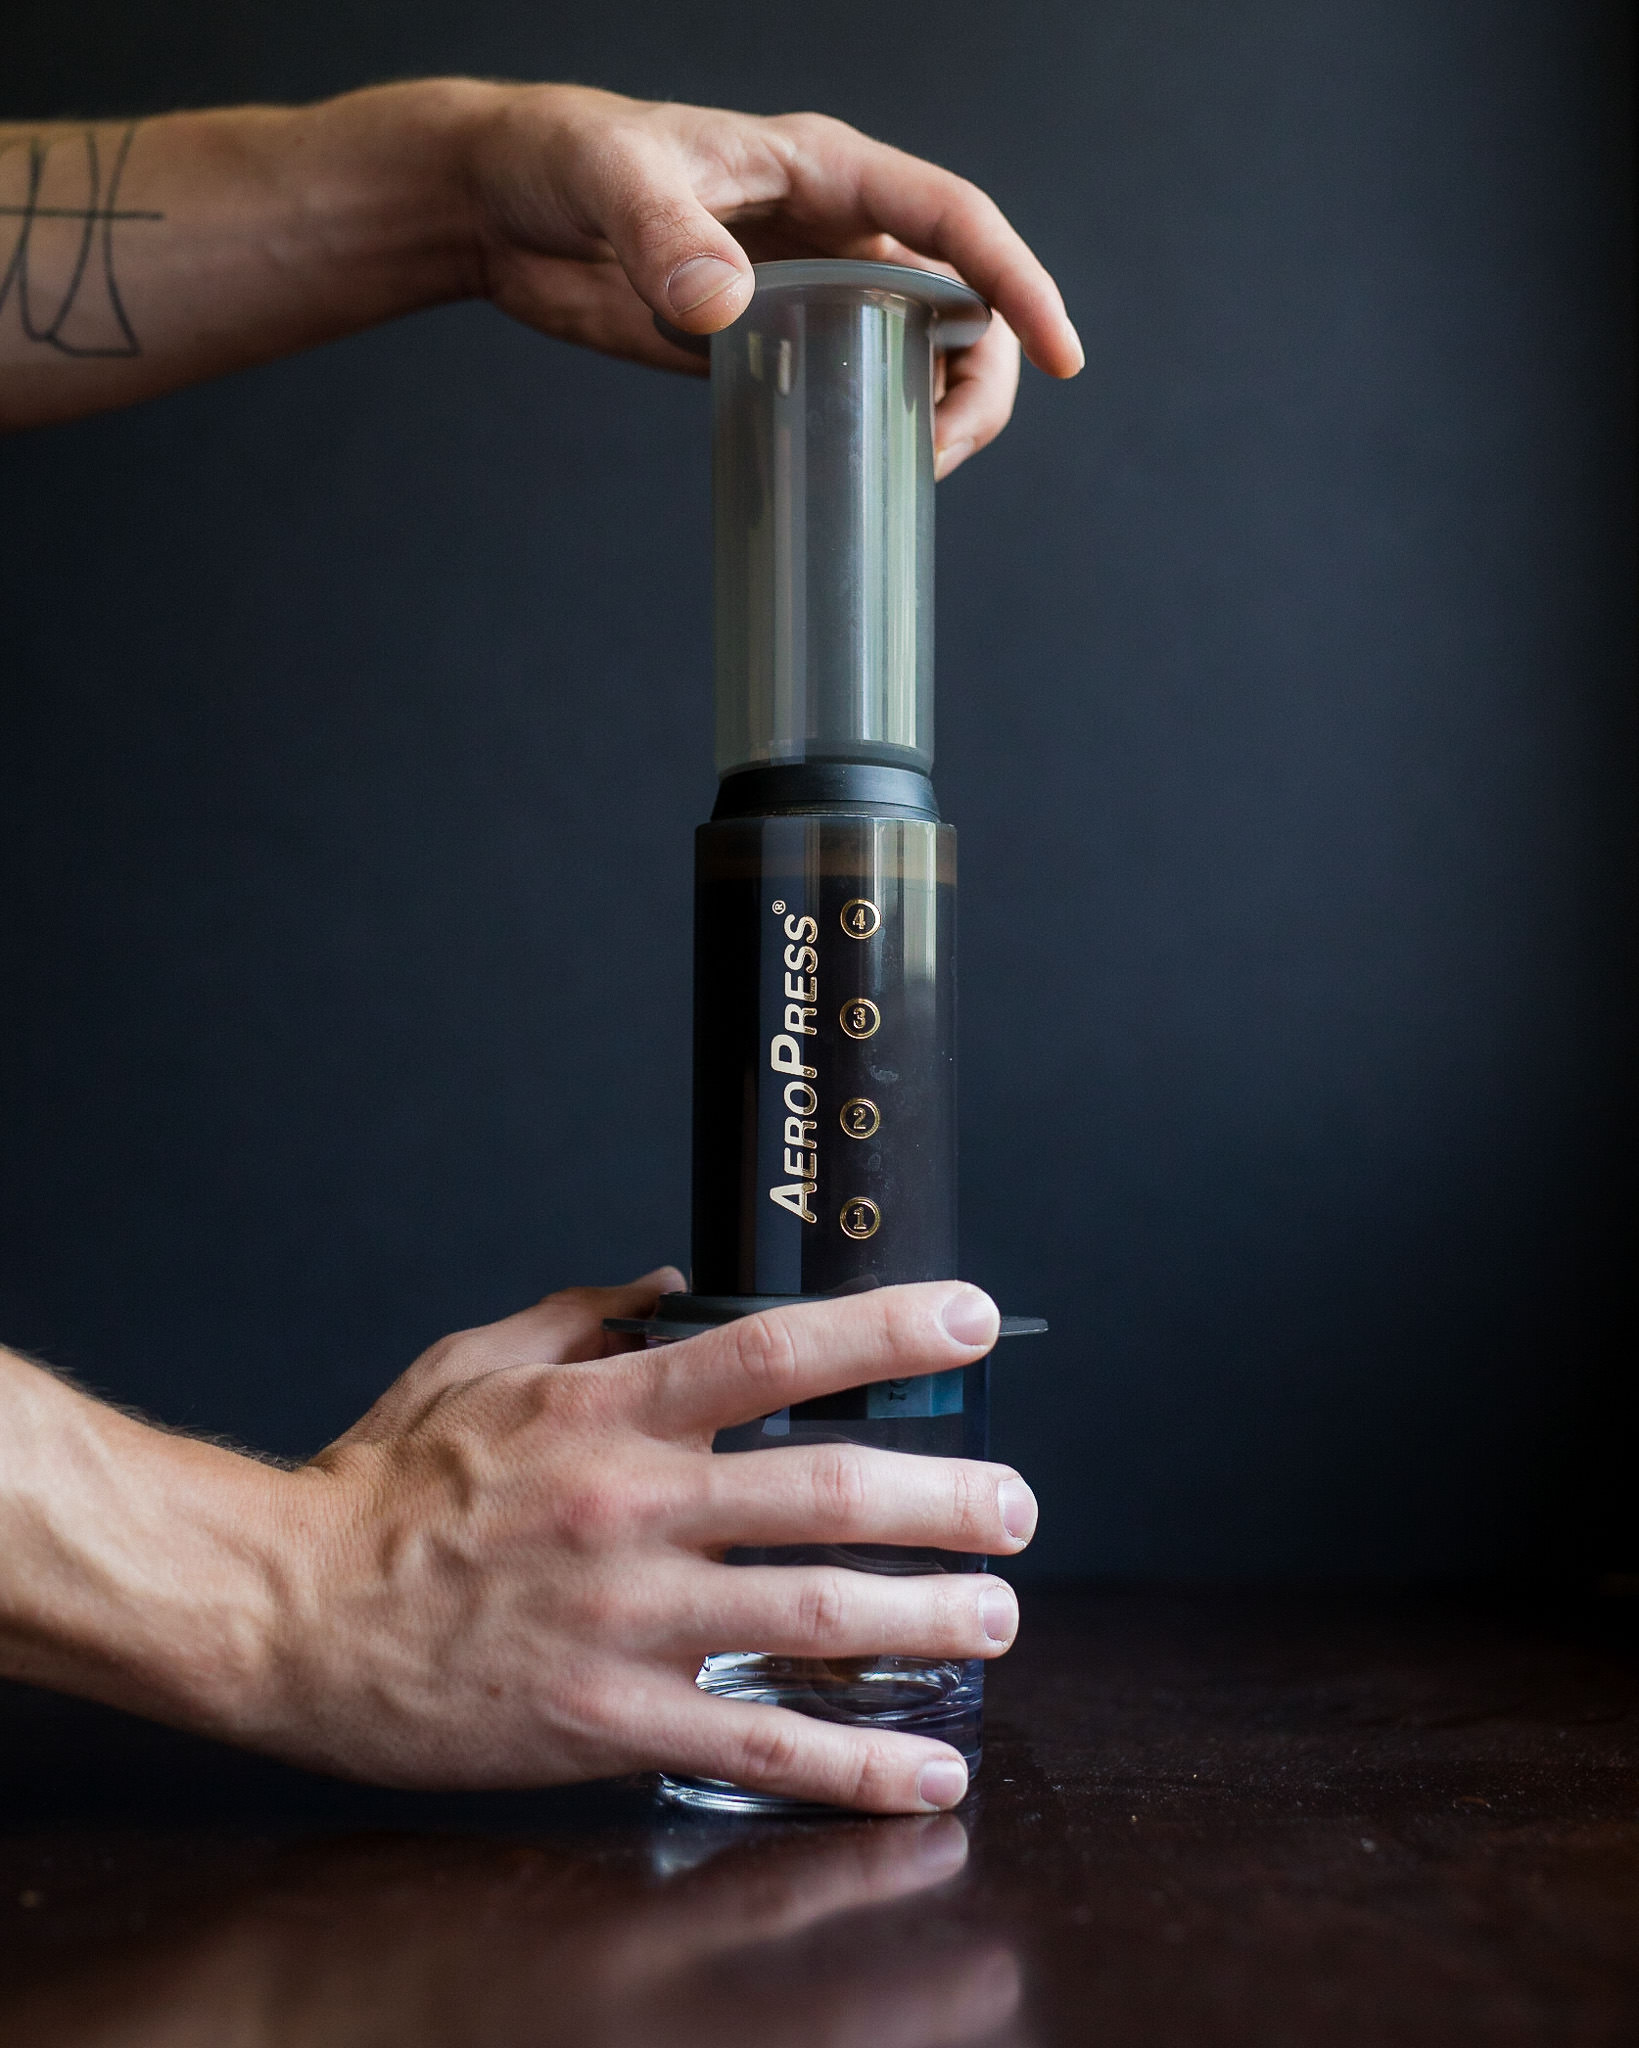
- Press
Prepare
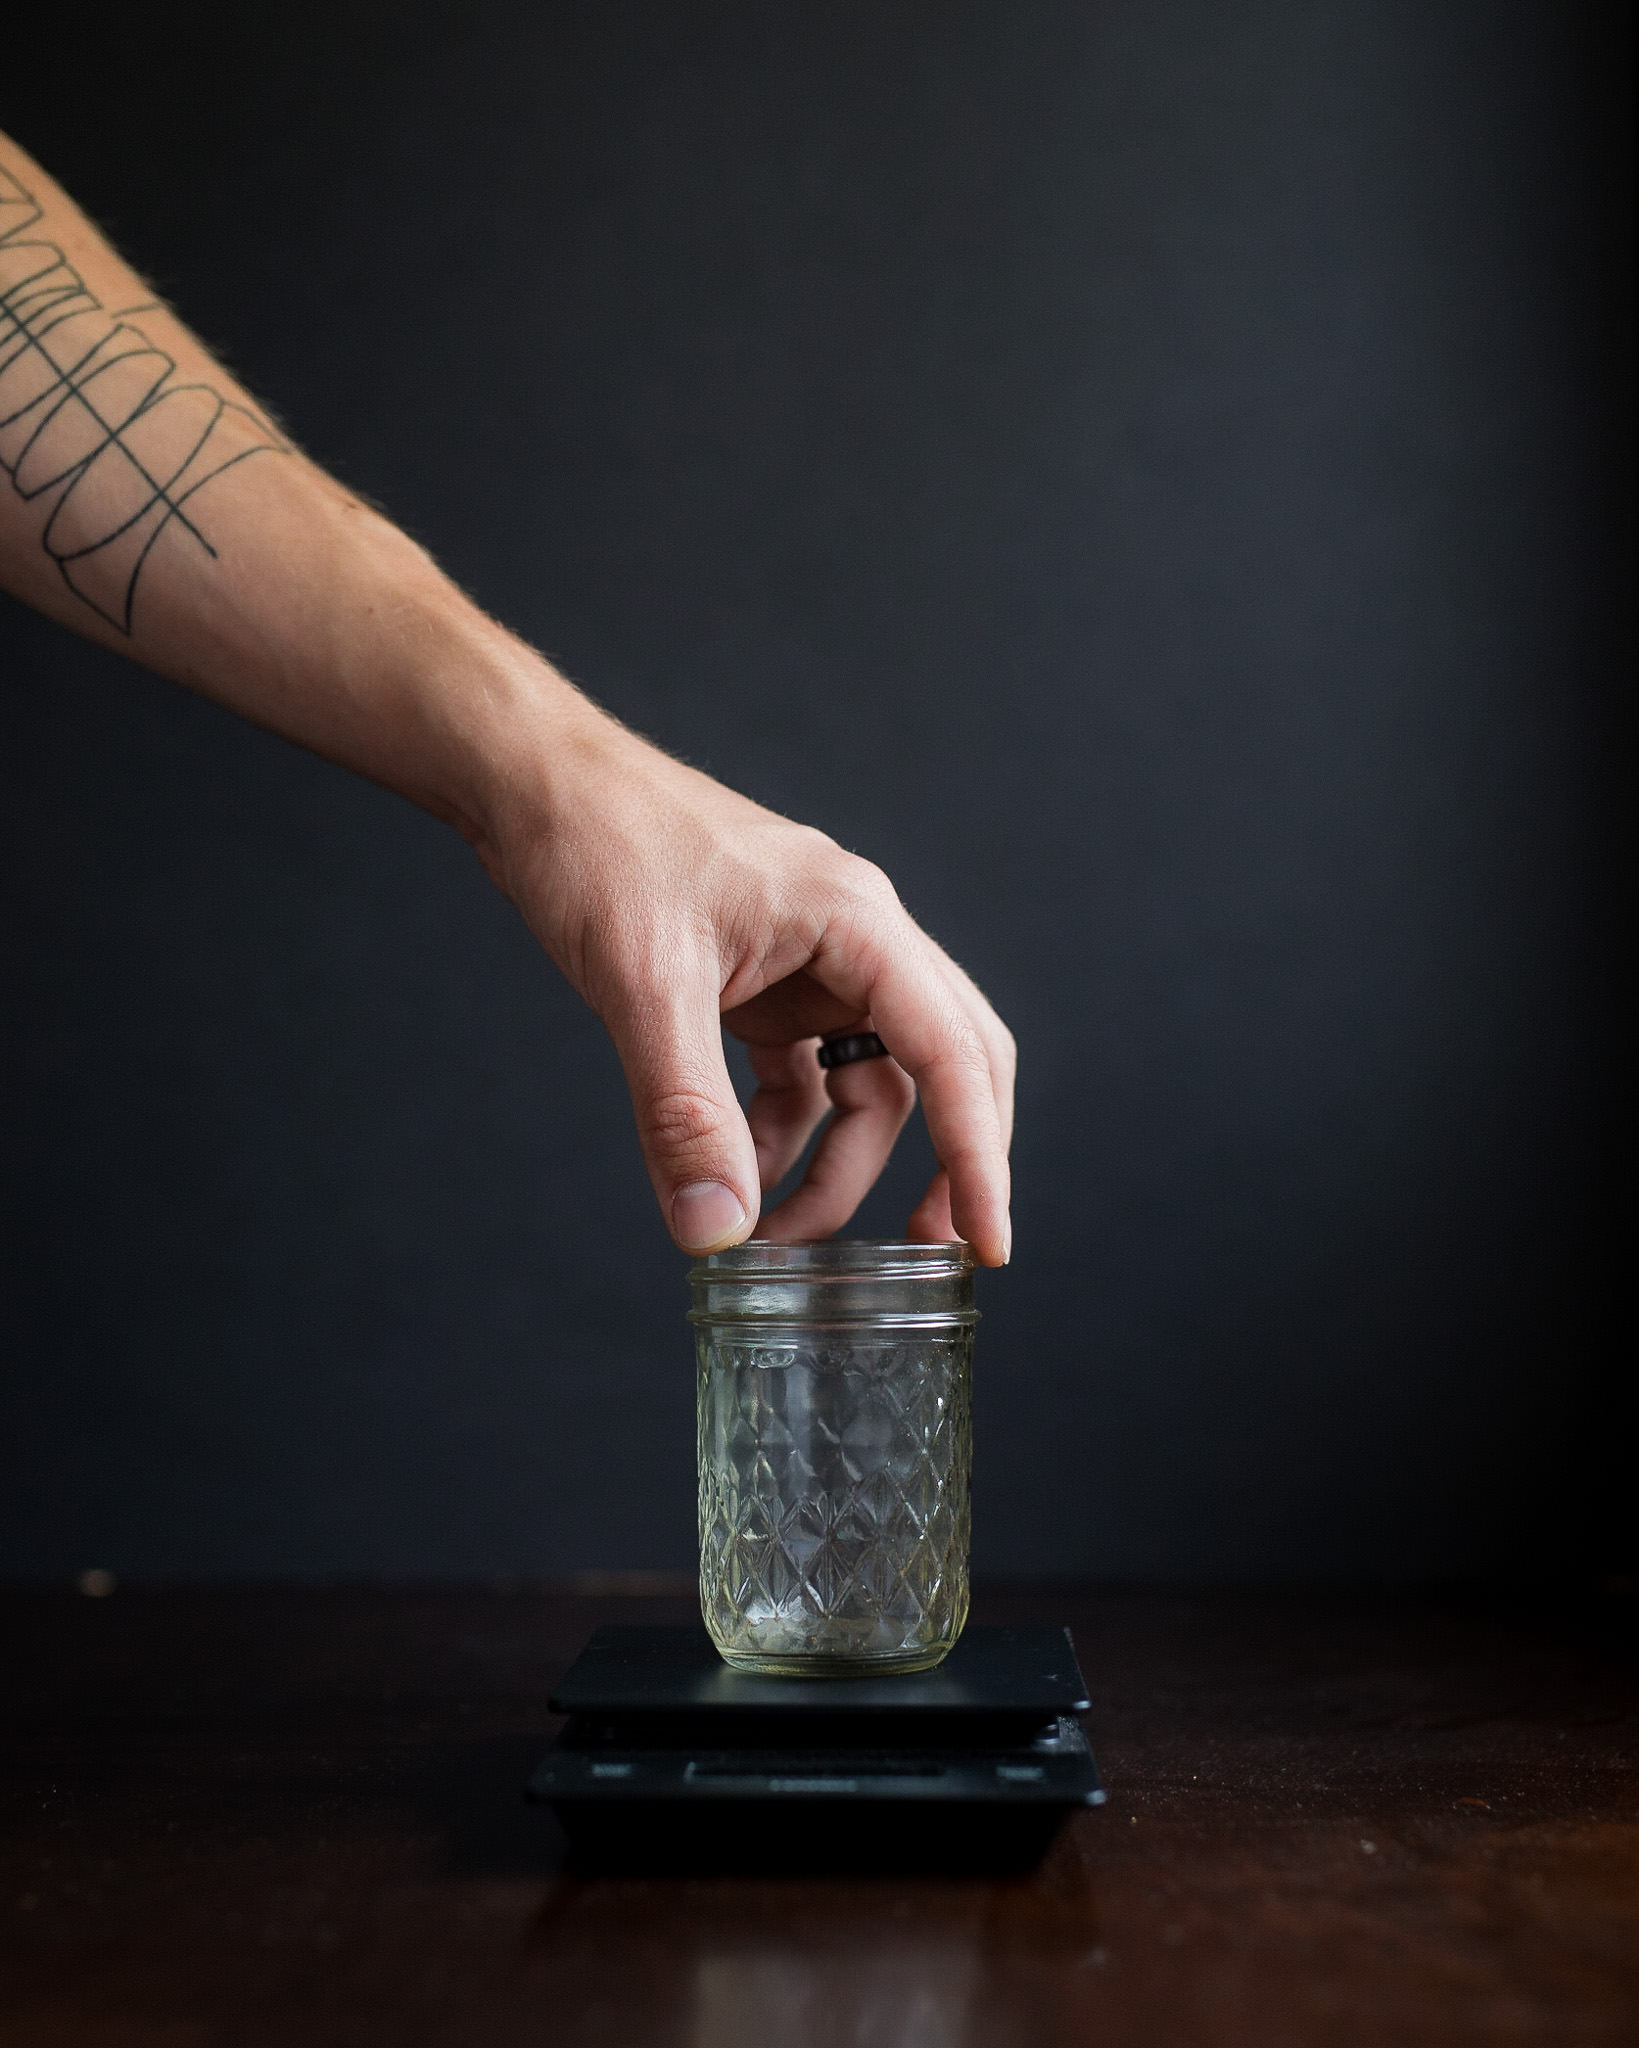
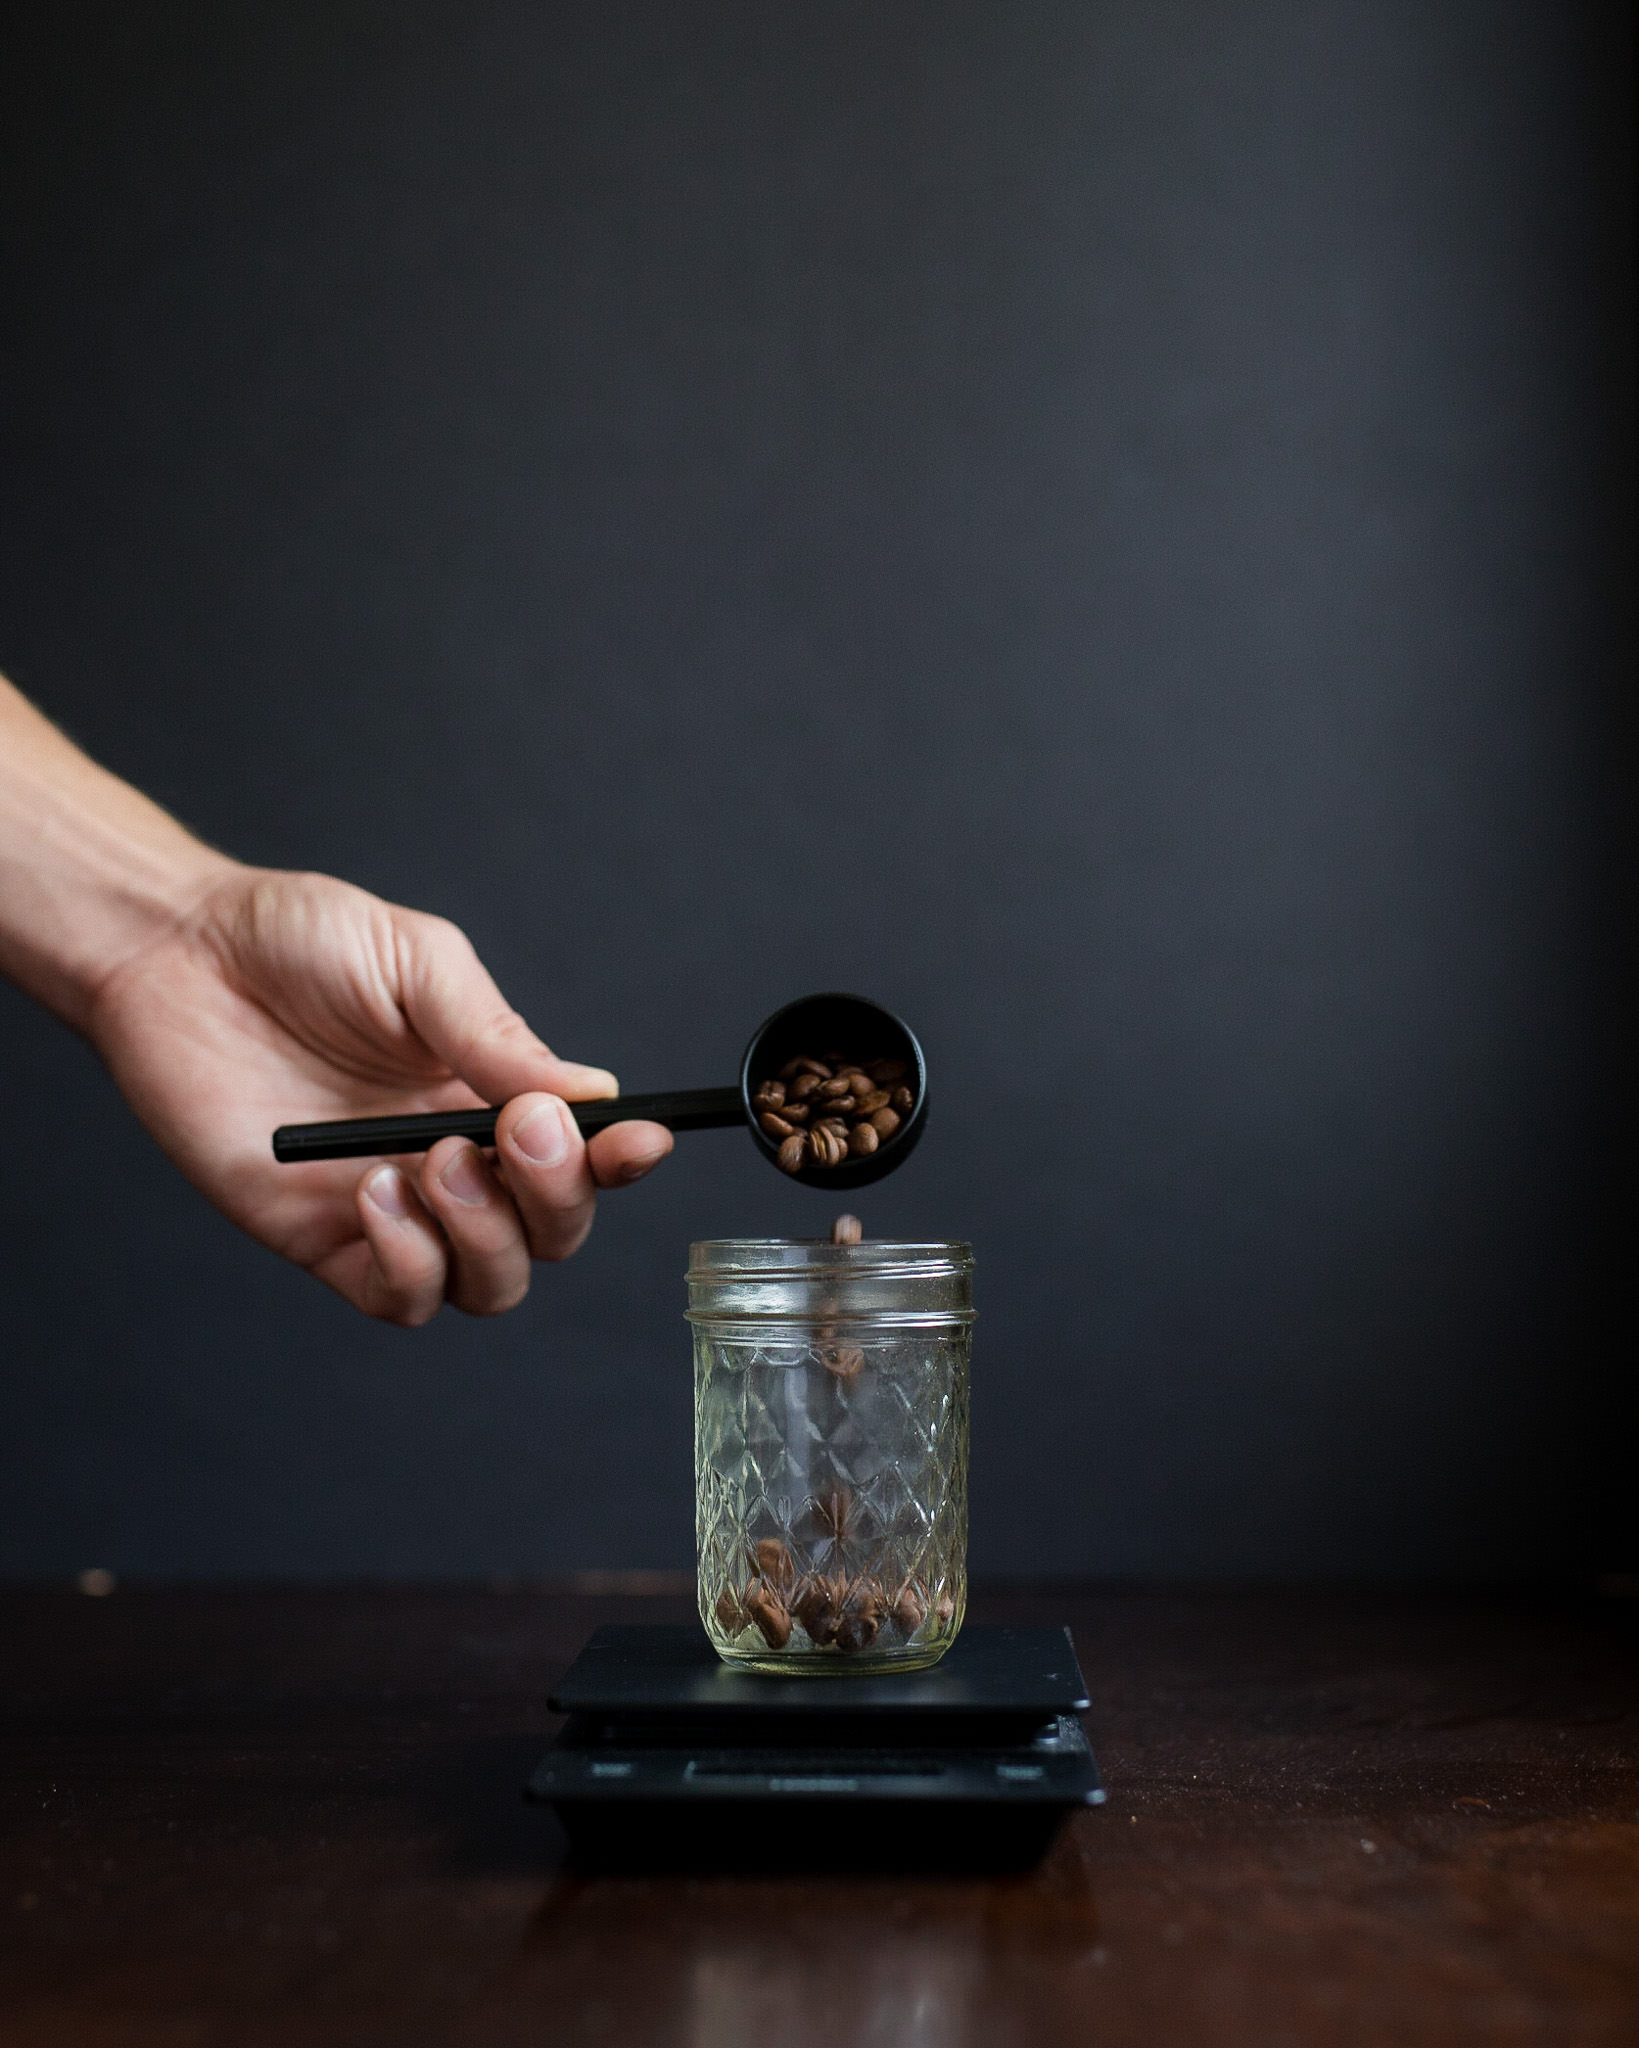
- Begin heating your water and weigh out your coffee
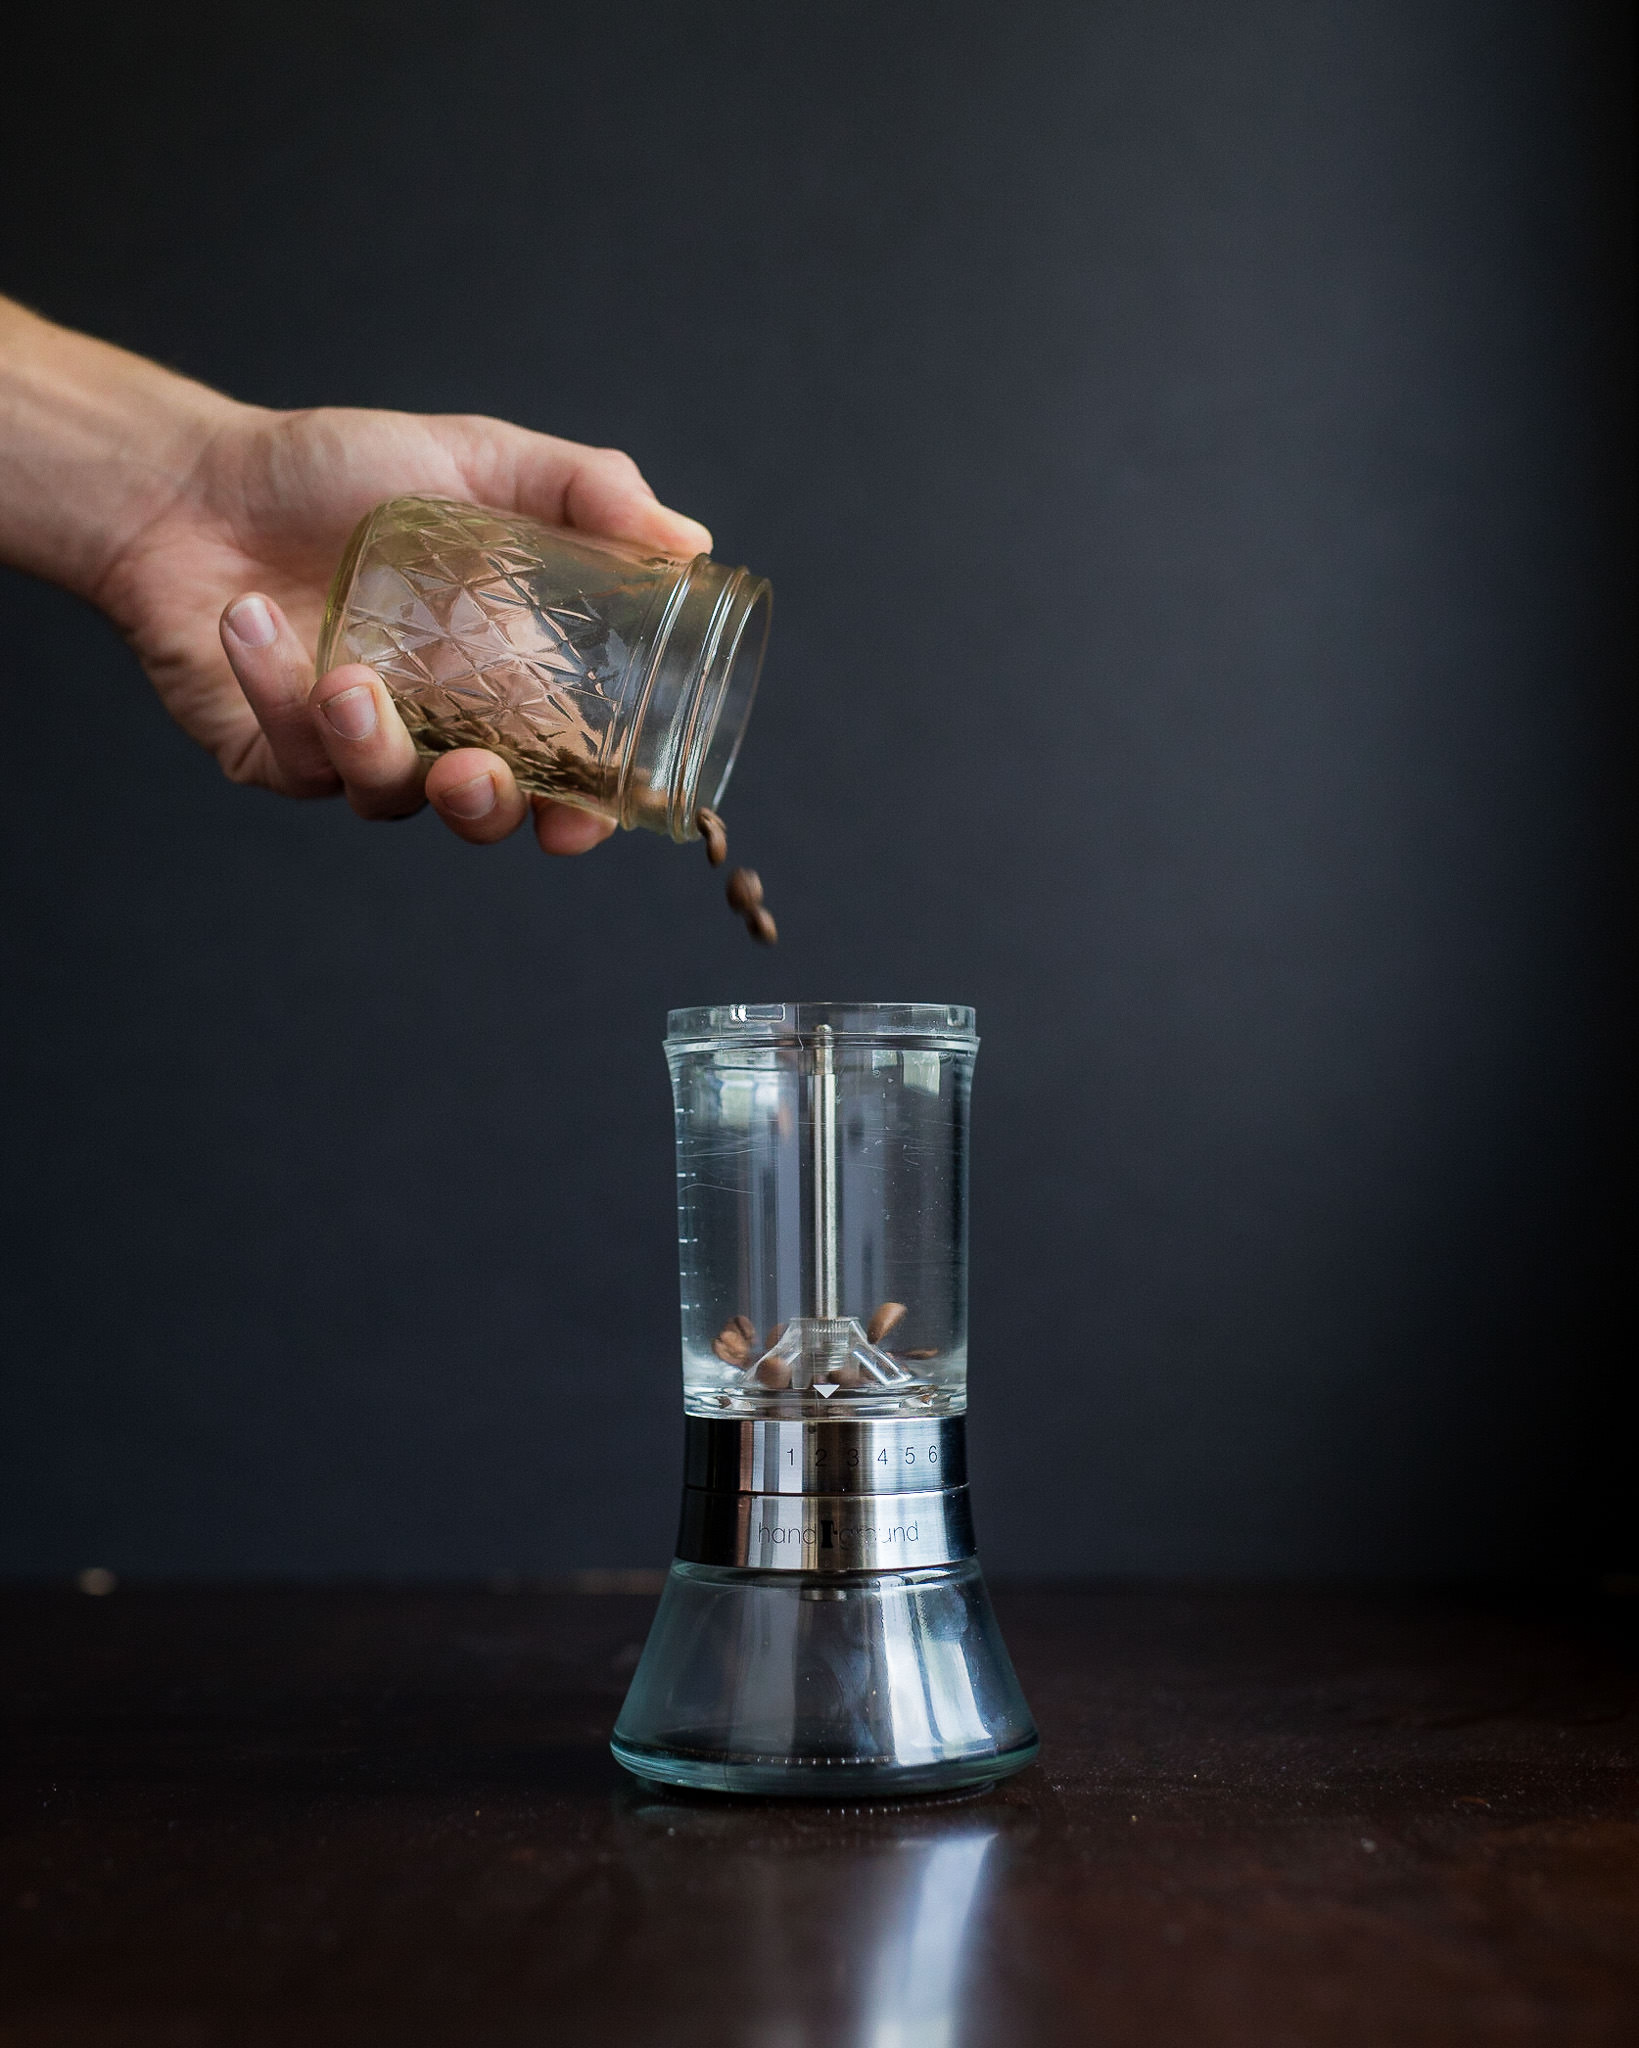
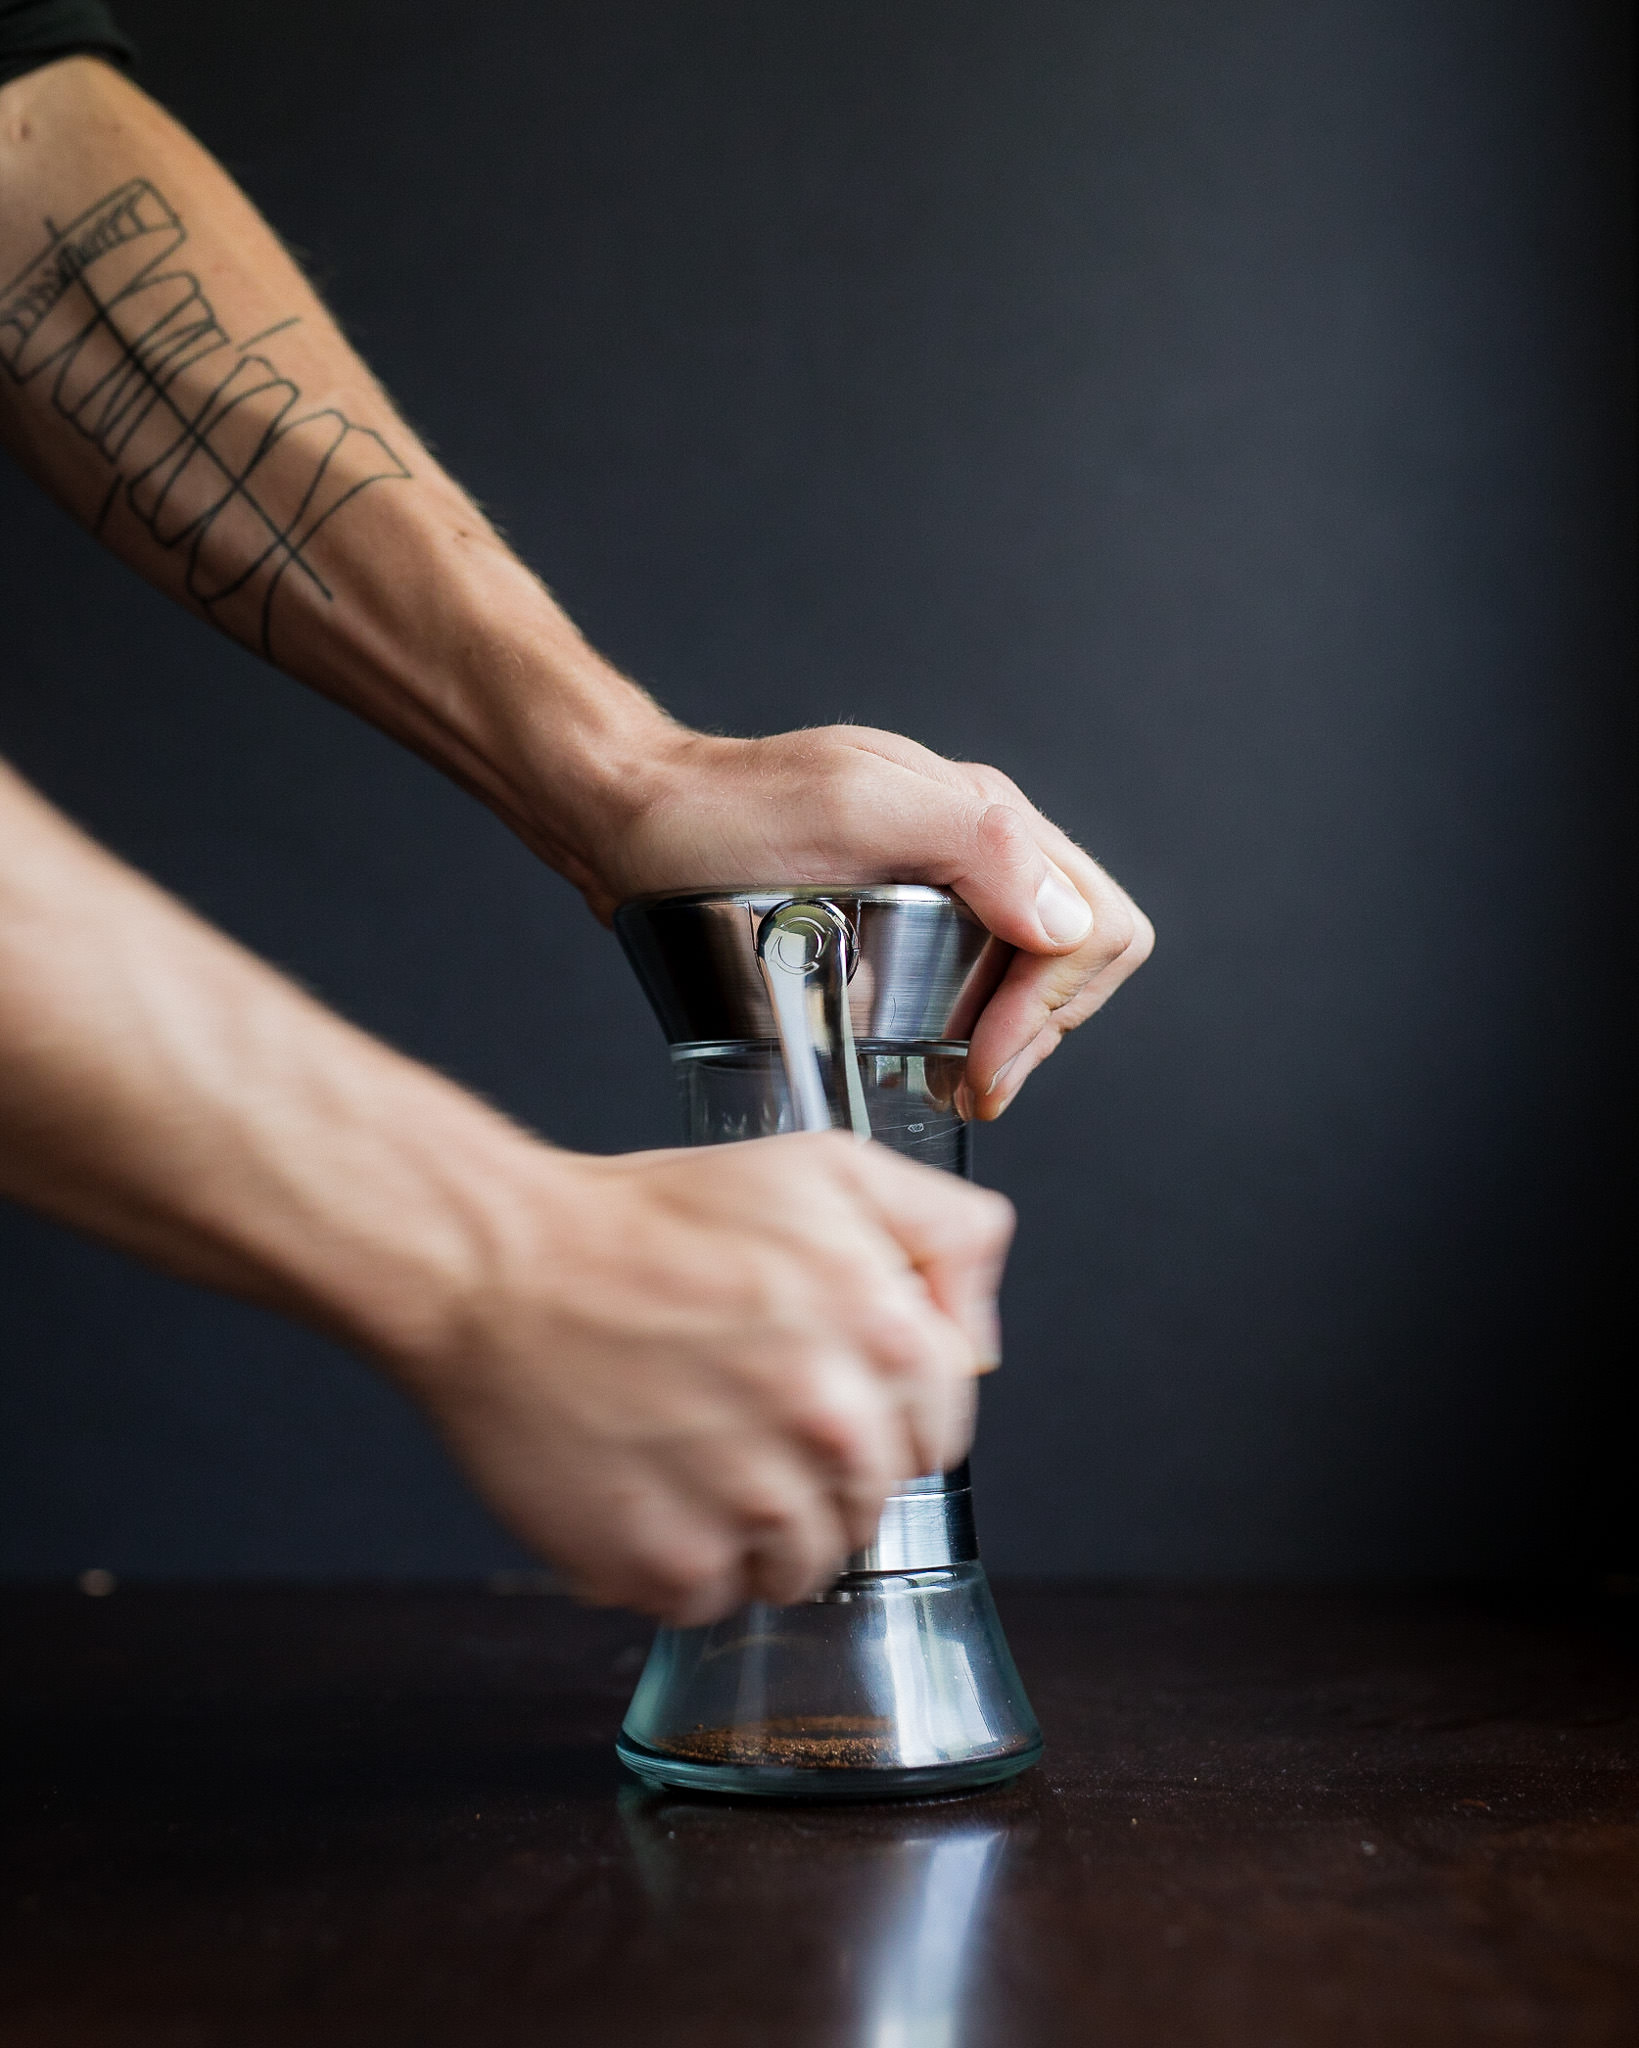
- Grind on a medium fine setting
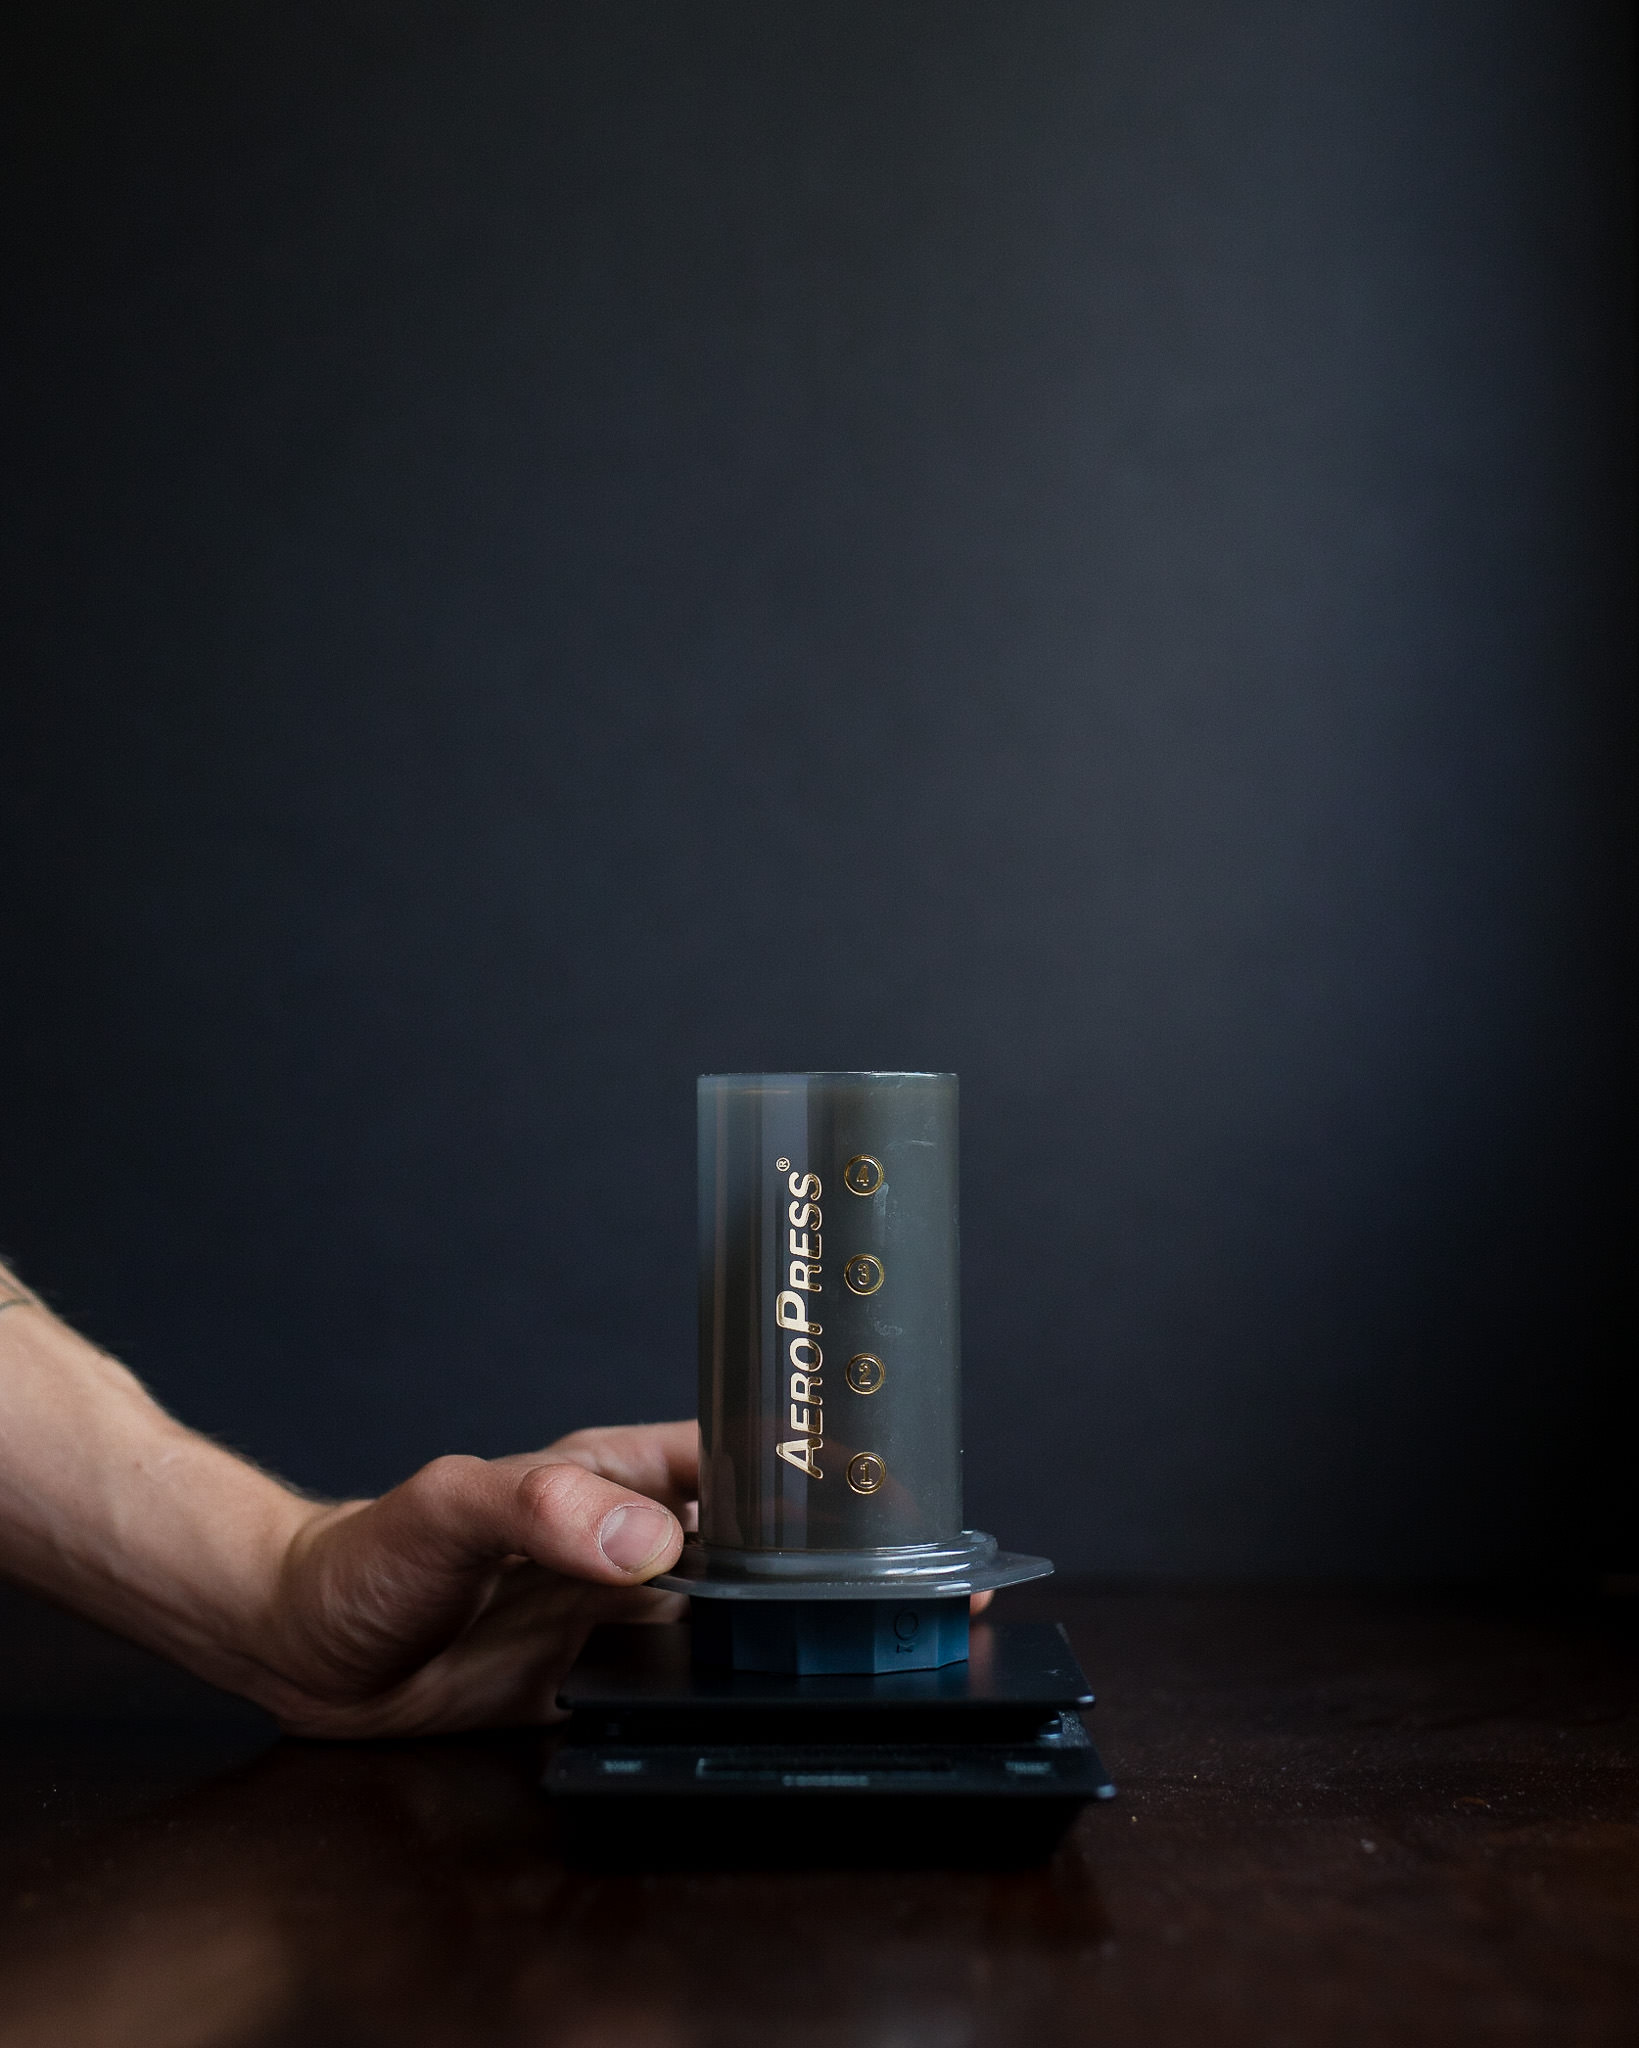
- Rinse your paper filter and pre-heat the Aeropress
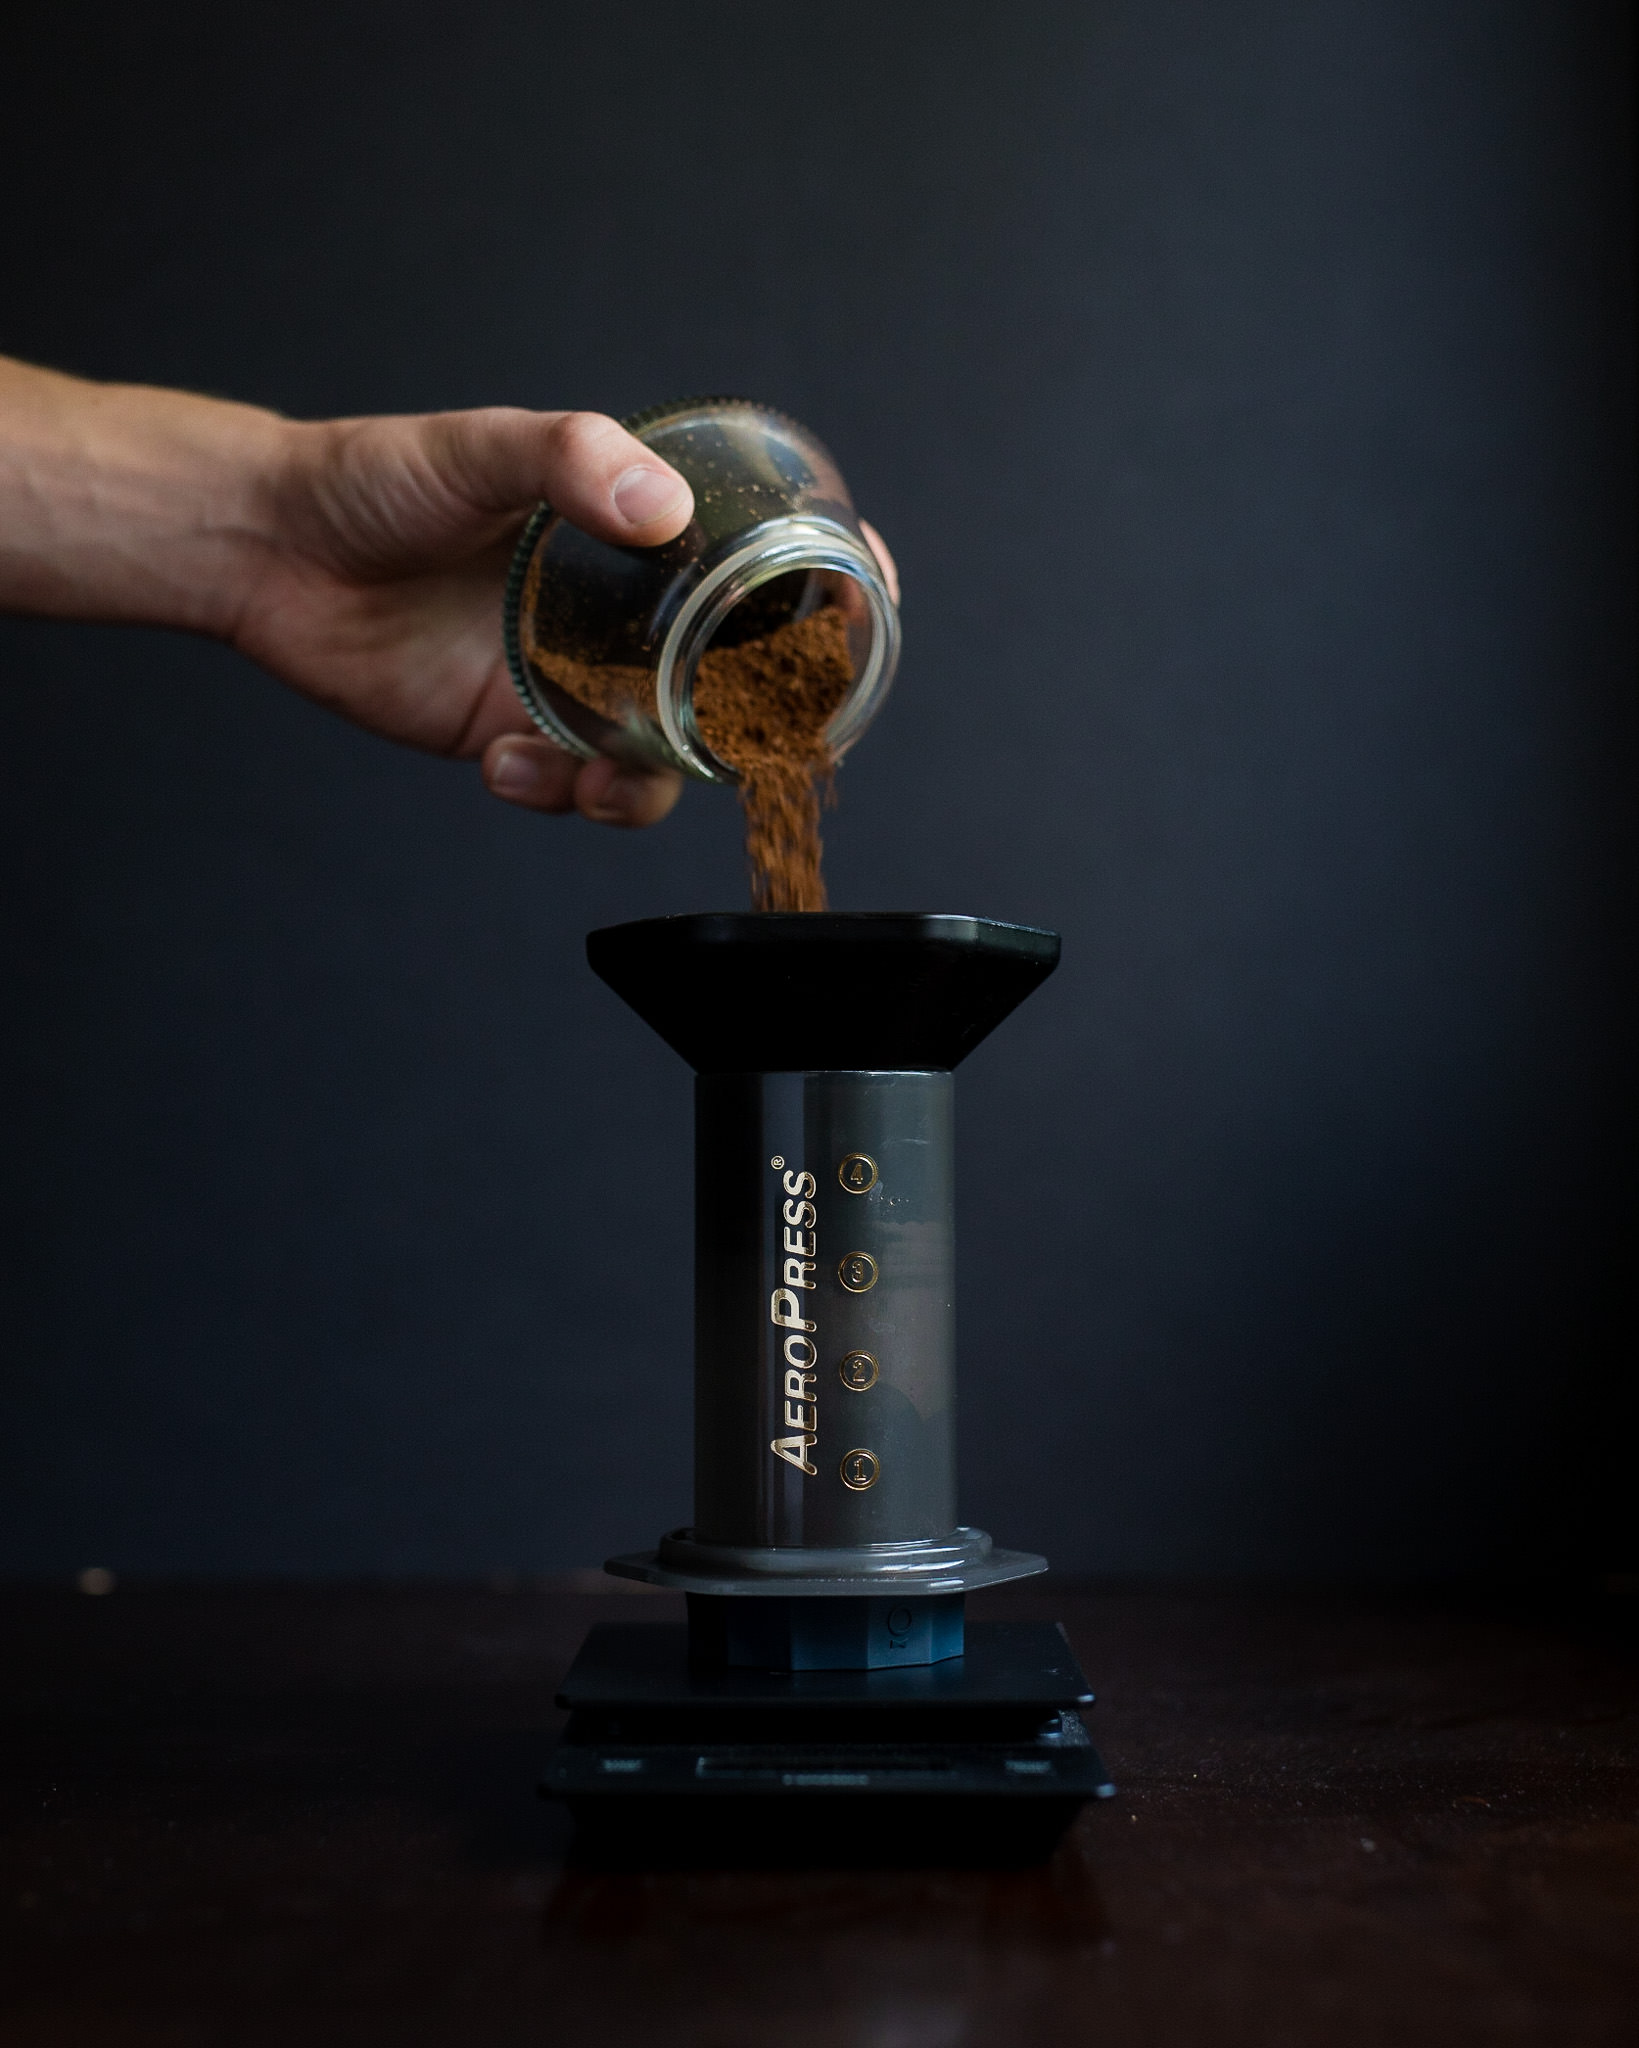
- Add the coffee to the Aeropress and shake to level the grounds bed
Brew
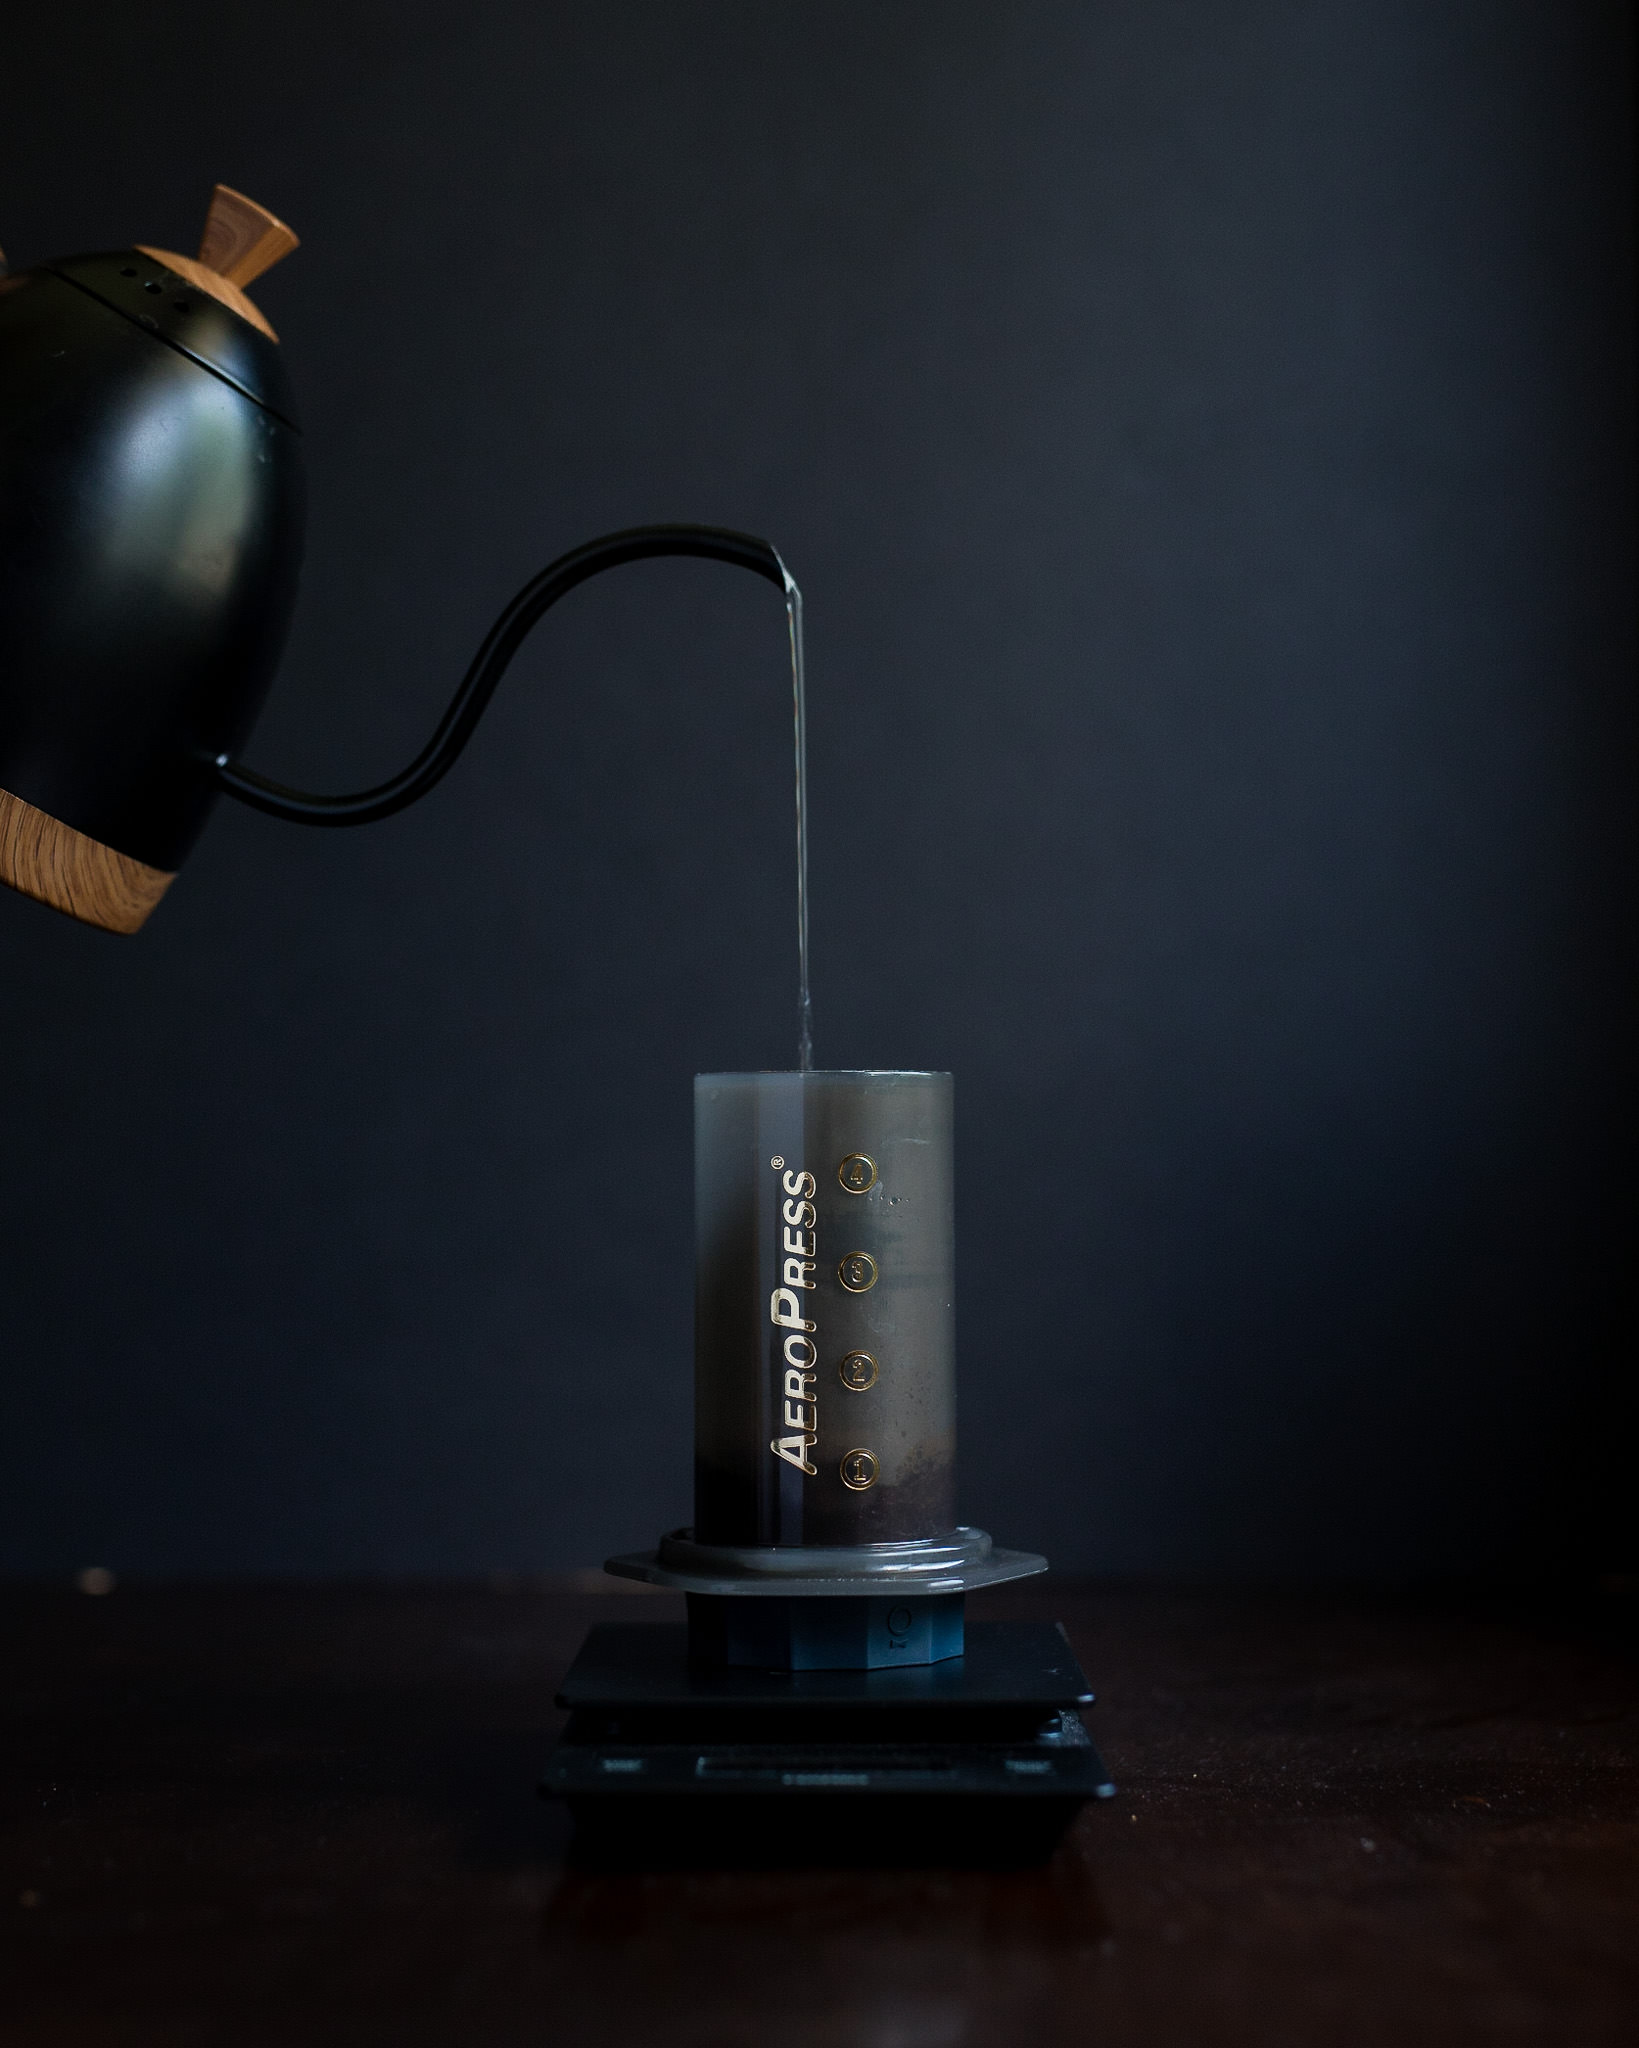
- Start timer and pour to 32g with 200°F water and stir to evenly saturated the grounds
- If you're using a full immersion method, like inverted, or you're using a Prismo, you can skip this step and just pour to weight
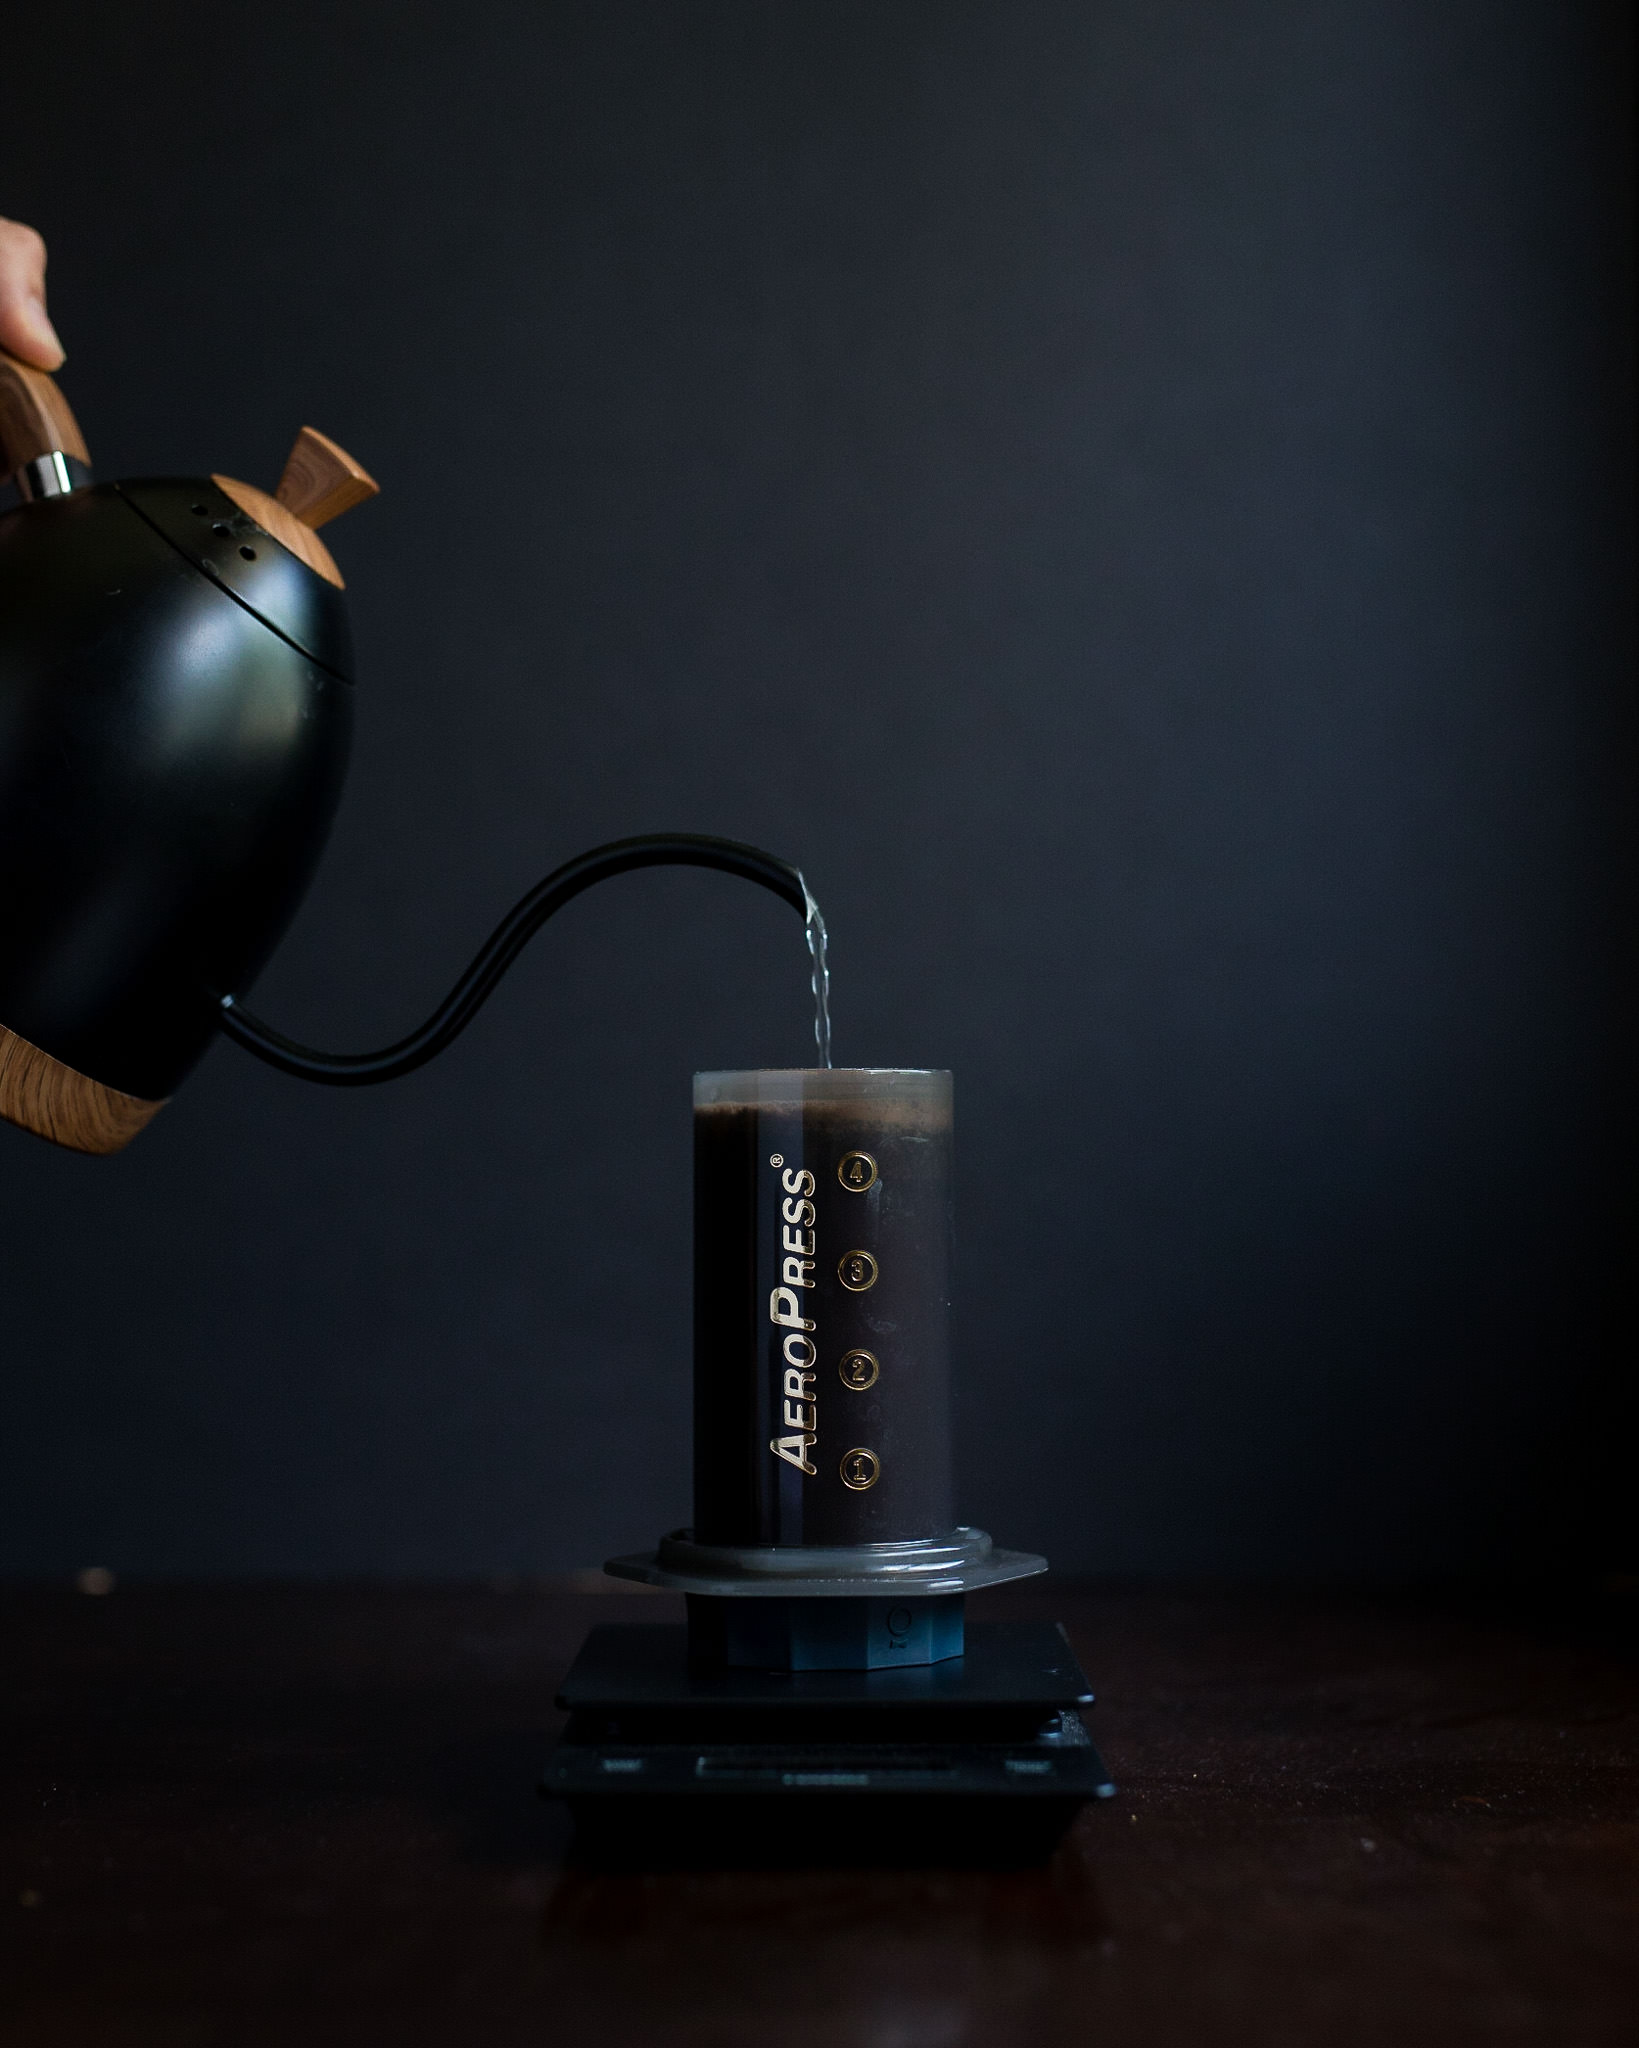
- At 30 seconds, pour to 256g
- Stir clockwise 5 times and let the coffee steep for 1 minute
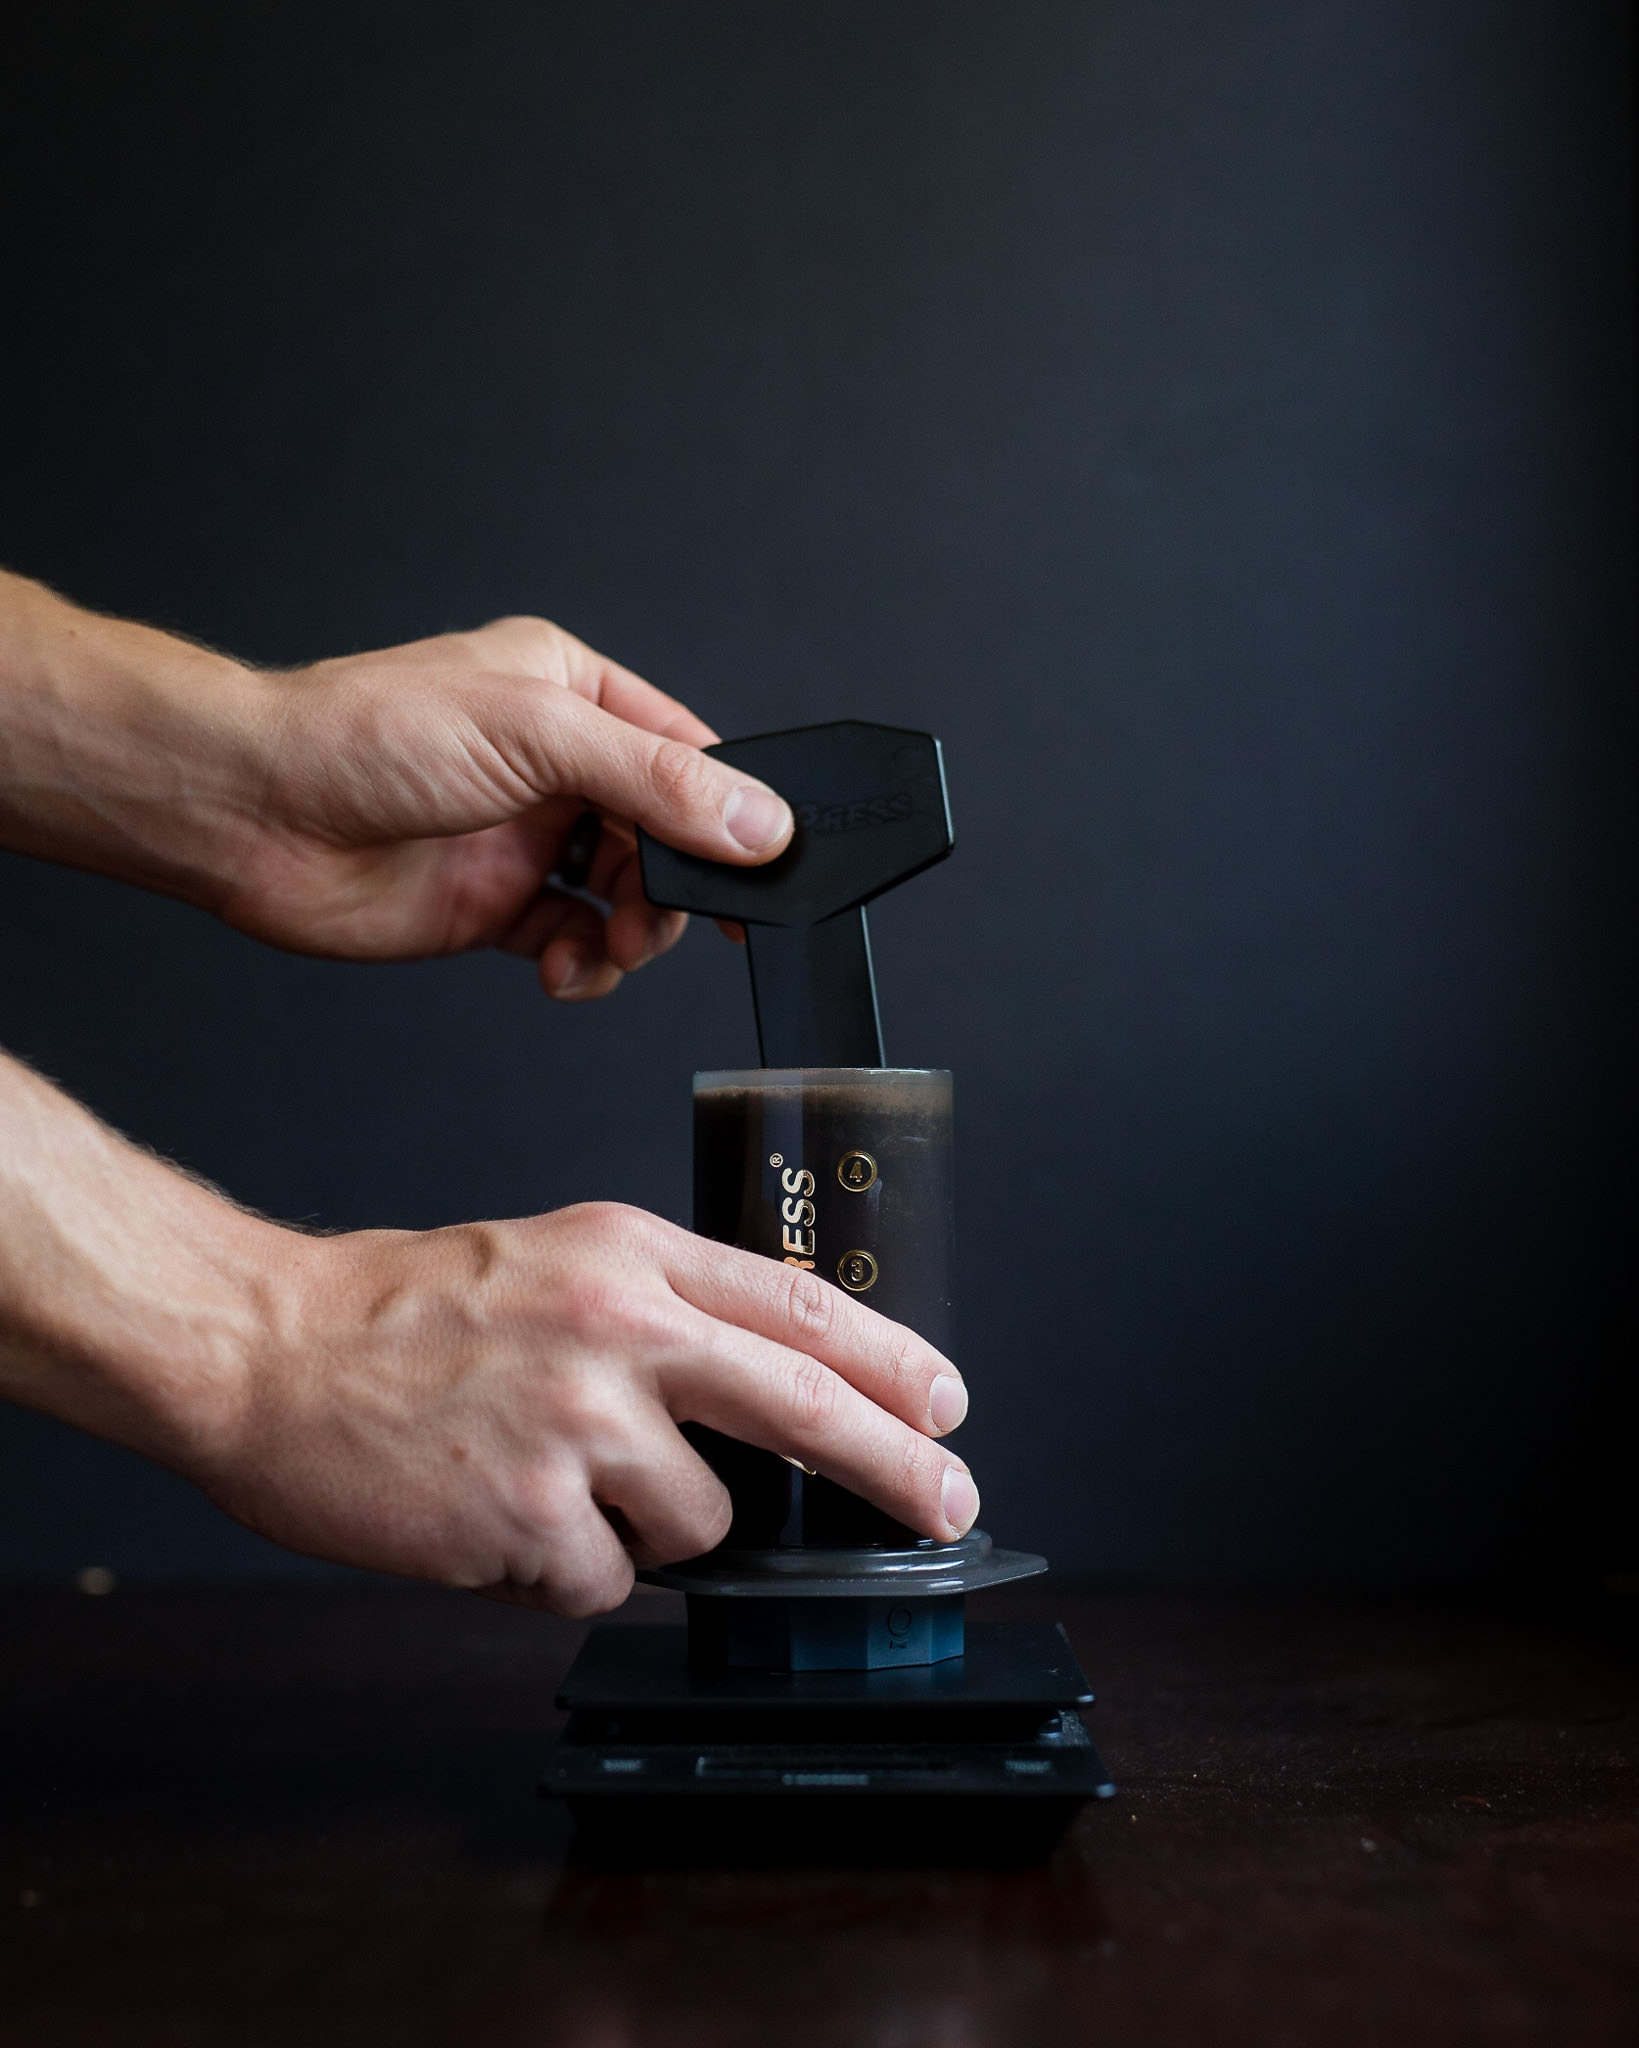
- You can insert the plunger without plunging to help restrict any coffee flow.
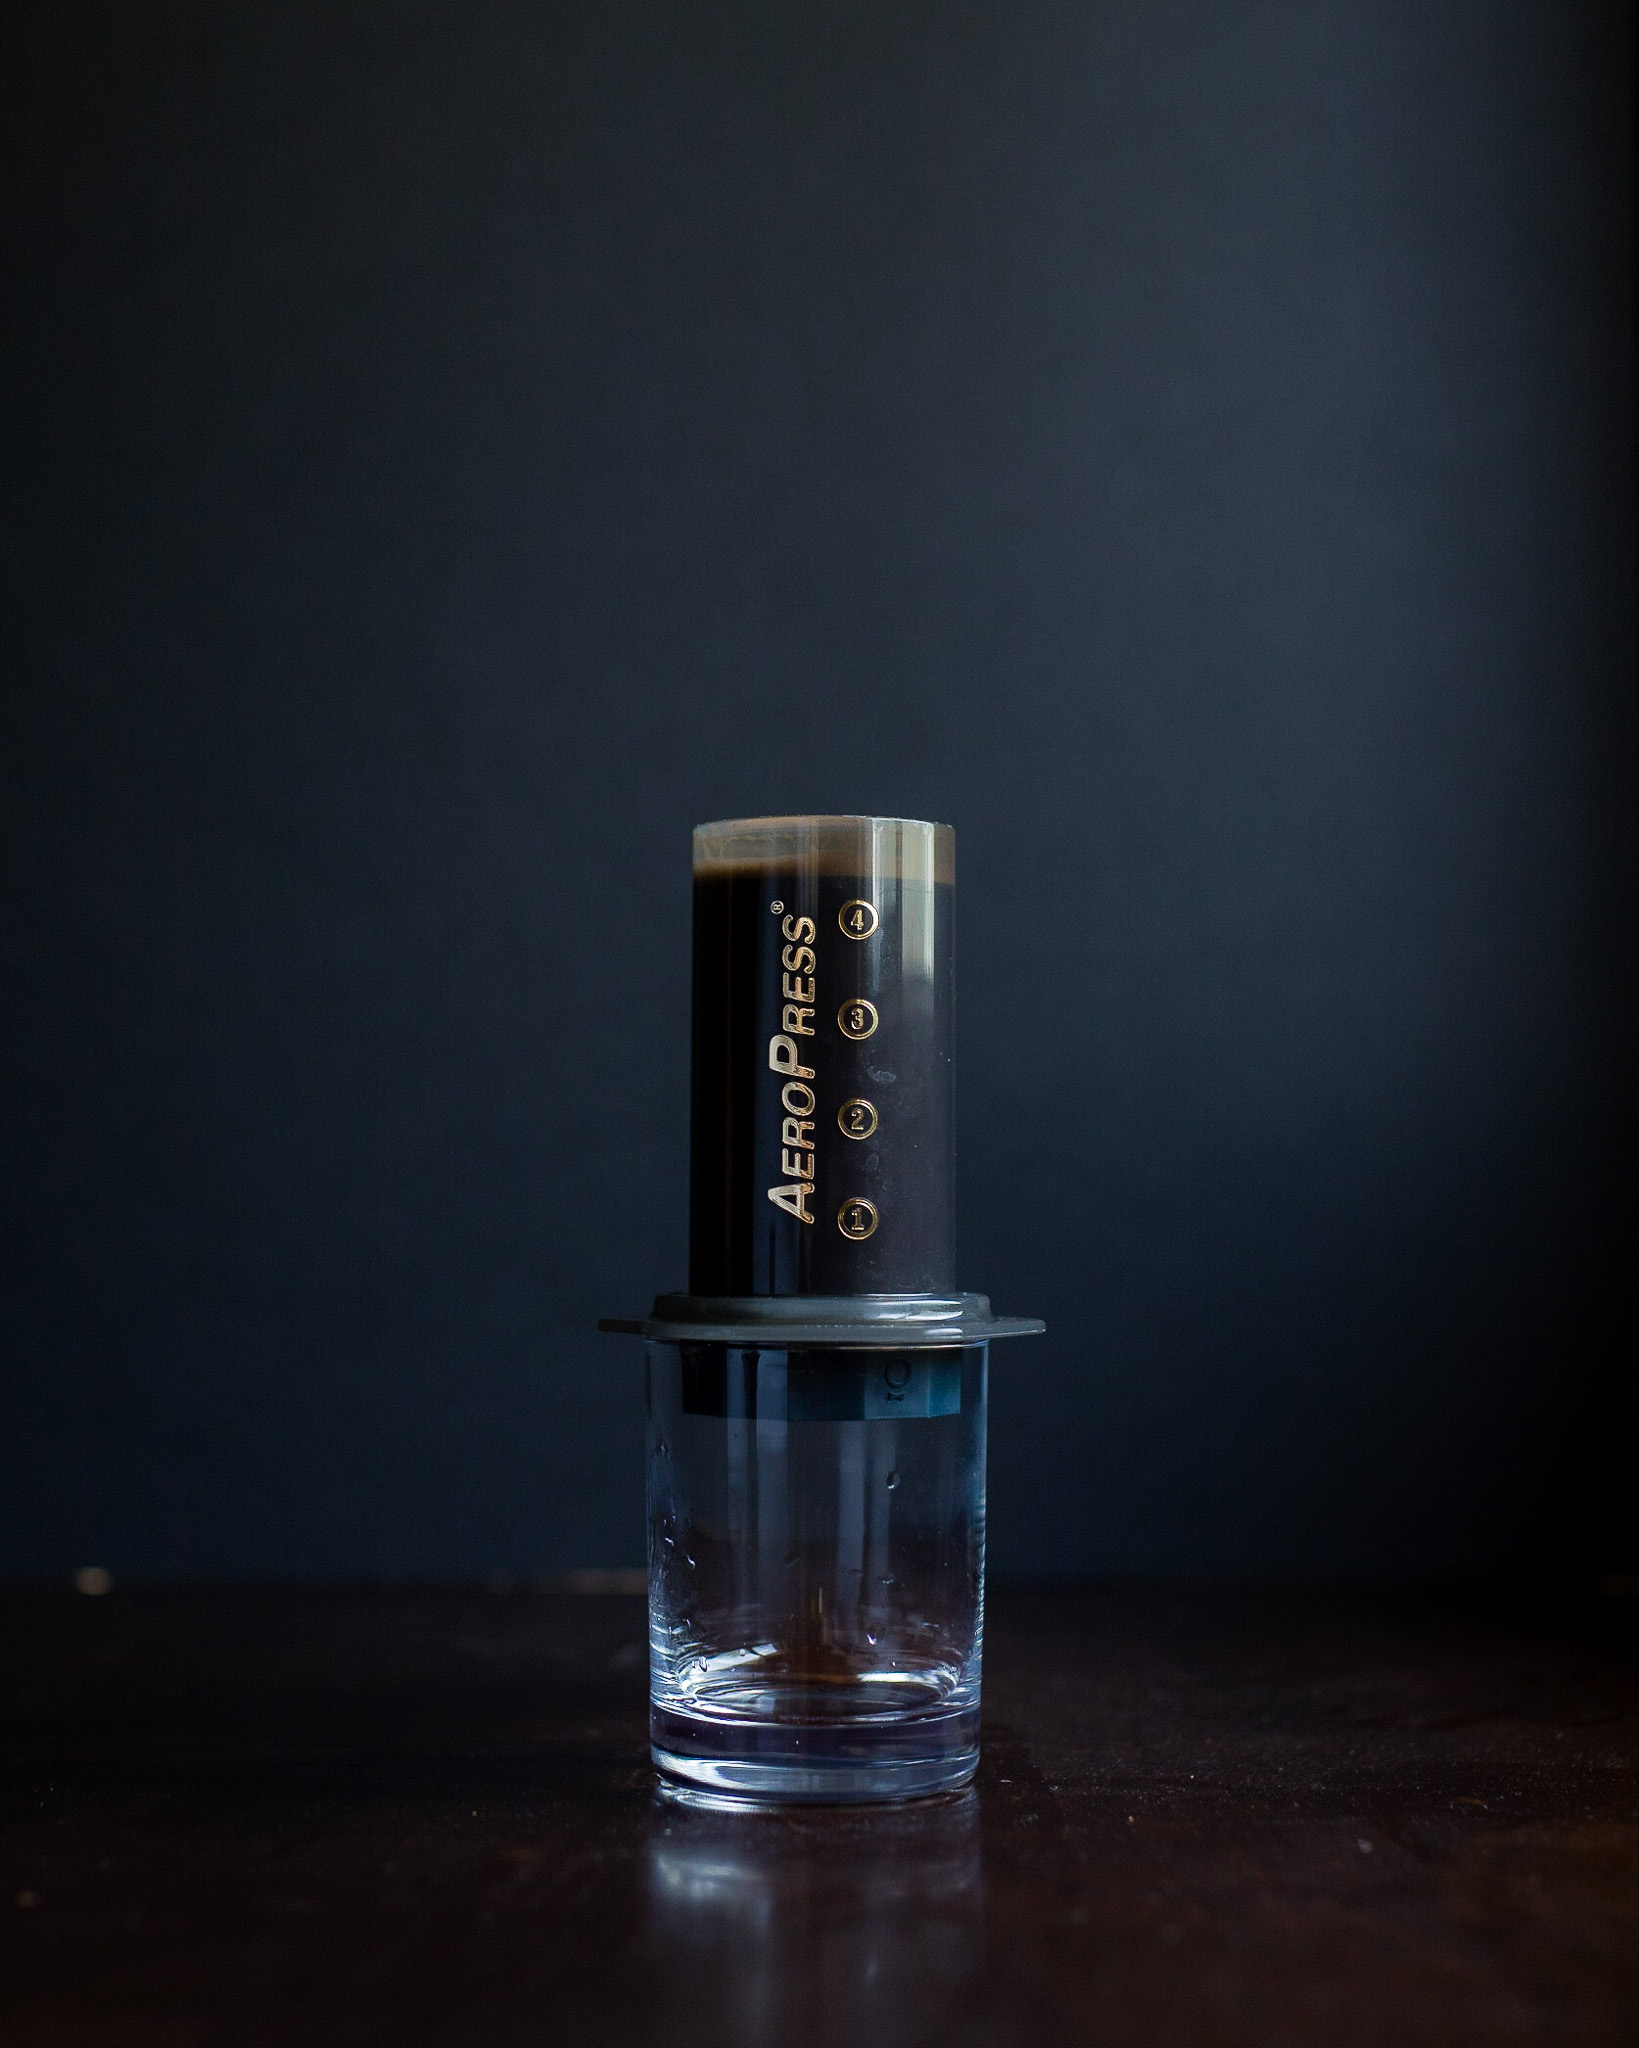
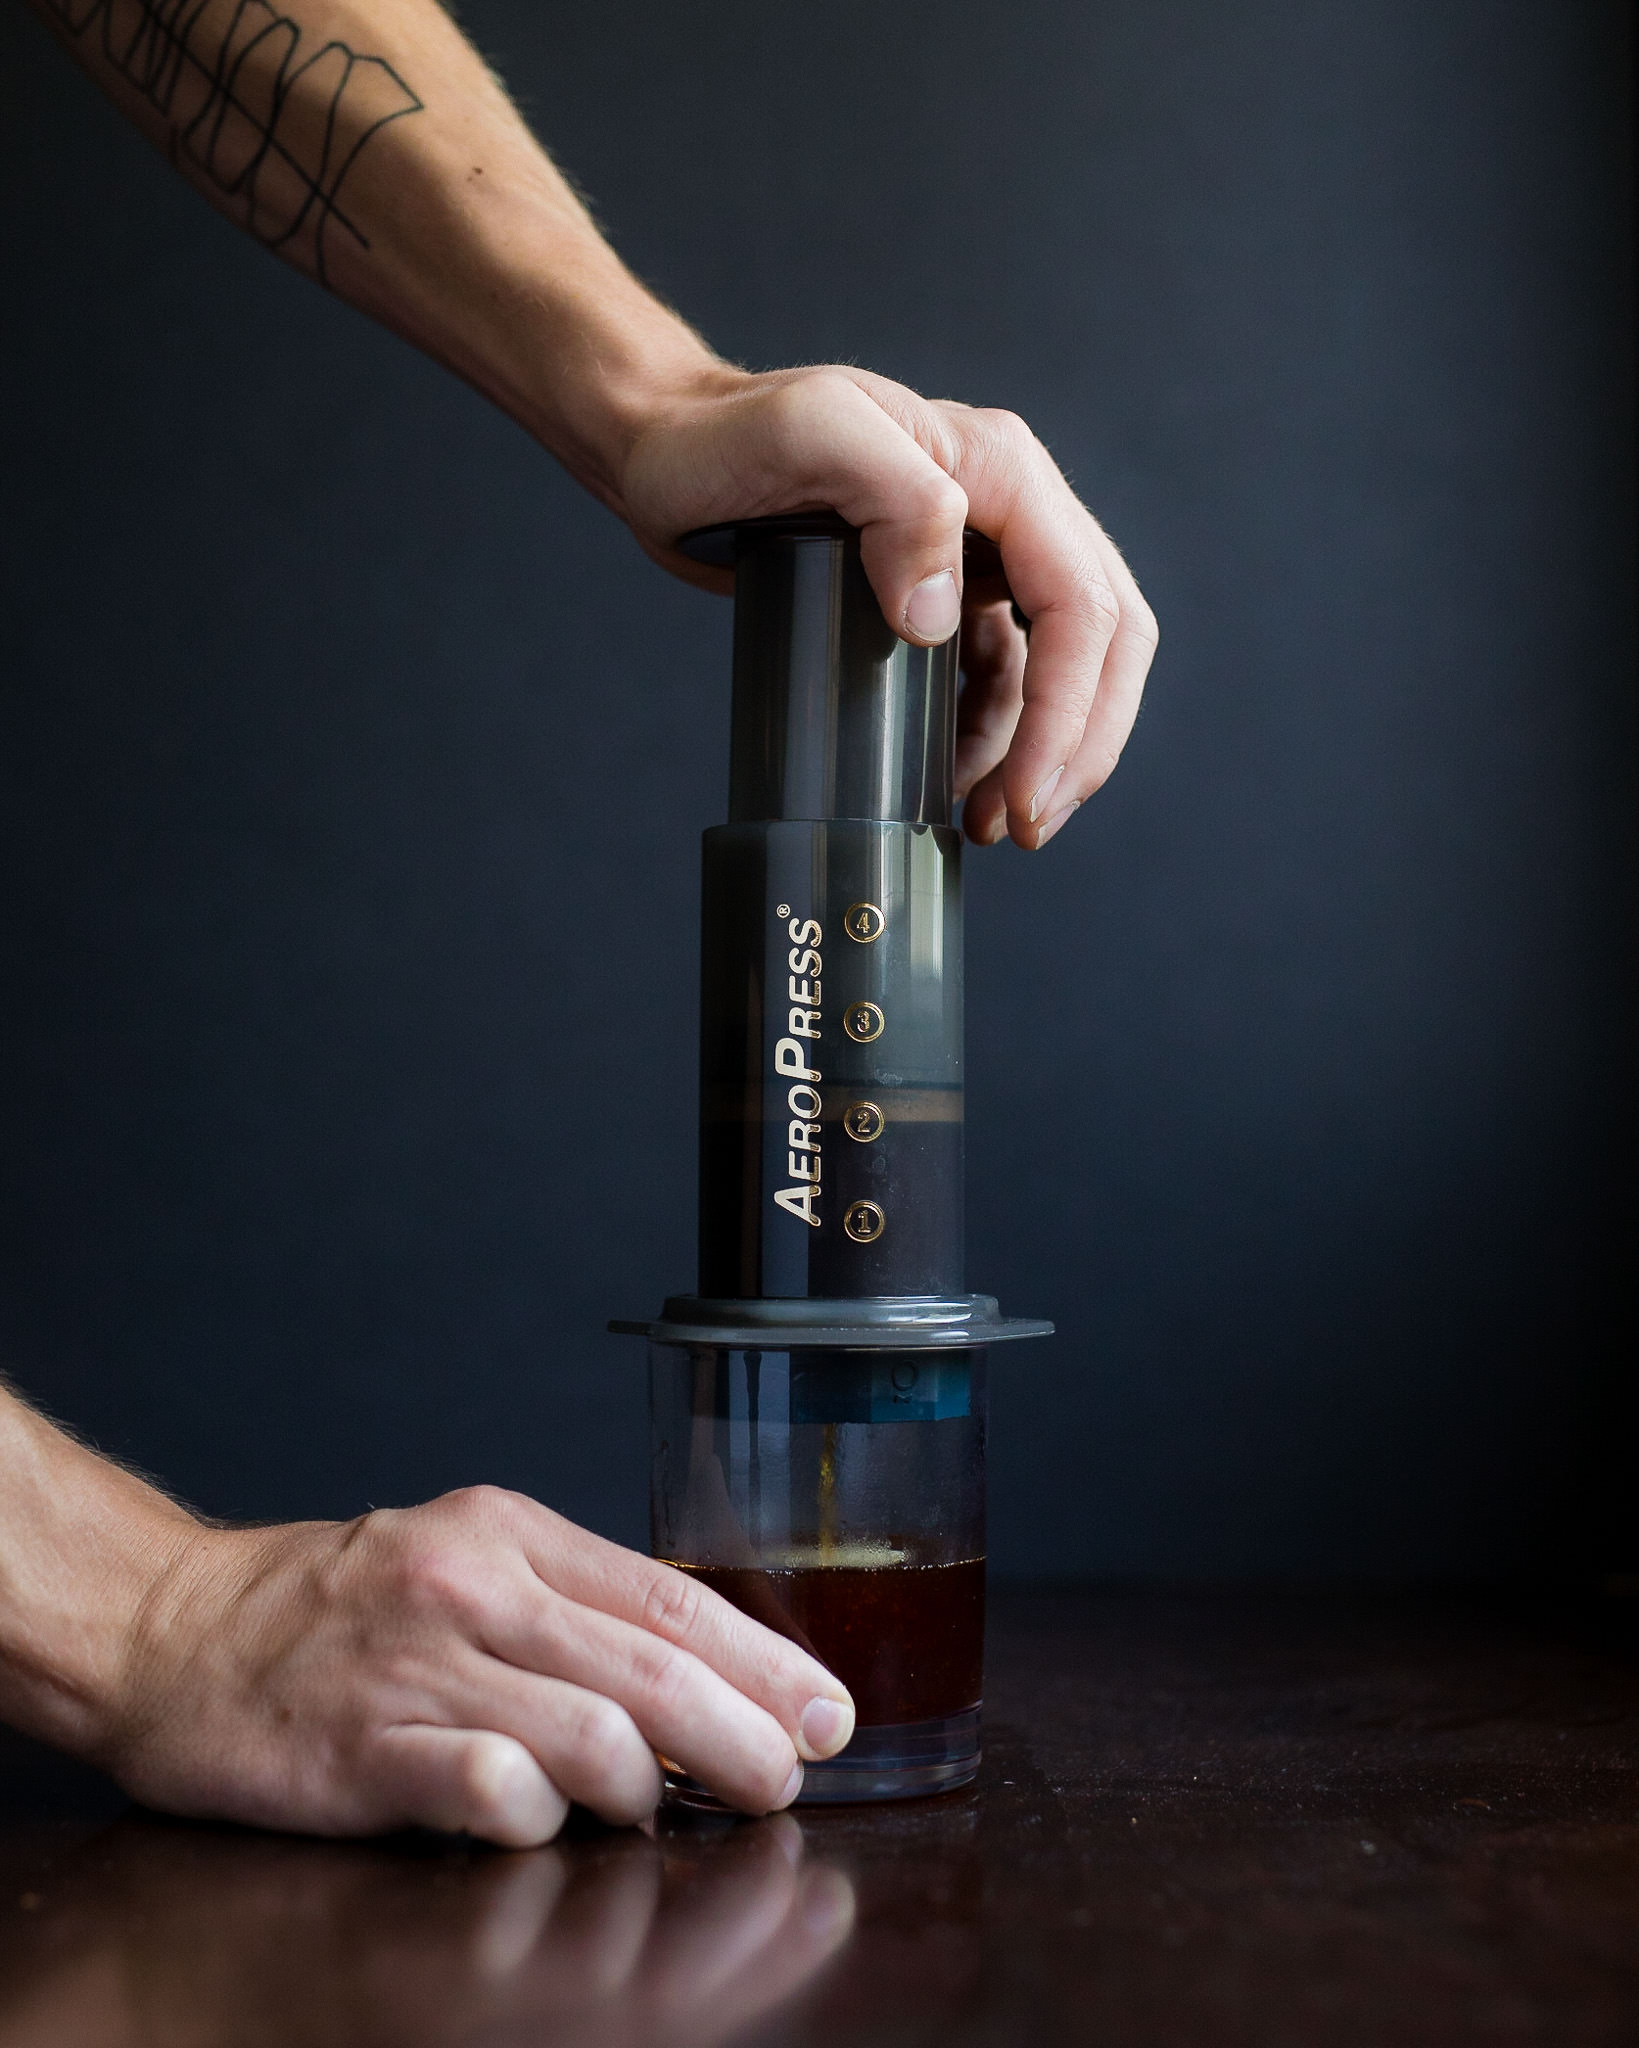
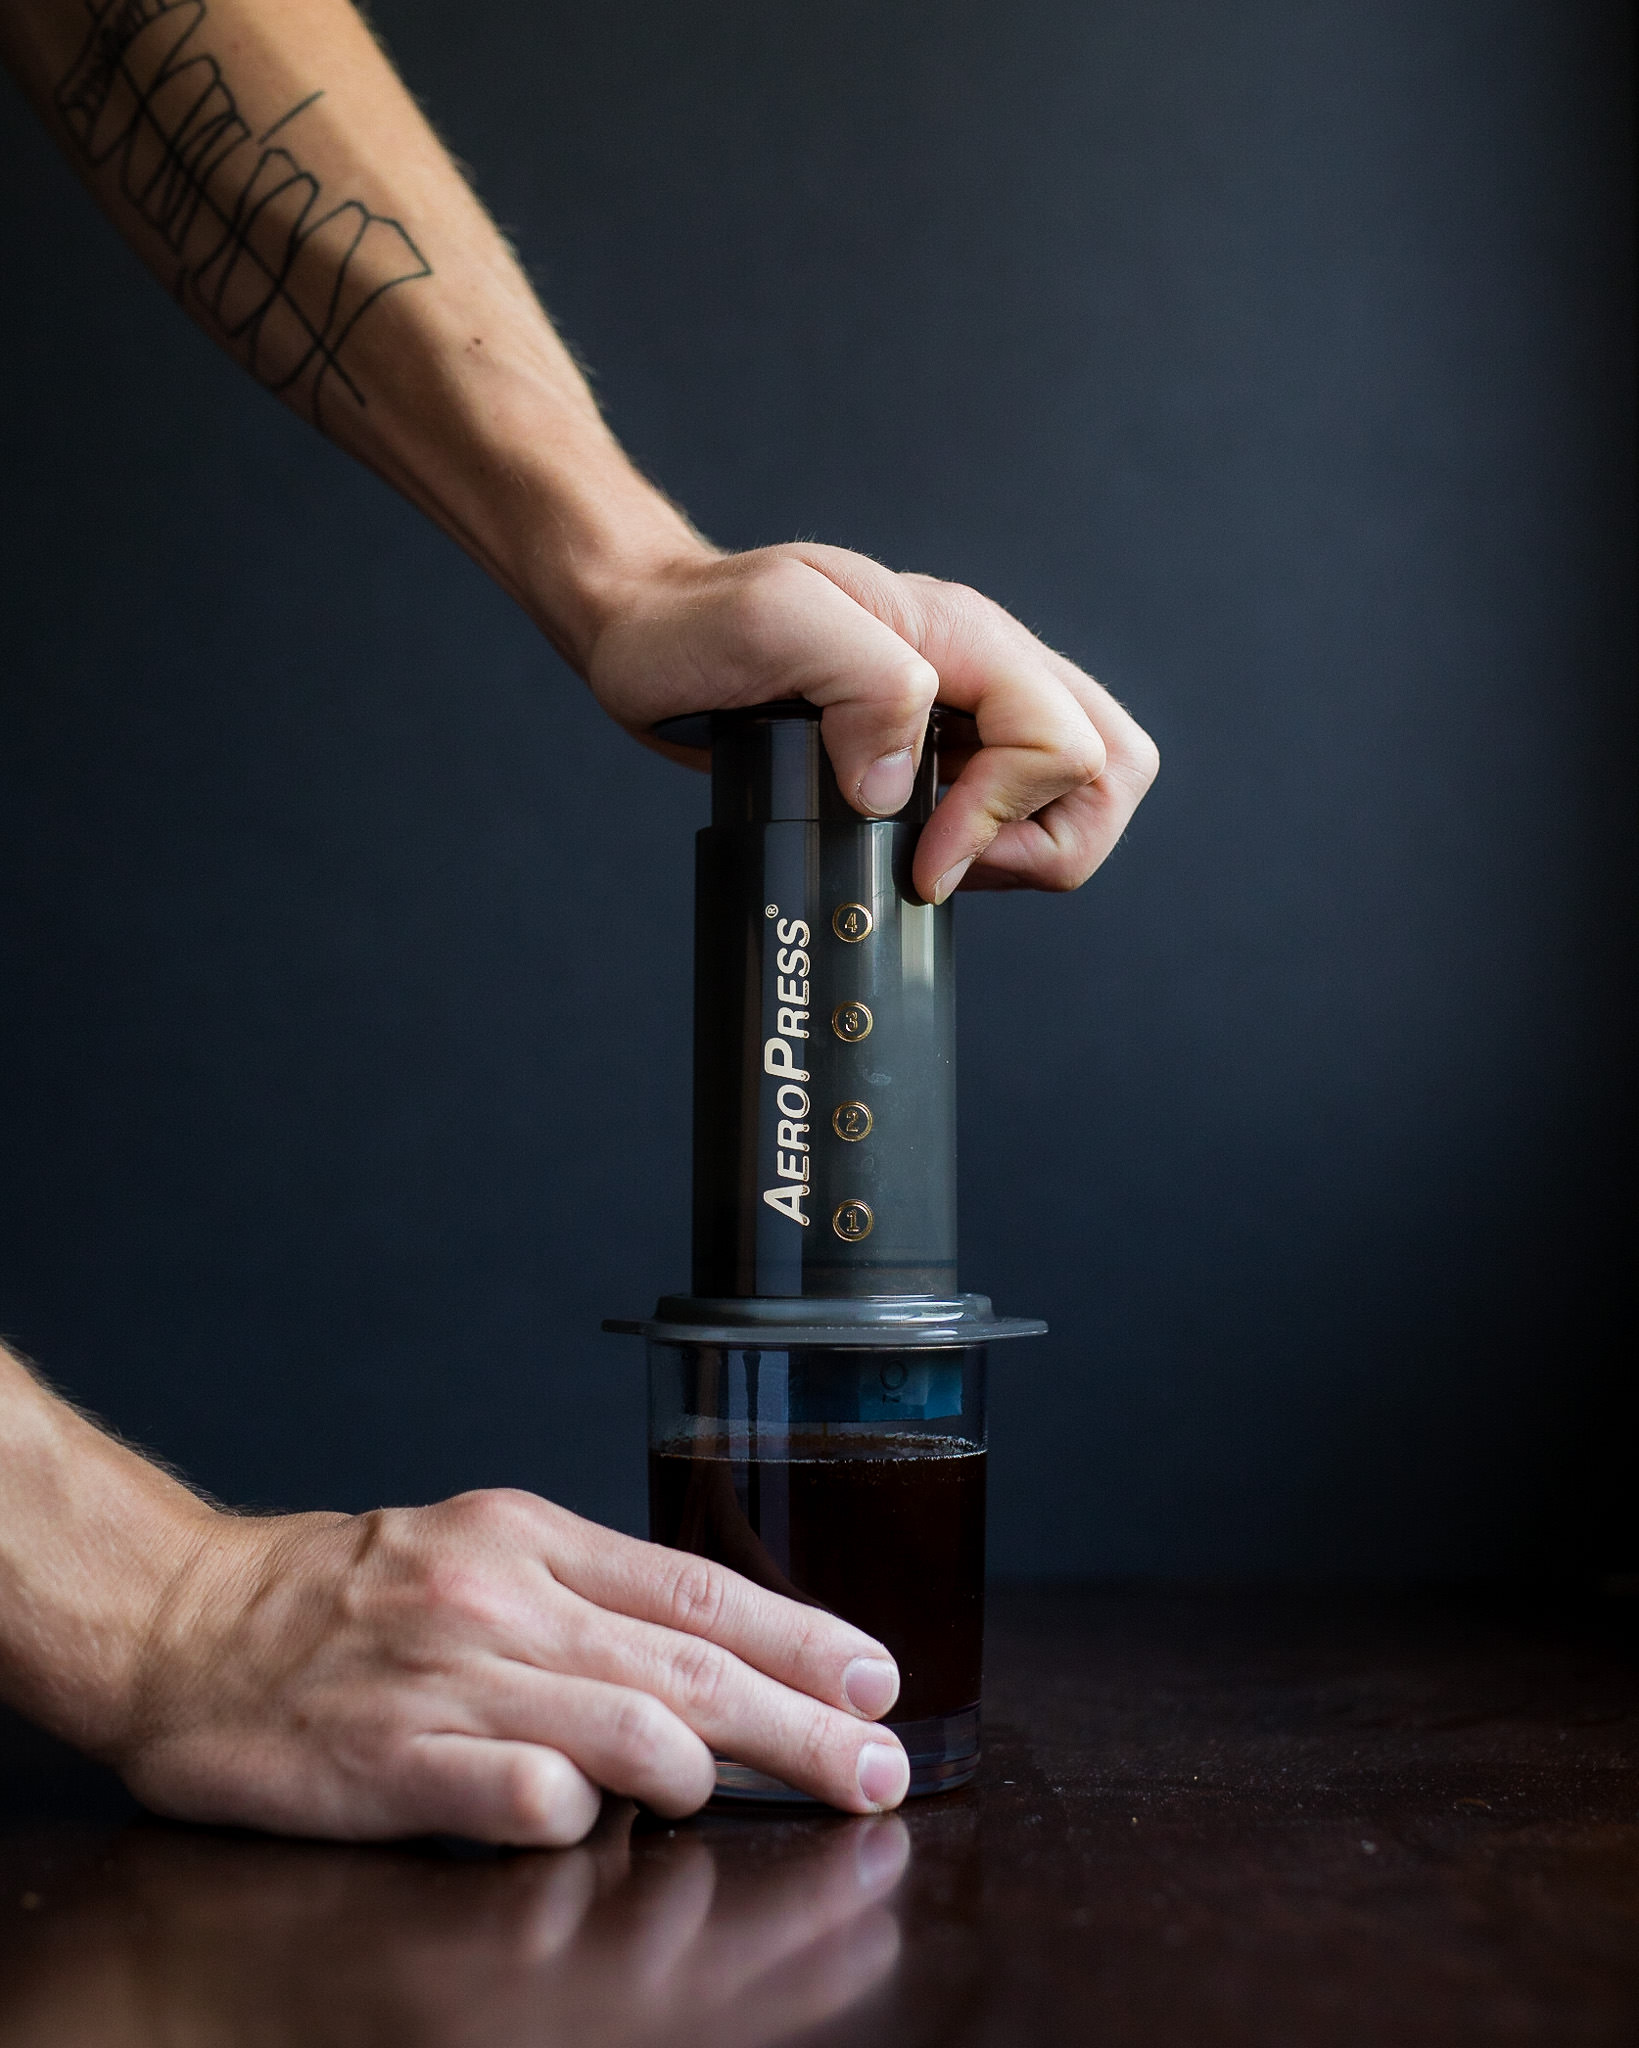
- After 1 minute, press until you hear it hiss
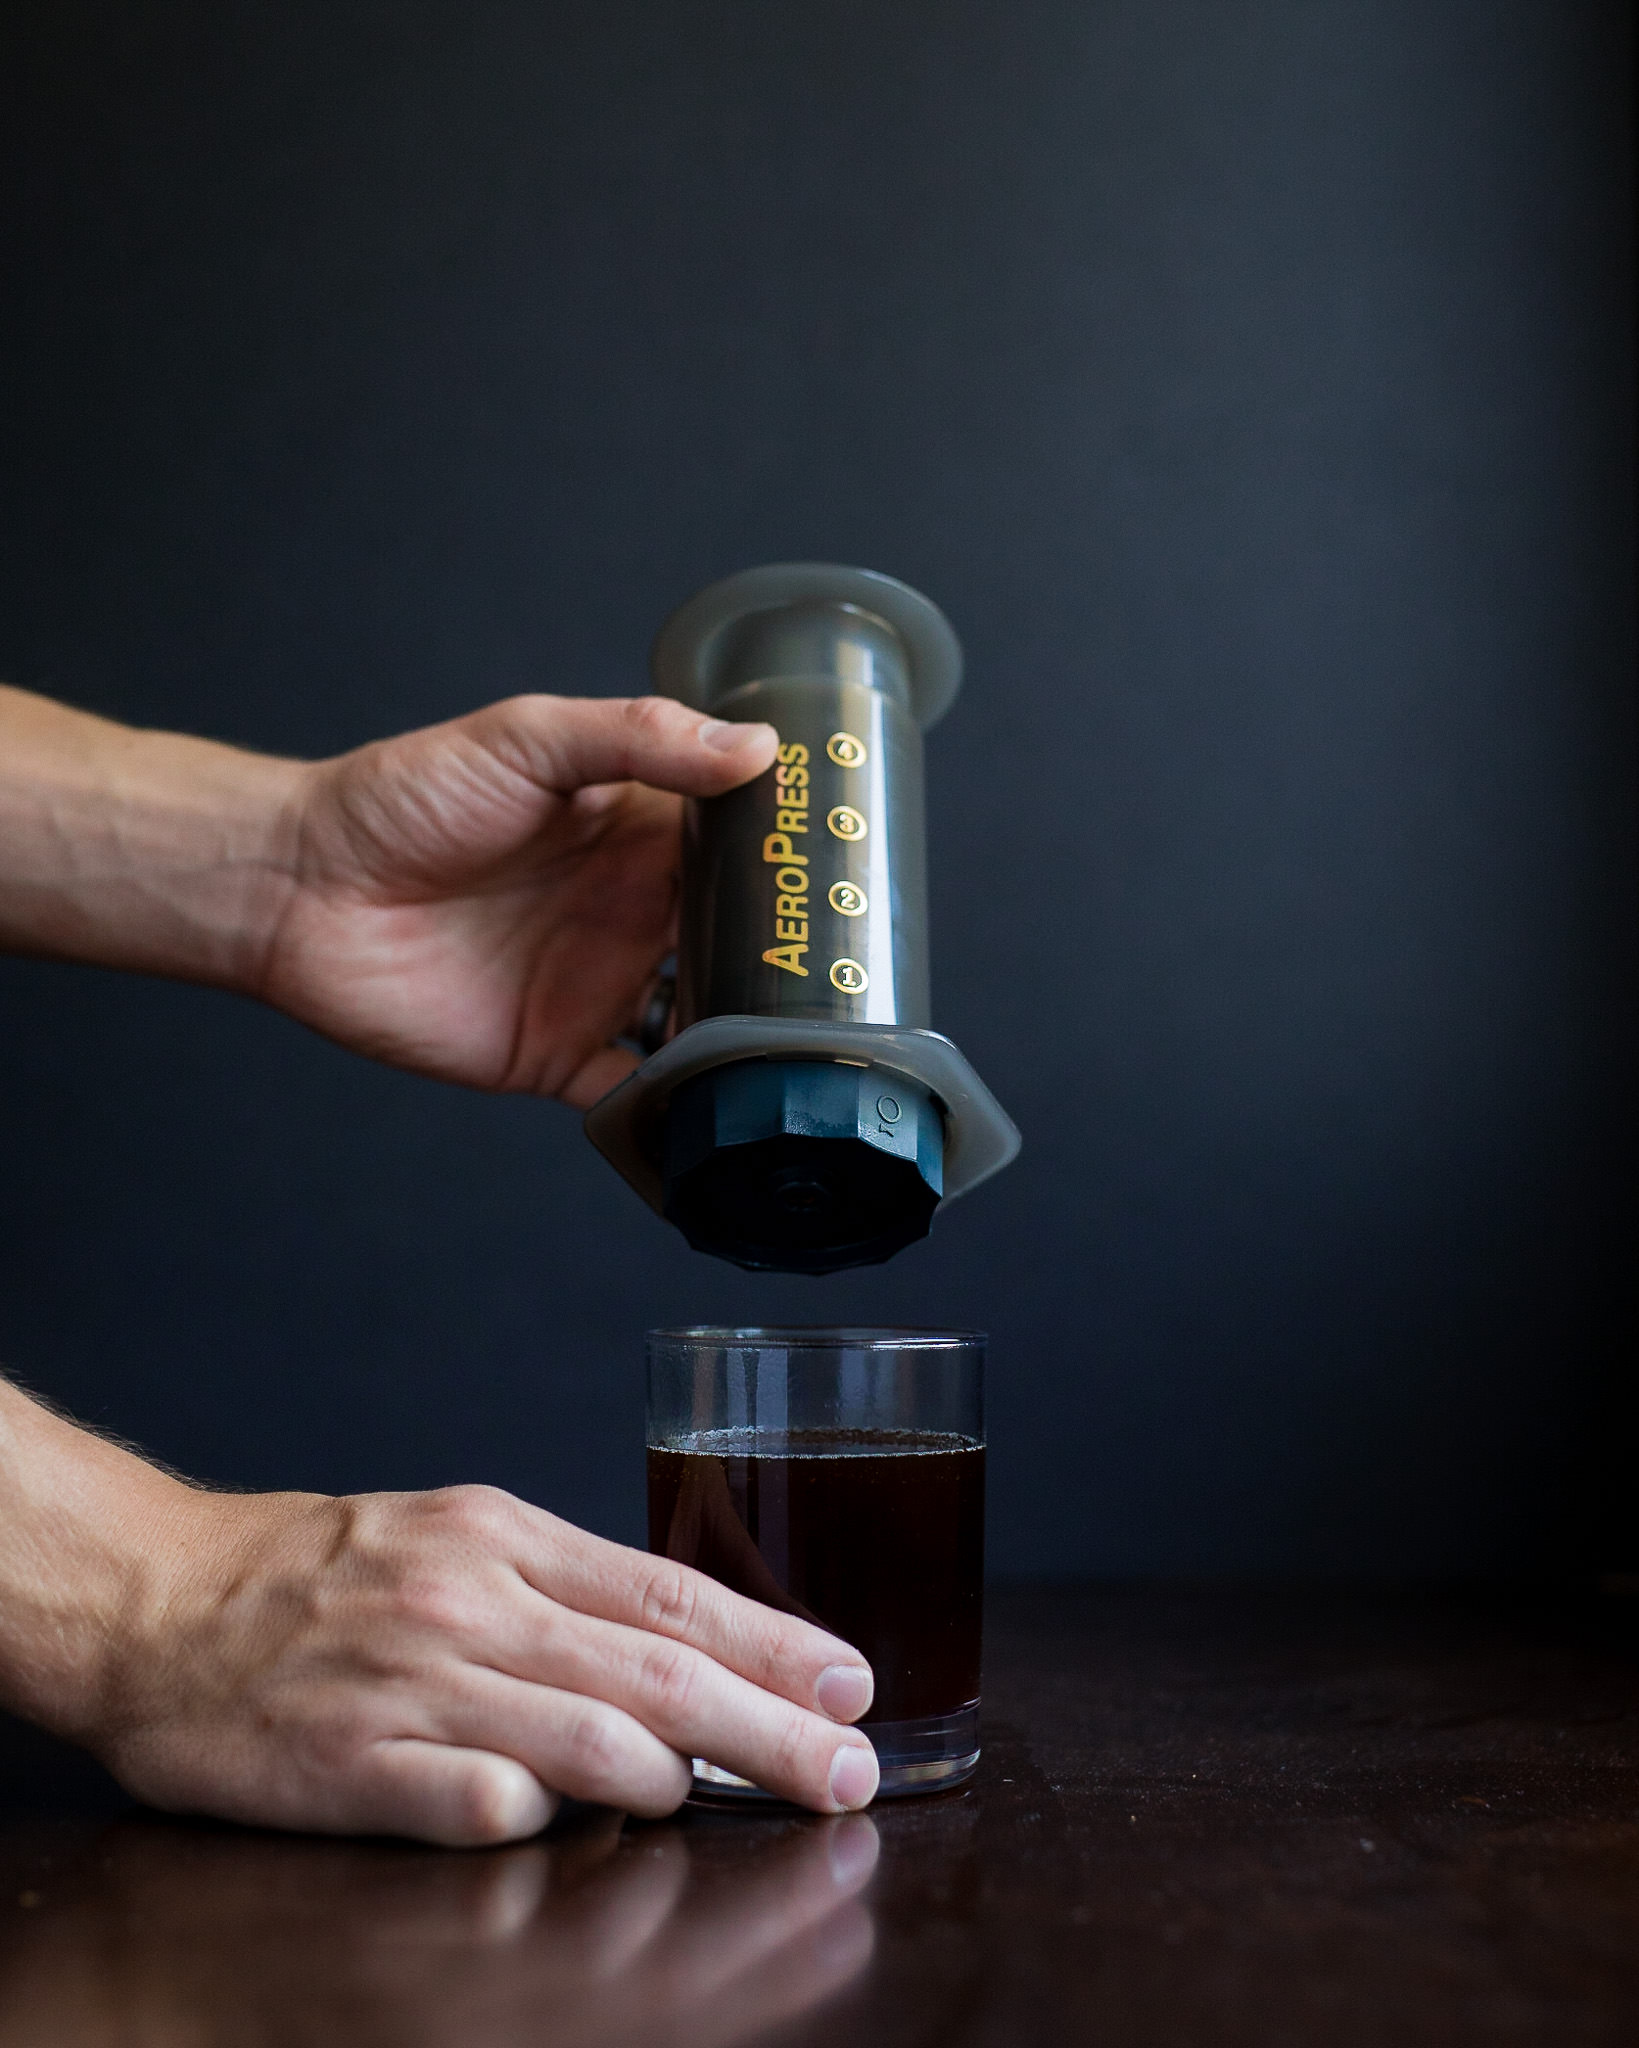
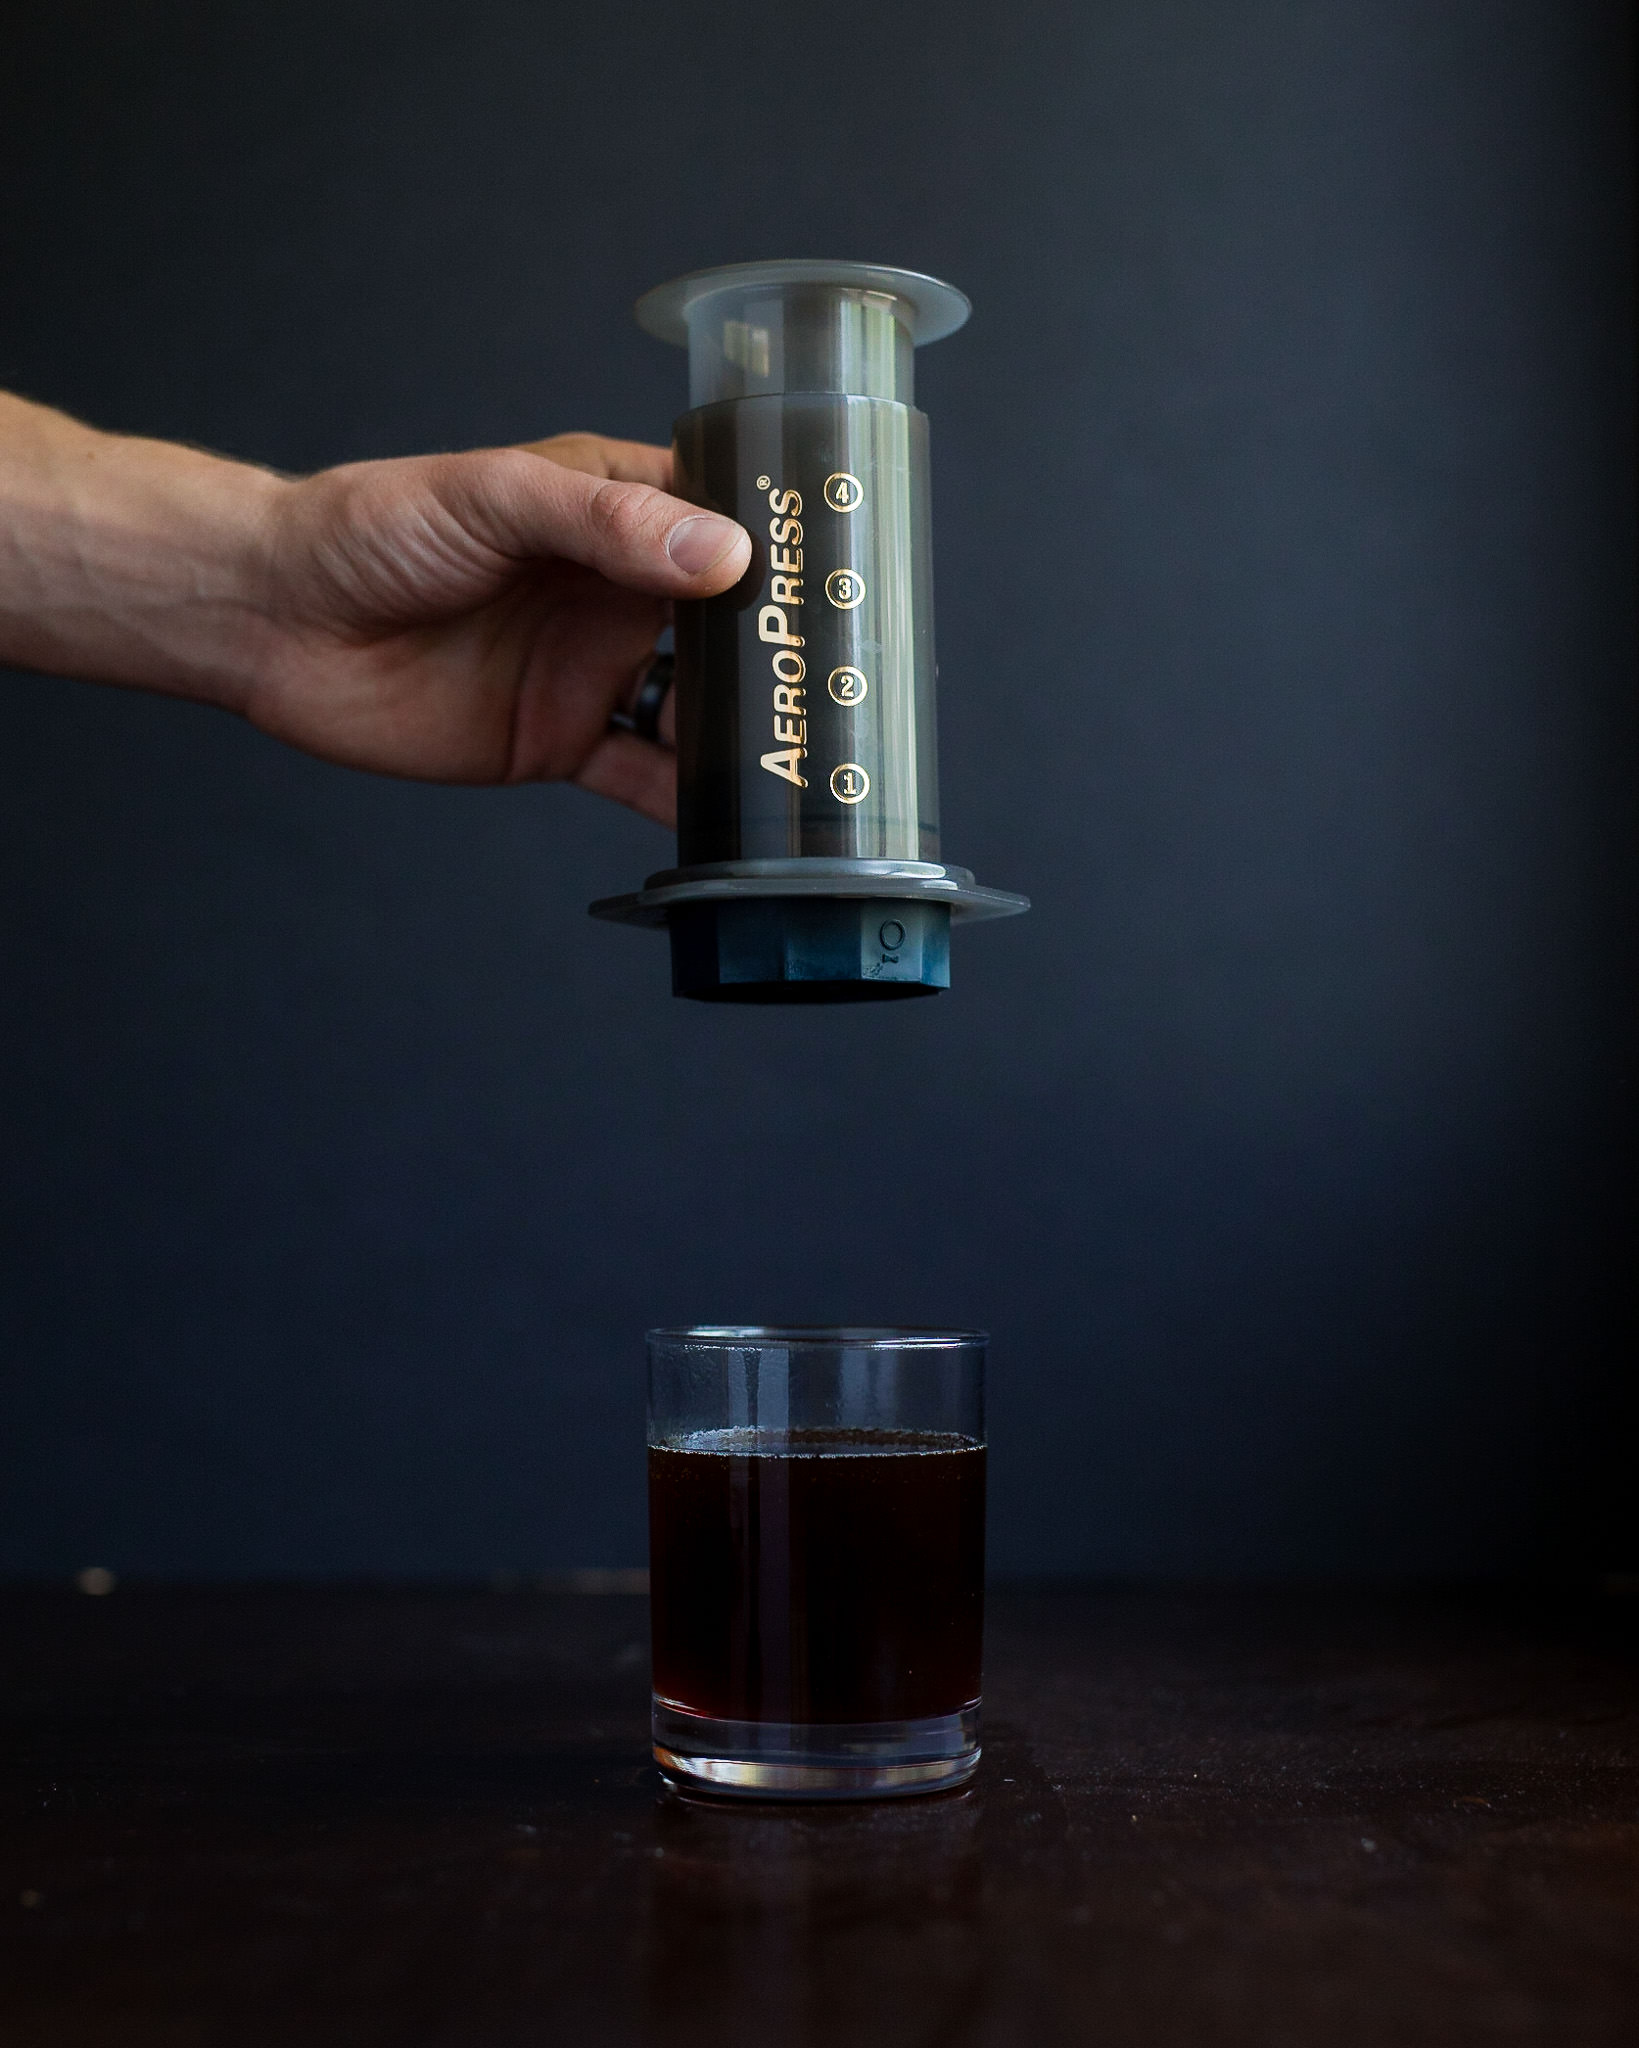
- Pull the plunger slightly back to help stop any remaining liquid from dribbling out
- Serve

Recipe Updates
Steeping
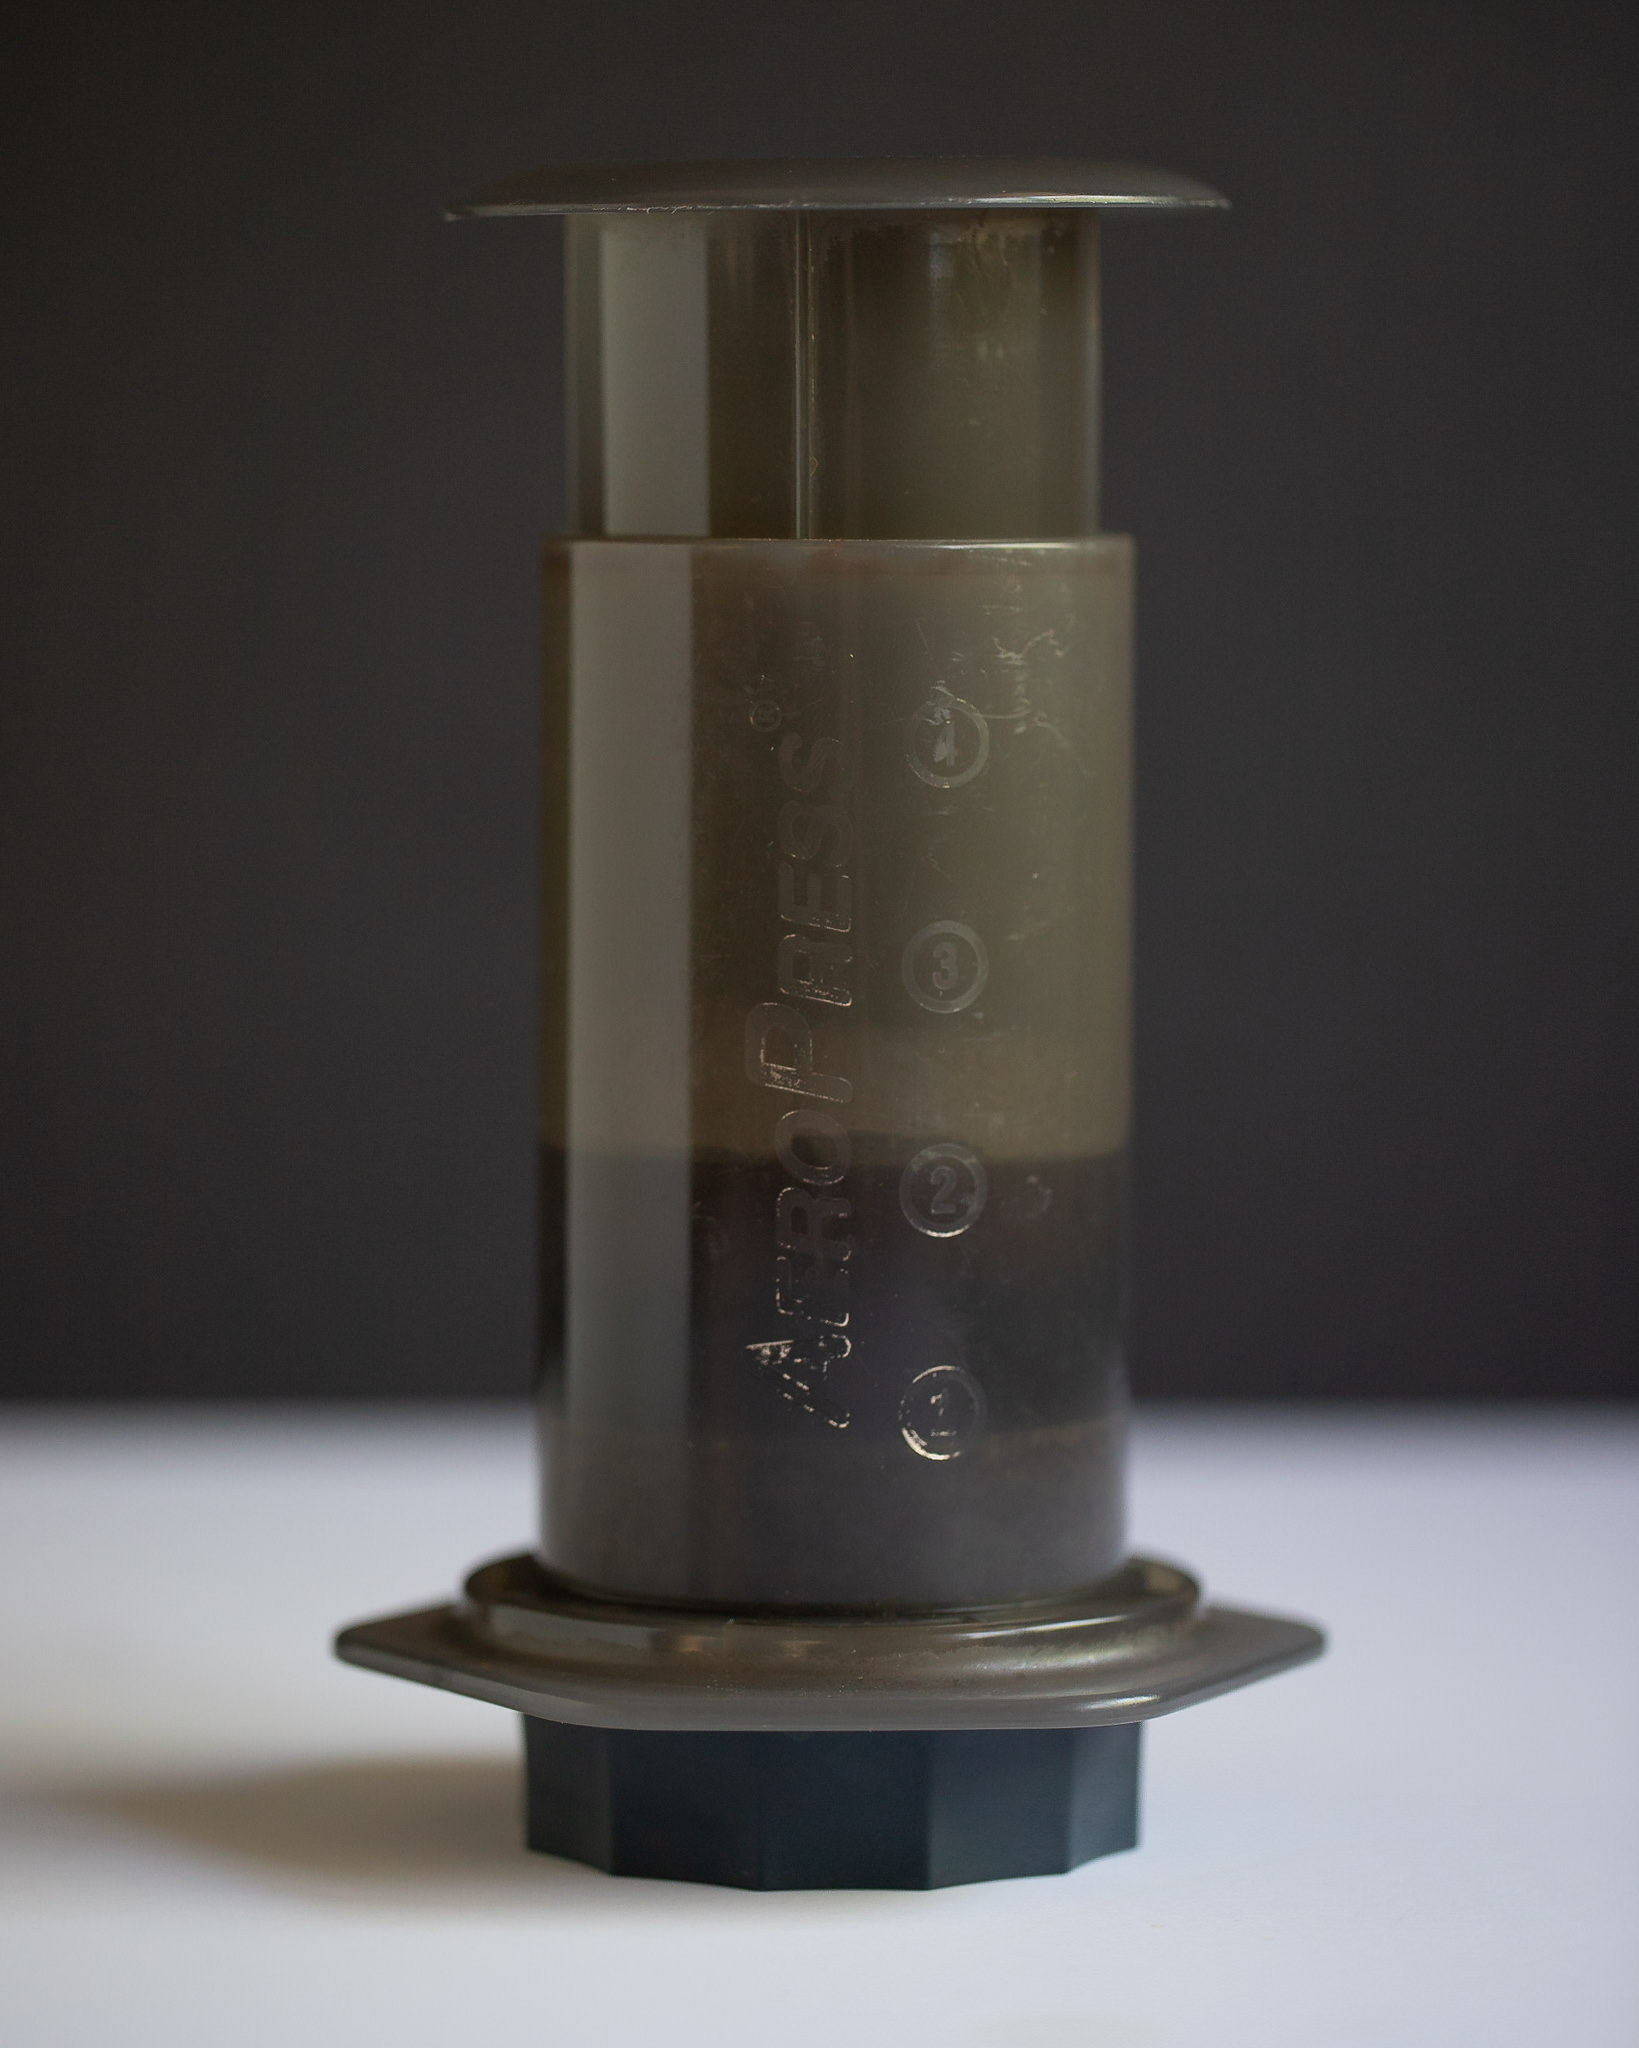
For the most part, I haven’t really changed my recipe a whole lot from when I originally posted it. I’ve learned a couple of things since then however. First of all, the plunger isn’t entirely necessary to restrict the flow of coffee. Thanks to the narrow tube shape of the Aeropress, air struggles to pass through the liquid. Without an easy channel for air to follow through, the liquid naturally restricts its own flow.
Stirring
I’ve also learned about the importance of agitation. Agitation moves the grounds around in the slurry, exposing as much surface area to the water as possible. This process ensures a more consistent extraction of all the grounds. The narrow brew chamber of the Aeropress doesn’t allow for very much agitation from pouring alone like other brew methods. So we need to stir to manually agitate the slurry.
When to replace the Aeropress plunger
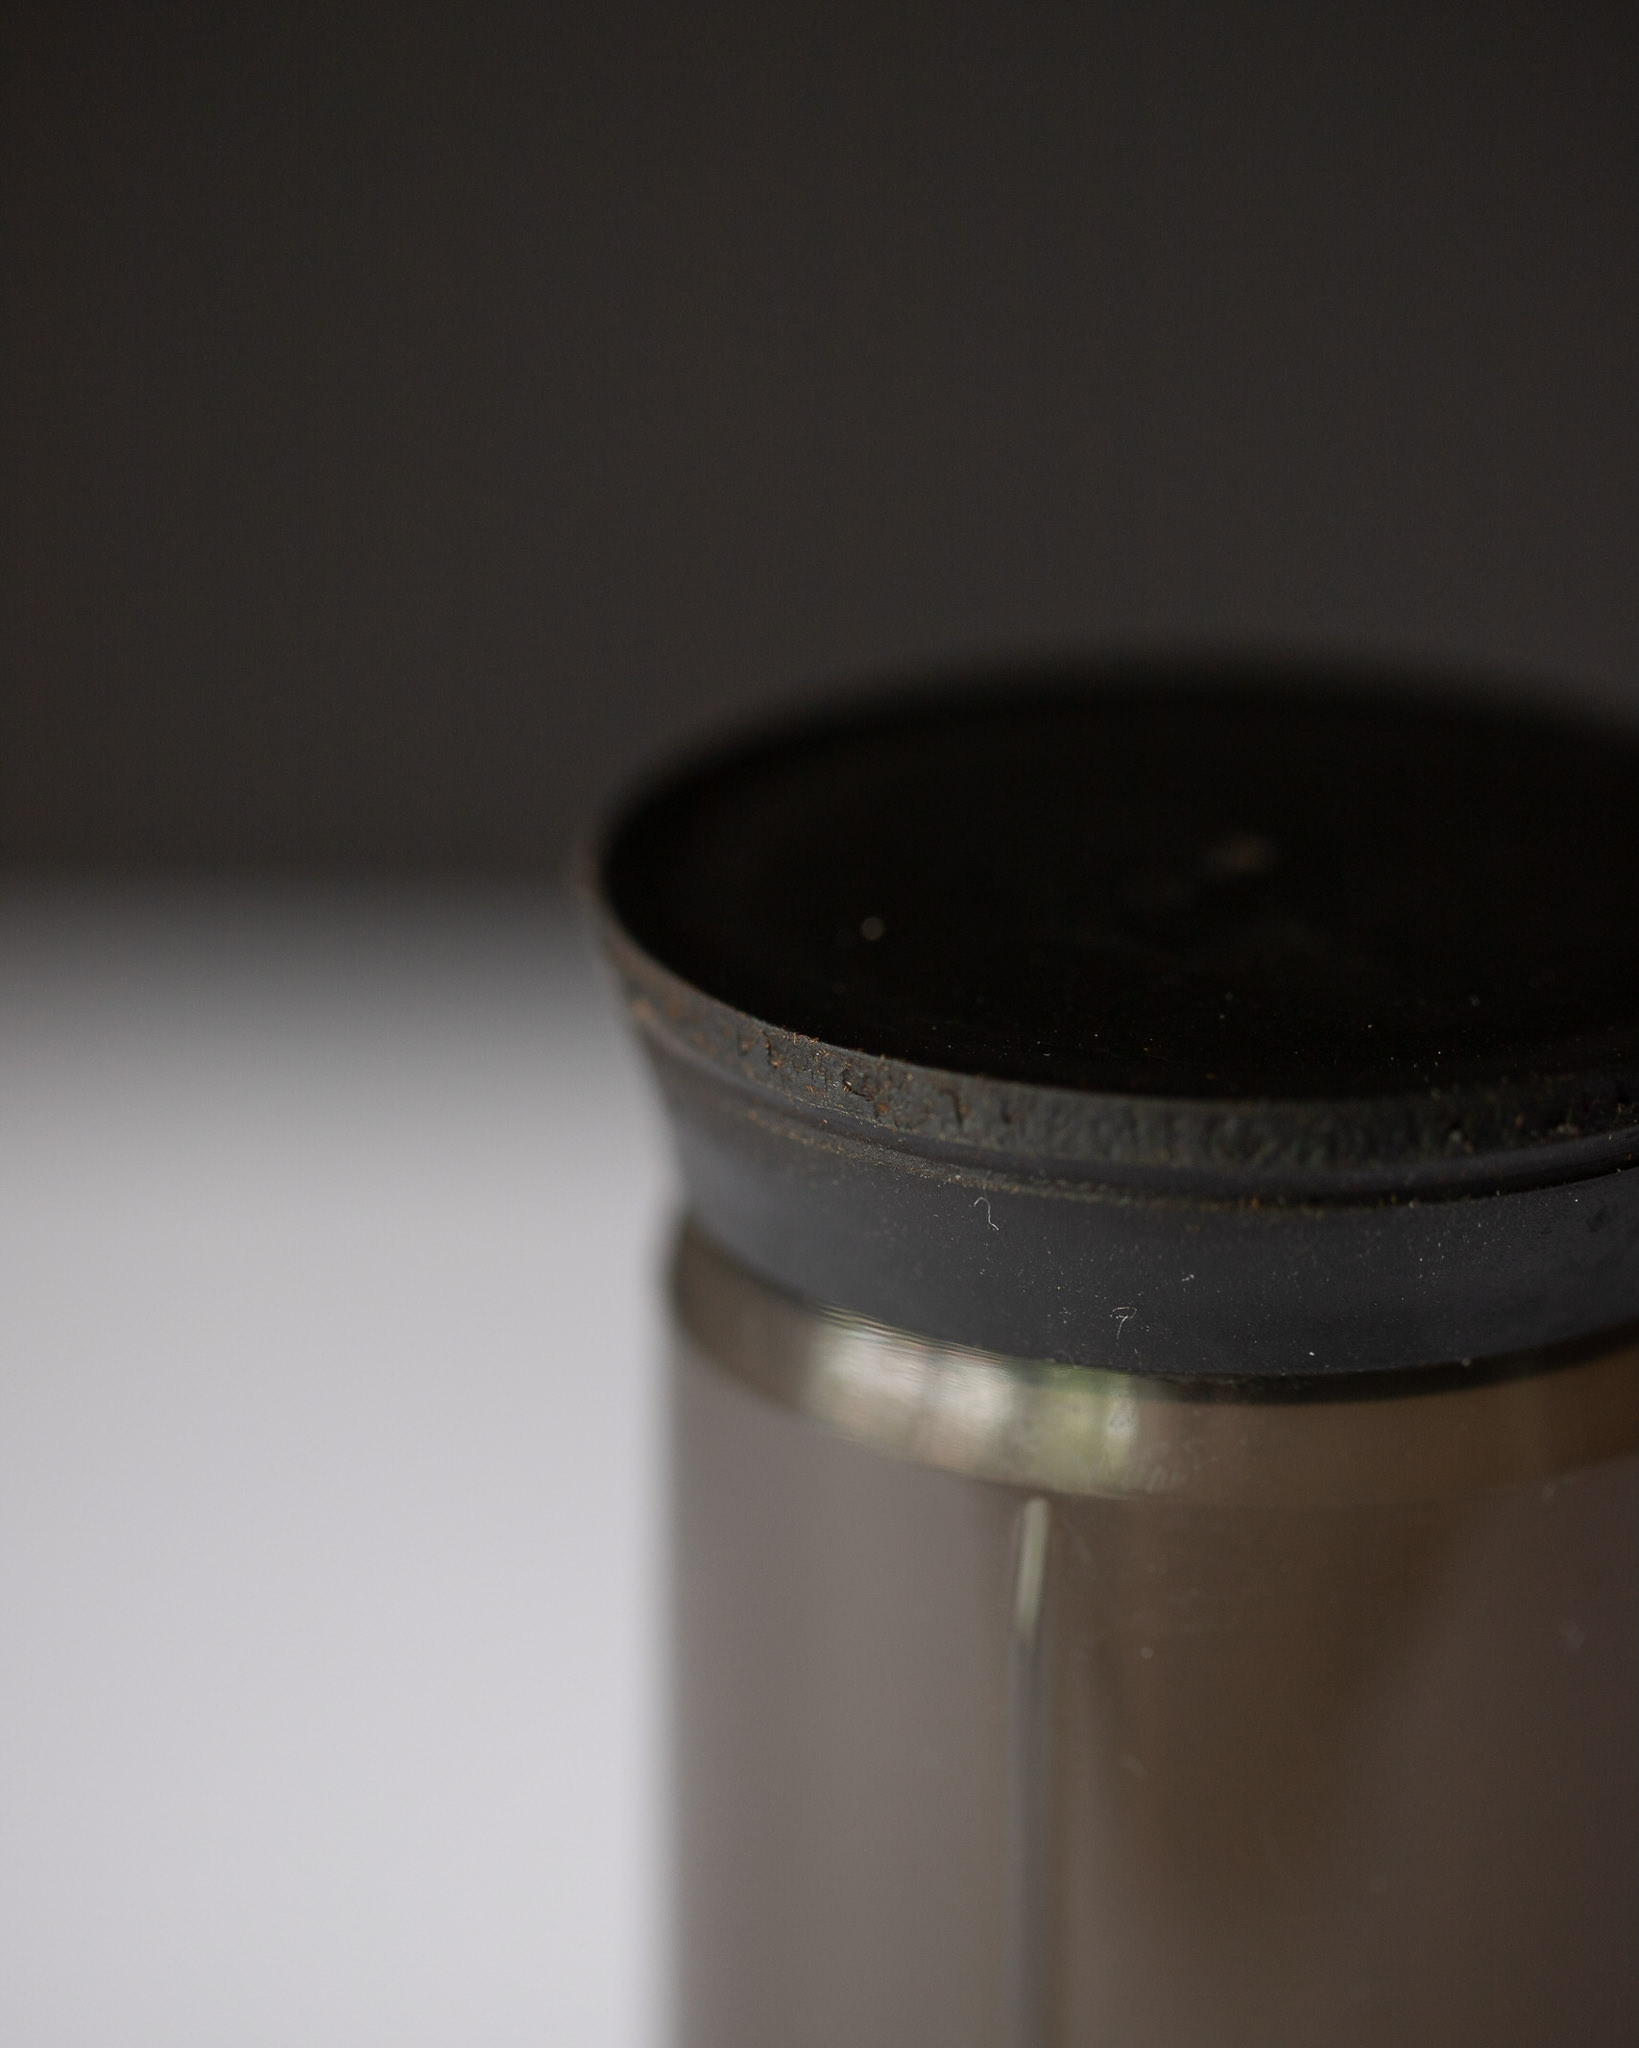
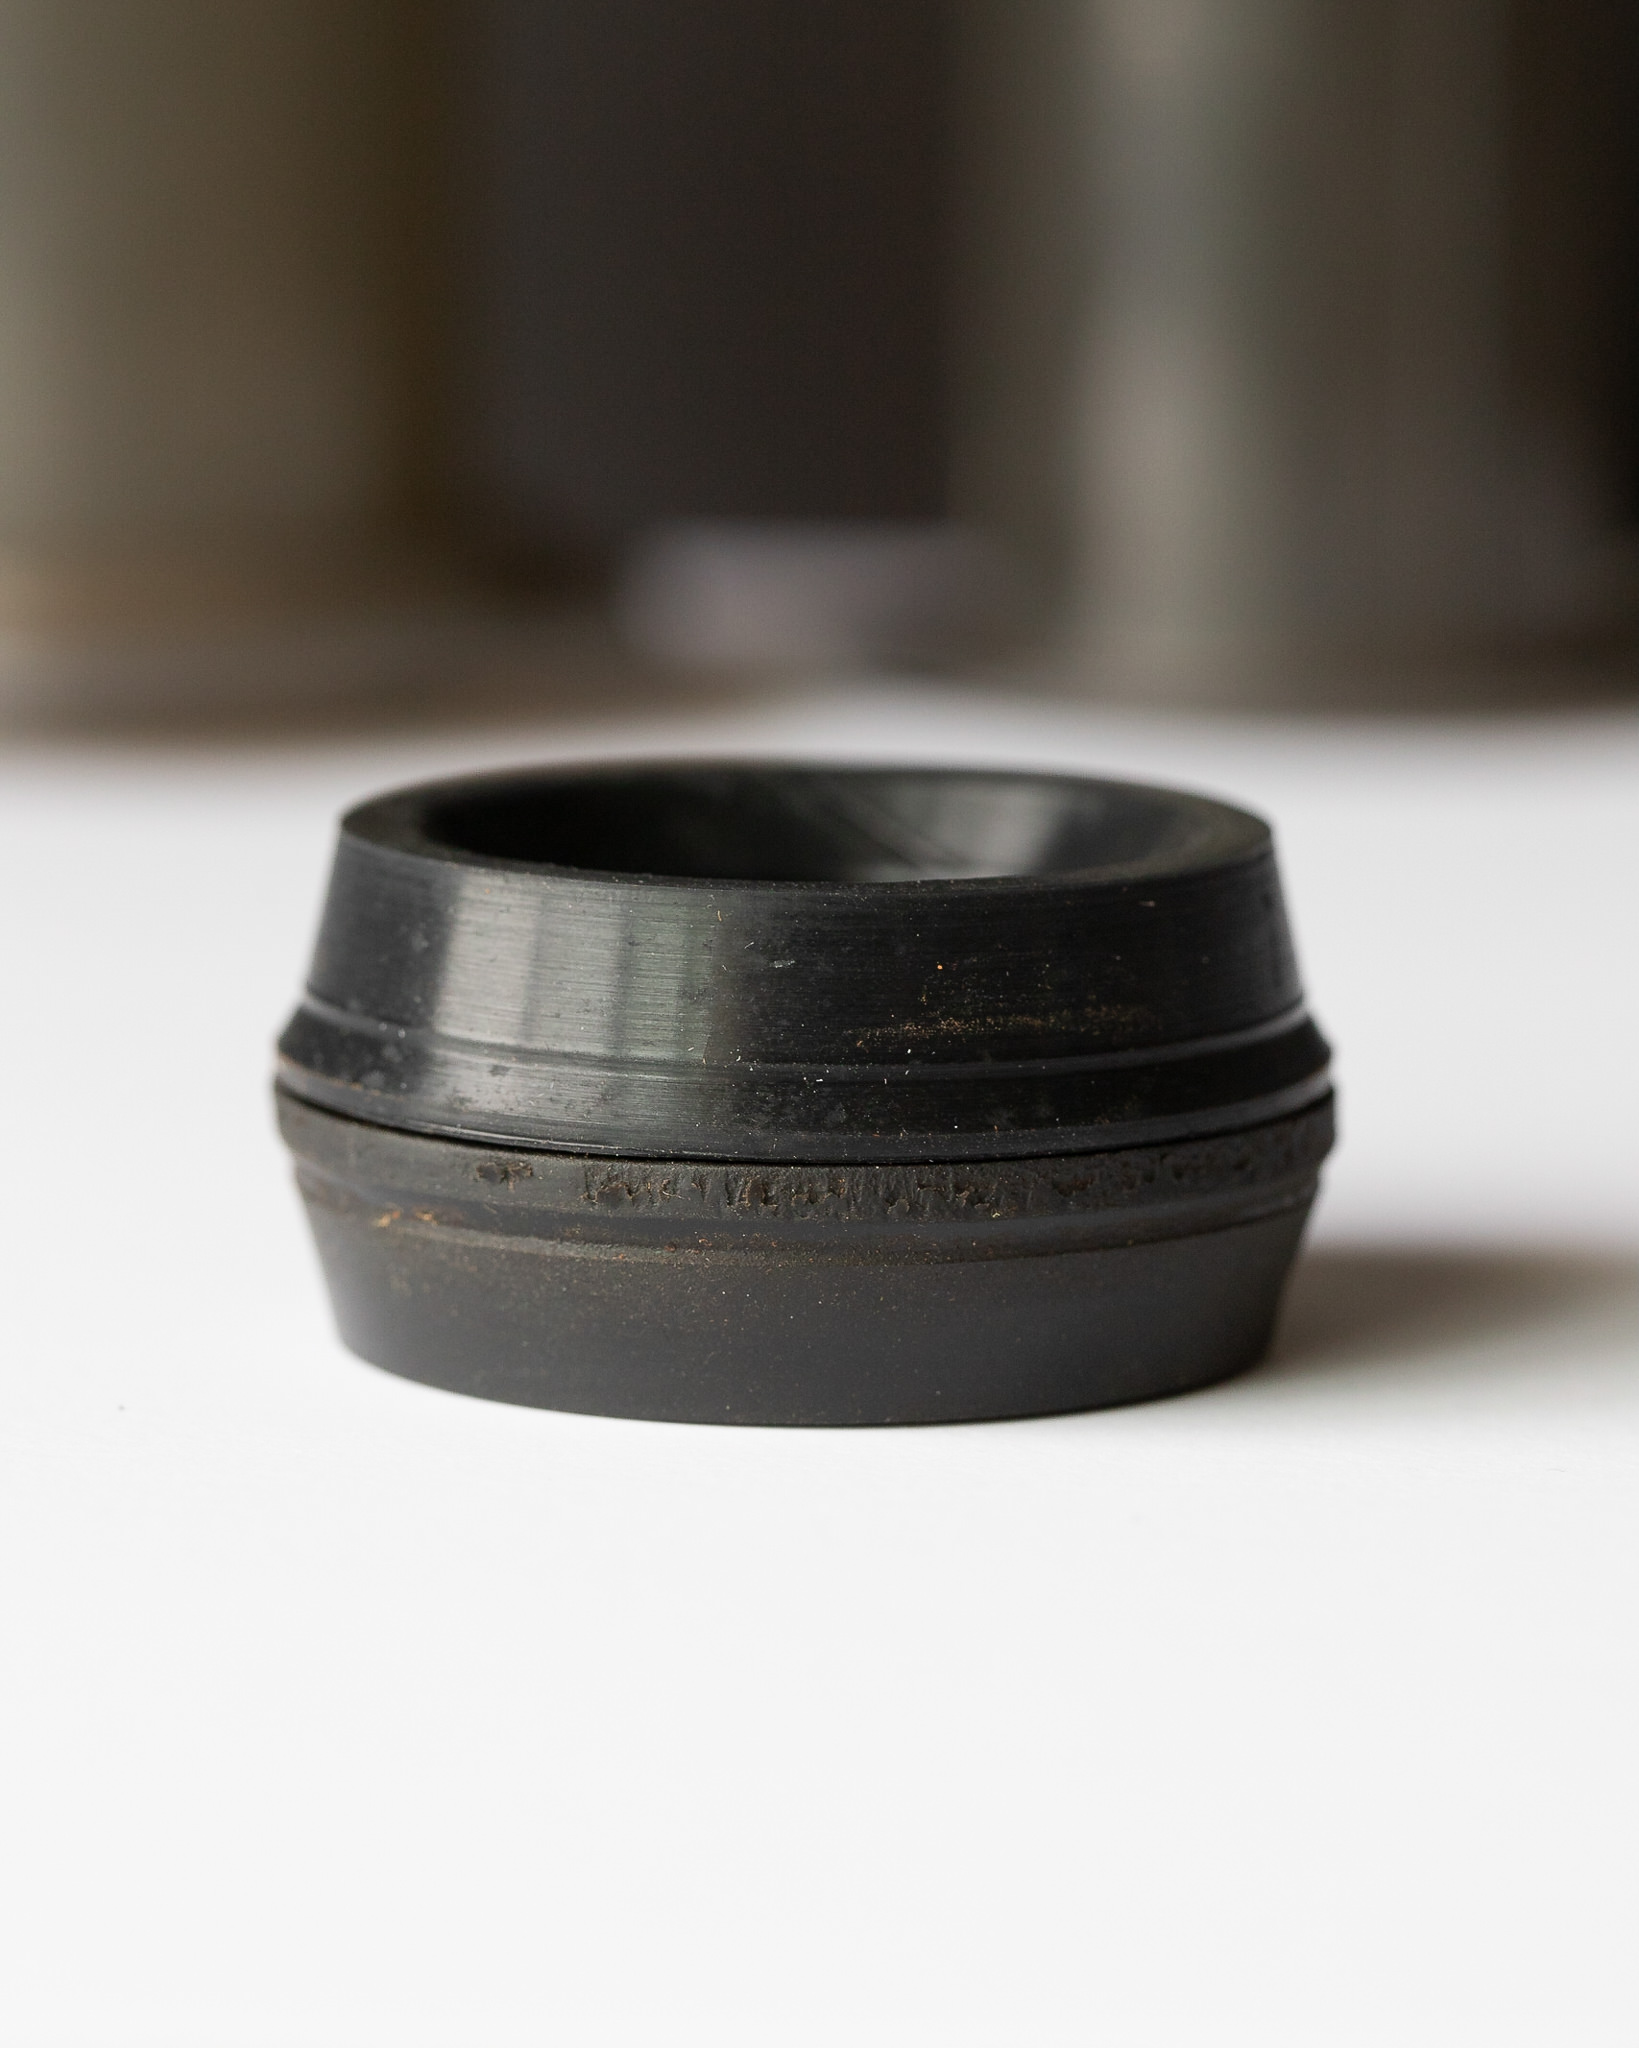
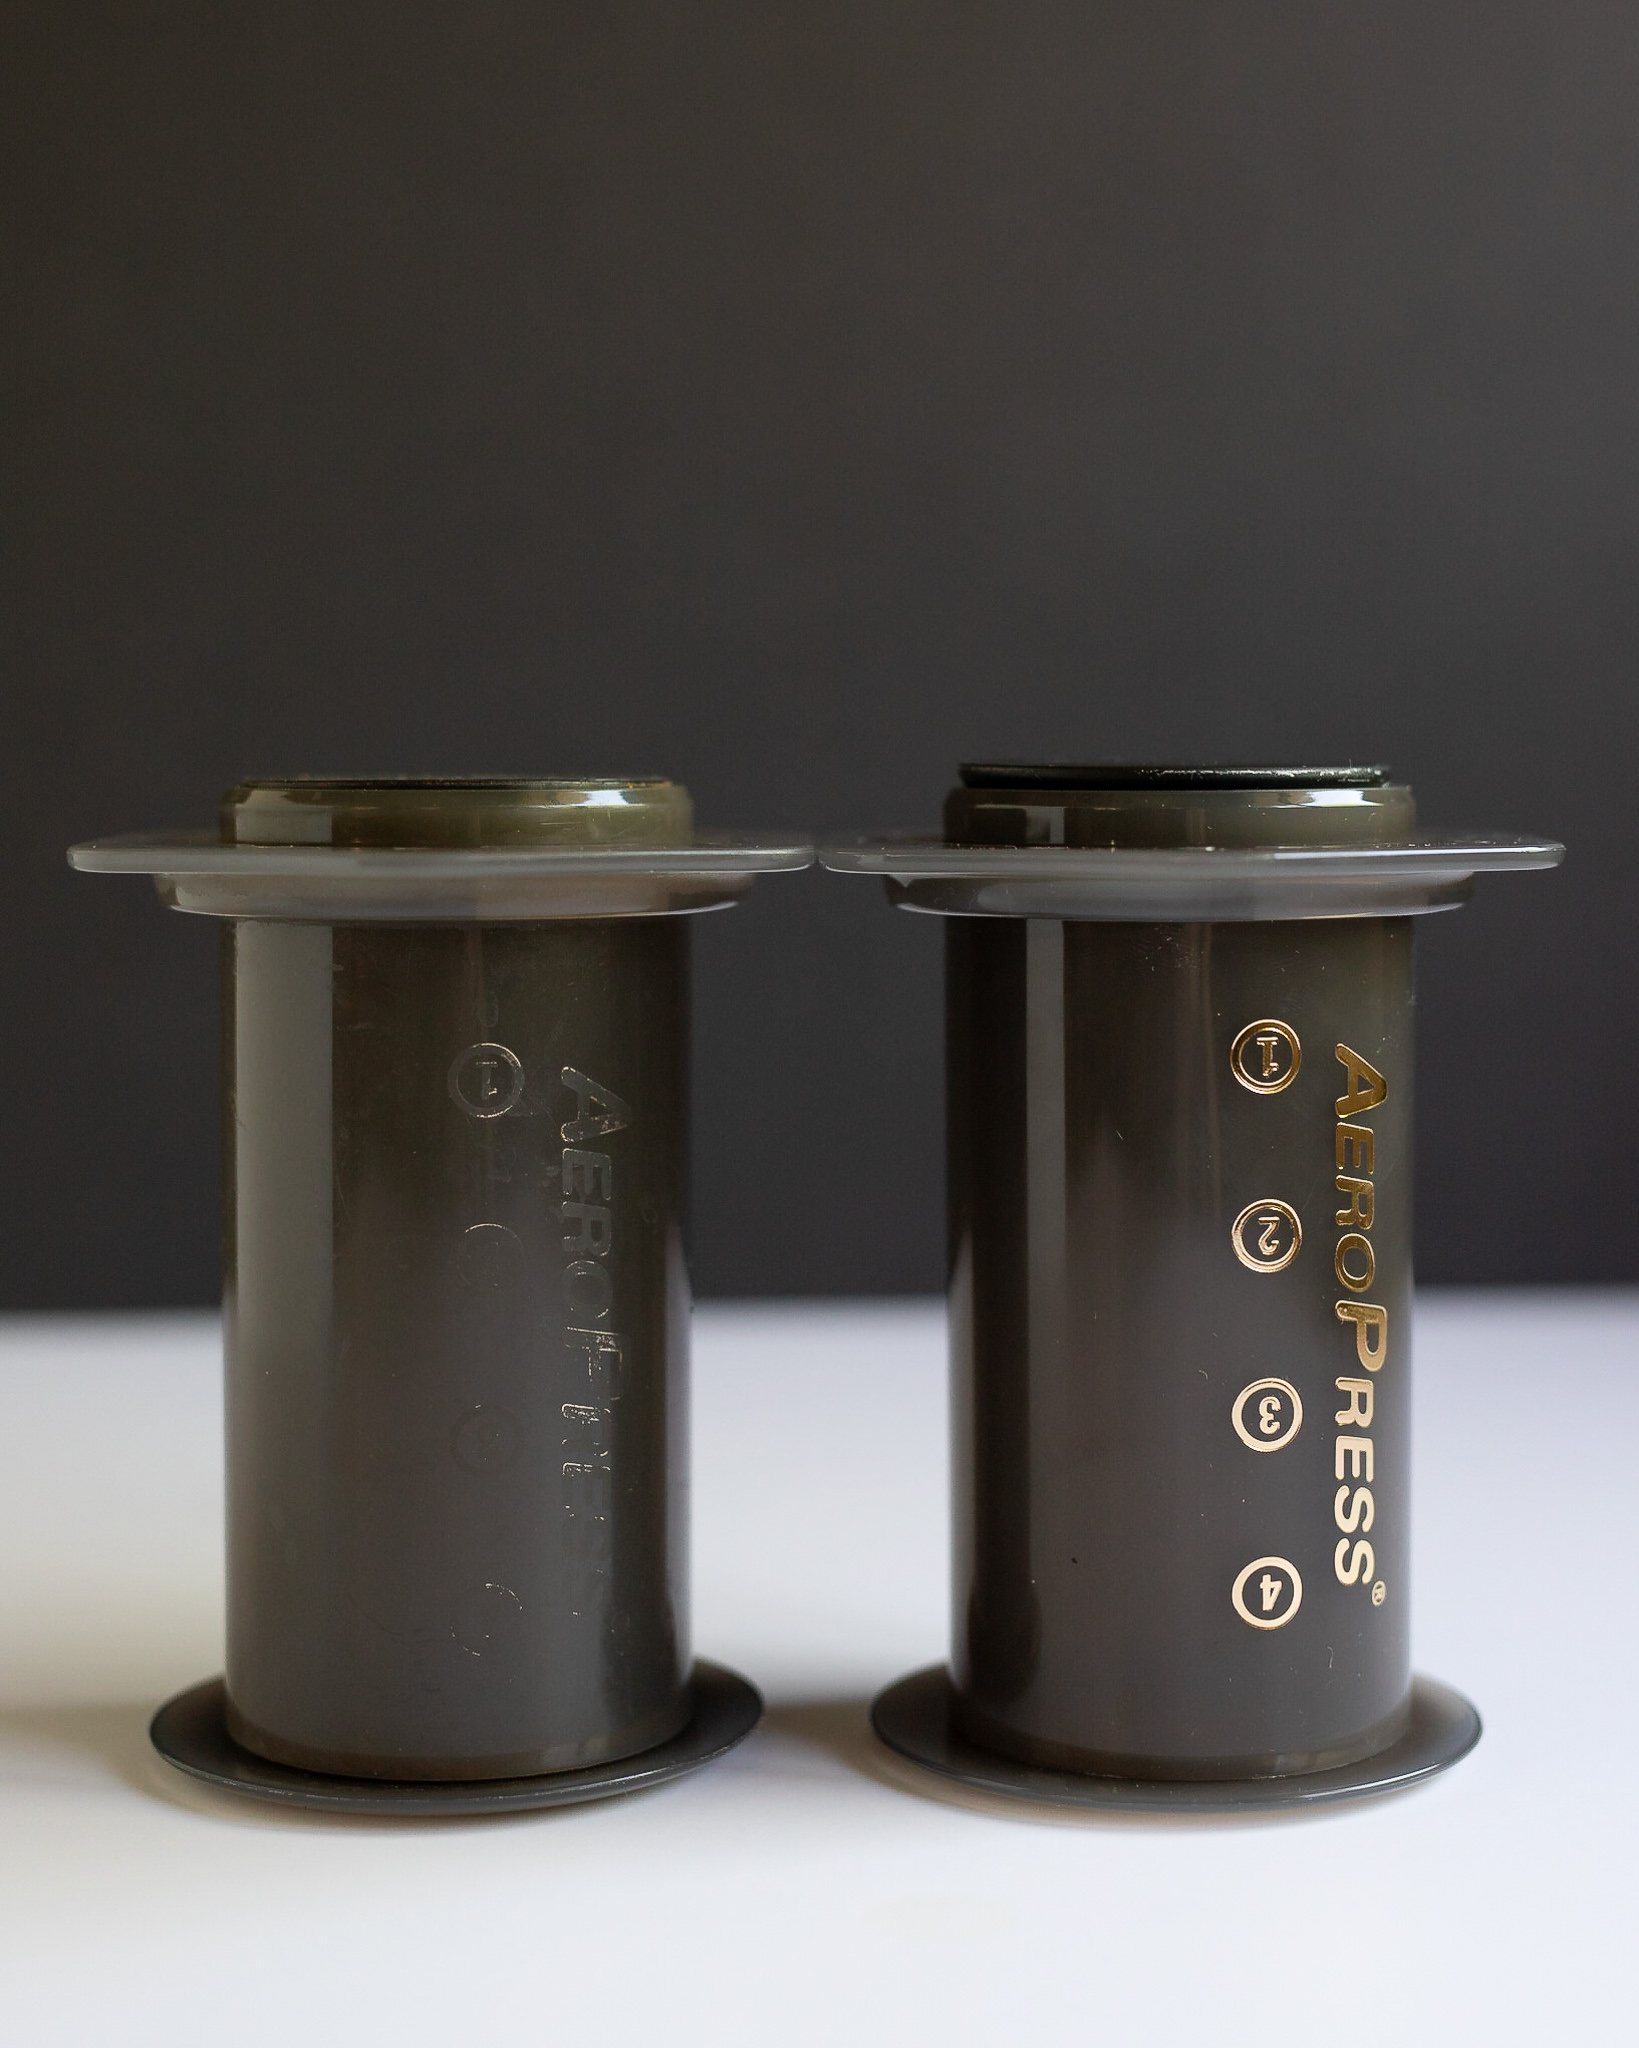
A couple of months ago, I started noticing the my Aeropress wasn’t plunging as smoothly as it use to. Instead, it started skipping, for lack of a better term. I also noticed that the edges of the plunger gasket were flaking away. I’ve had this Aeropress for more than 4 years now and I haven’t even once thought about replacing the gasket. So I took to Amazon in search of a replacement.
Off-Brand vs. Aerobie Original
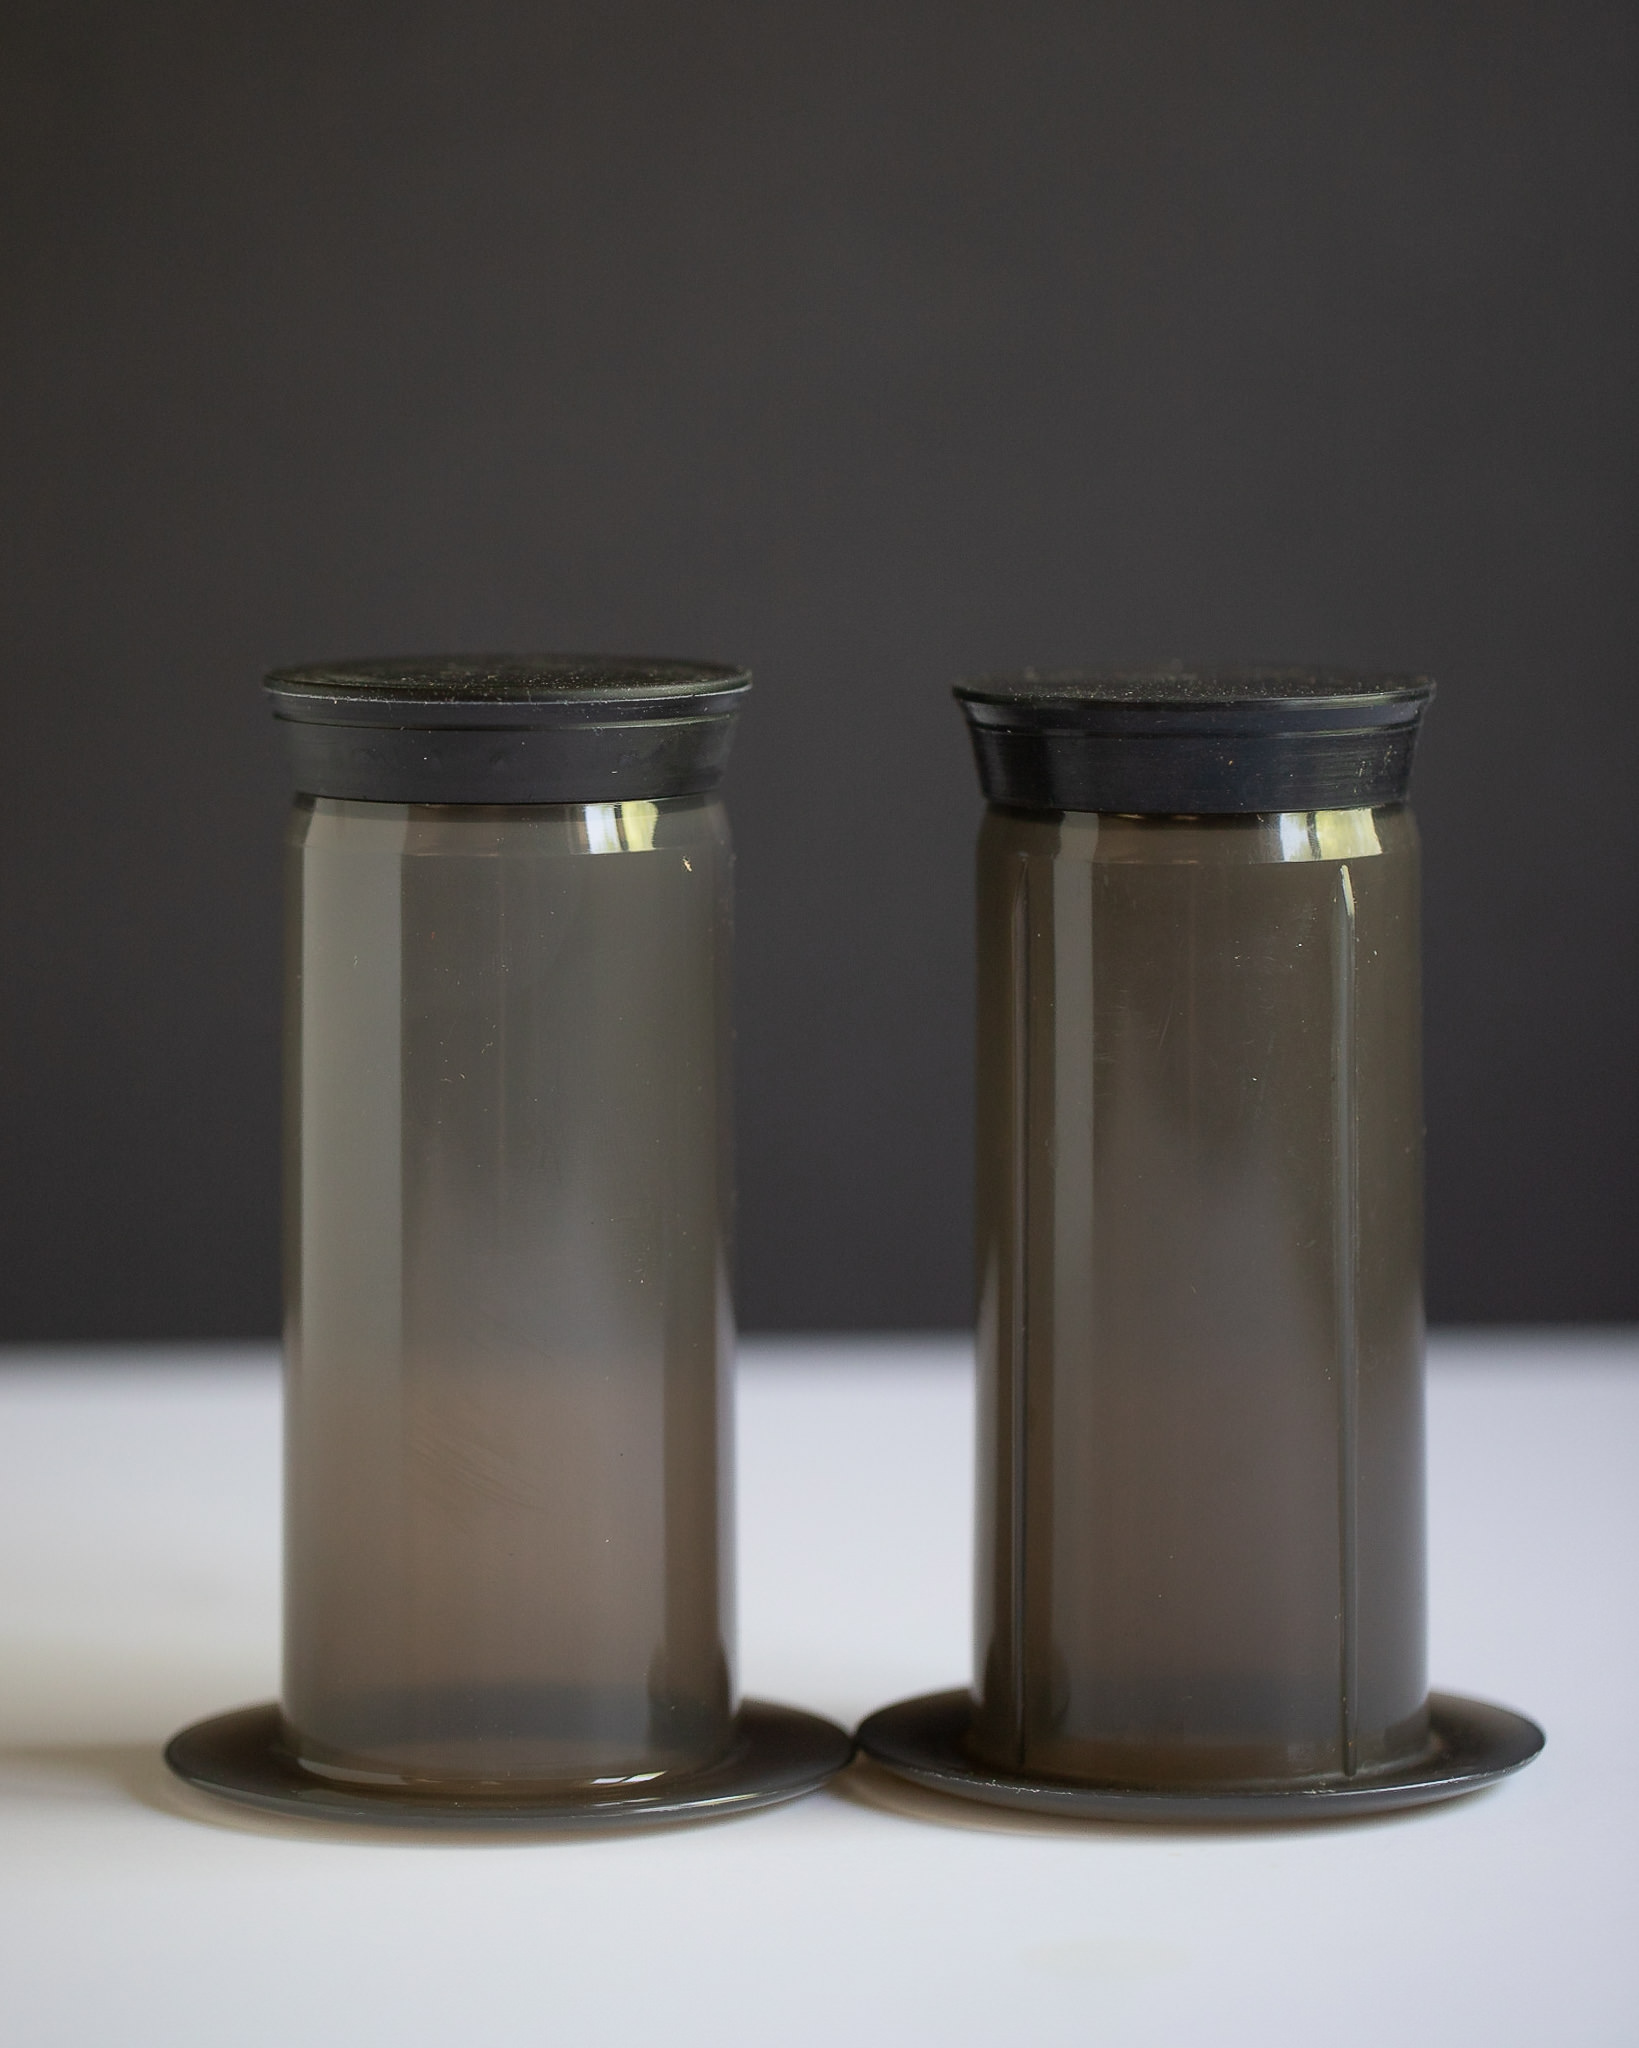
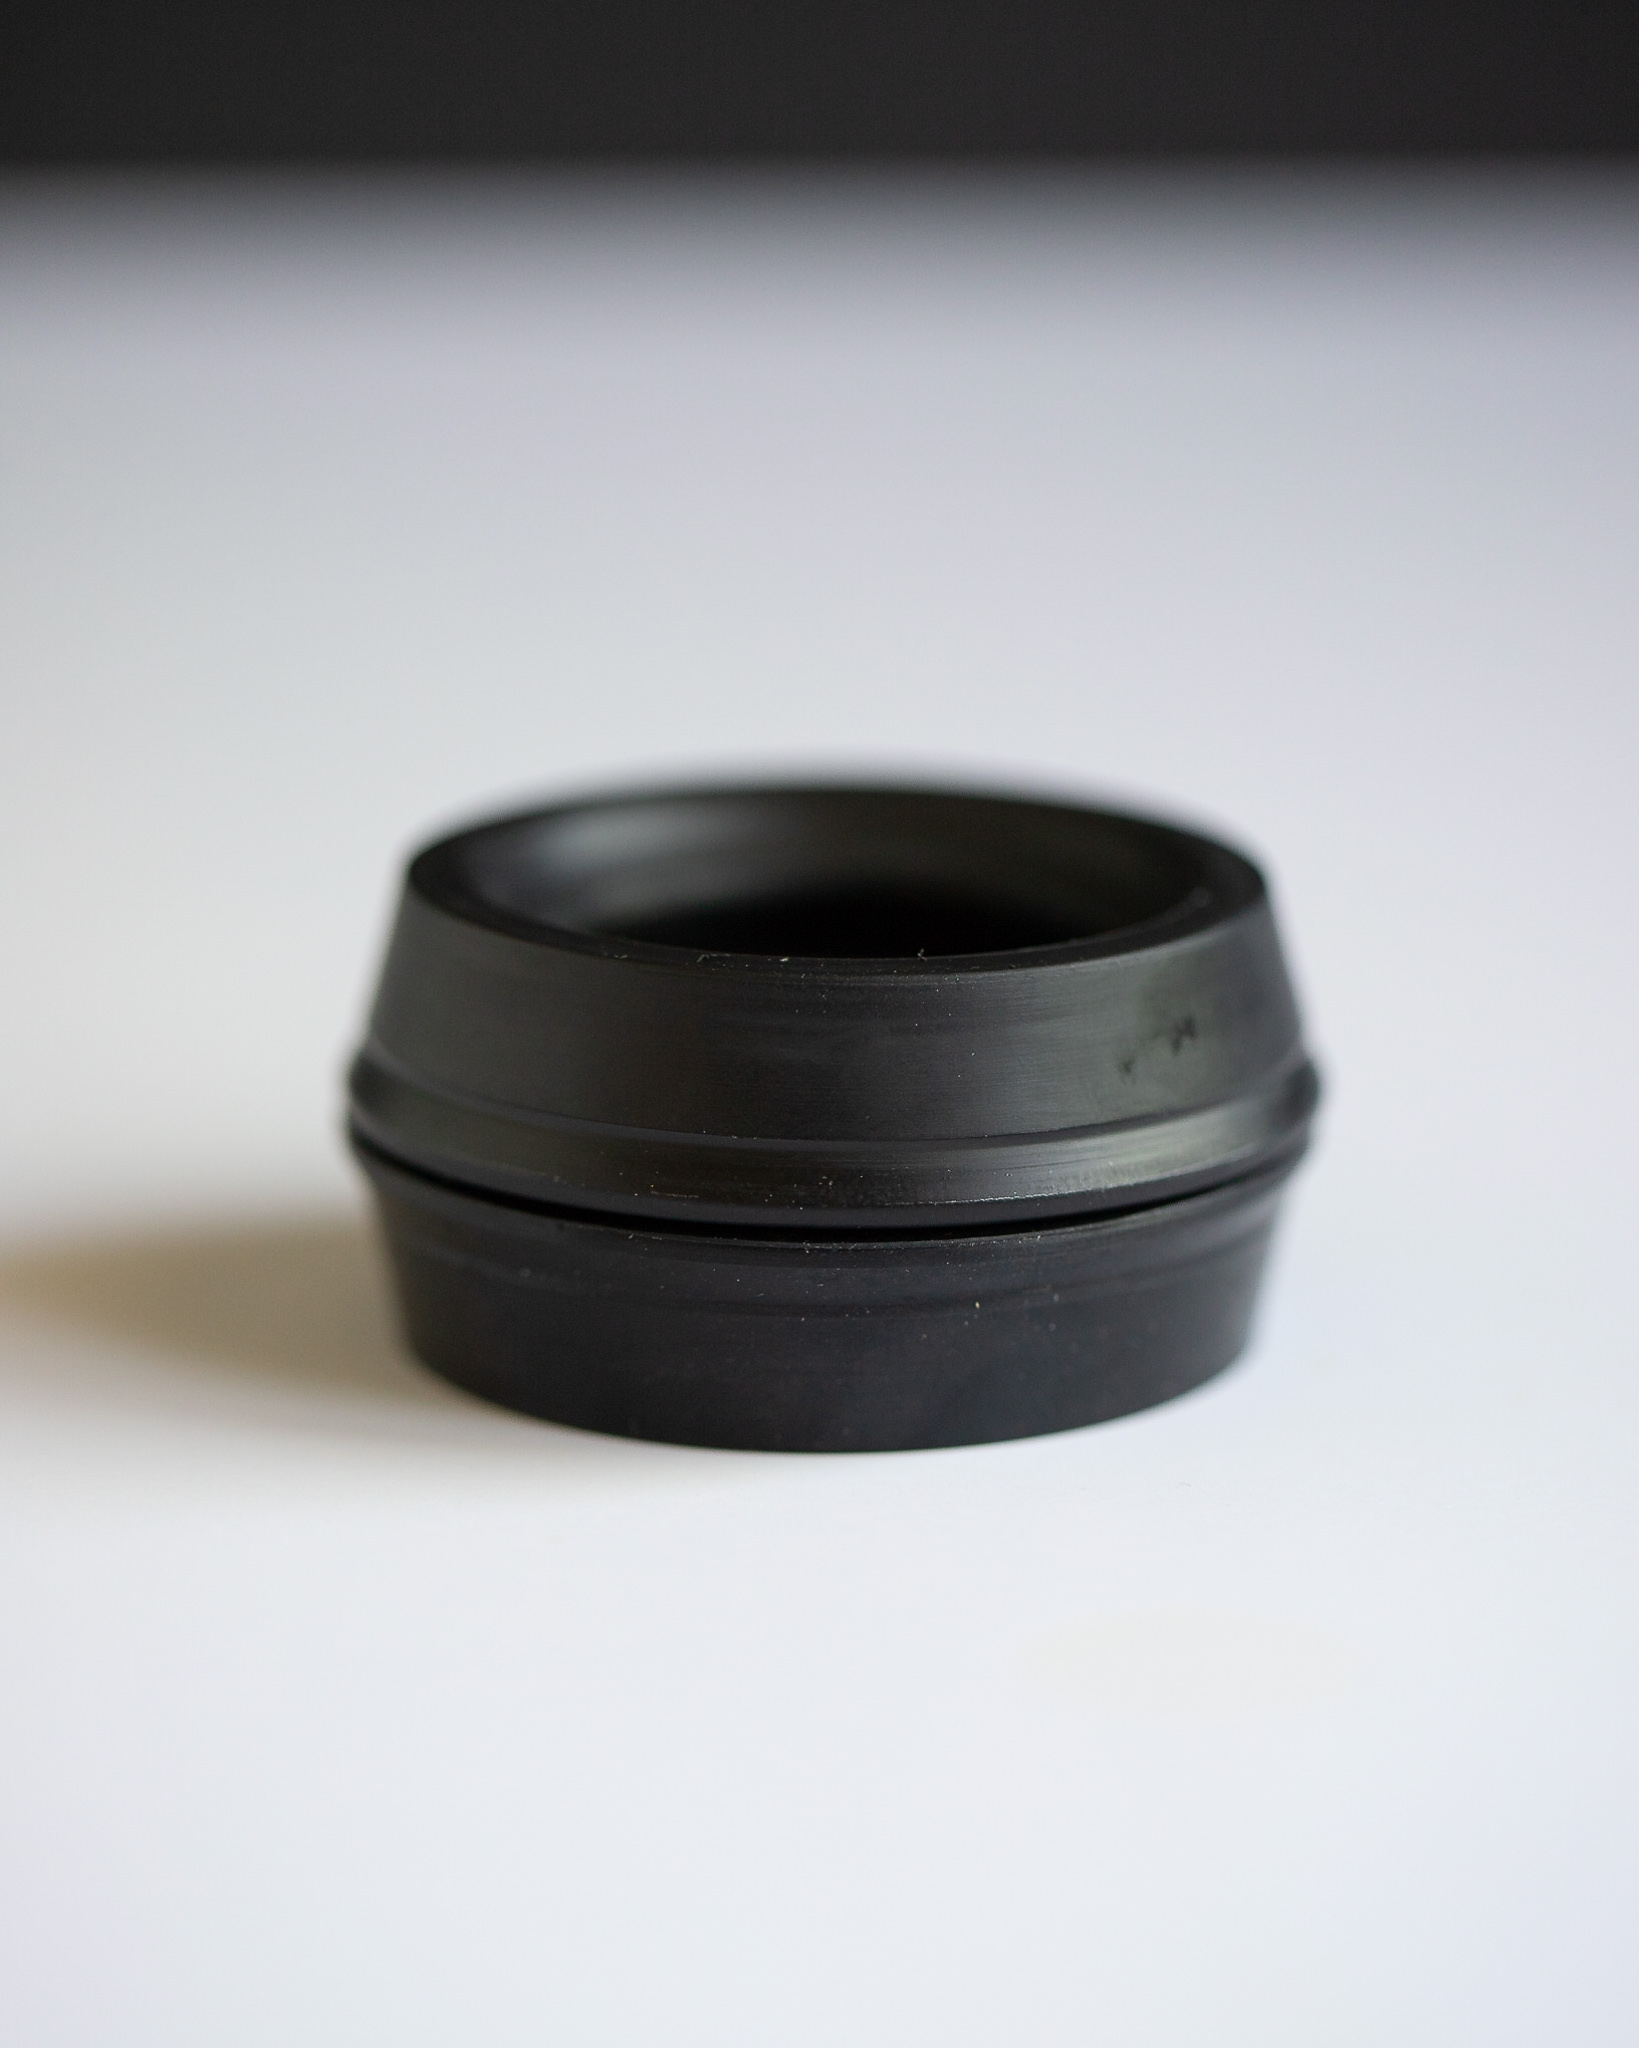
To my surprise, the Aerobie brand gasket retailed for $15ish. That seemed a little ridiculous since a brand new Aeropress only runs $25-30. So I went digging and found an off-brand gasket for only $10 and I figured it was worth a shot. I was incorrect. The off-brand clearly had less resistance against the Aeropress than even the 4 year old gasket that had worn away. While plunging once, some coffee even slipped past the gasket.
I’m usually all for saving some money and going off-brand. In this instance, however, I would without question recommend you spring for the Aerobie Original. Don’t even bother with the off-brand.
Thanks for reading! If you have any questions or comments, don’t hesitate to reach out! You can leave a comment below, shoot me an email, or message me on IG!
As always, Keep Coffee Handsome
Get the Gear. Support the Blog.
This side-project provides supplemental income that basically just feeds my coffee habits, and in turn helps me provide even more quality coffee content. Using the links below don’t cost you anything extra, but they swing me a little commission from whatever you buy. Thanks for your support!


